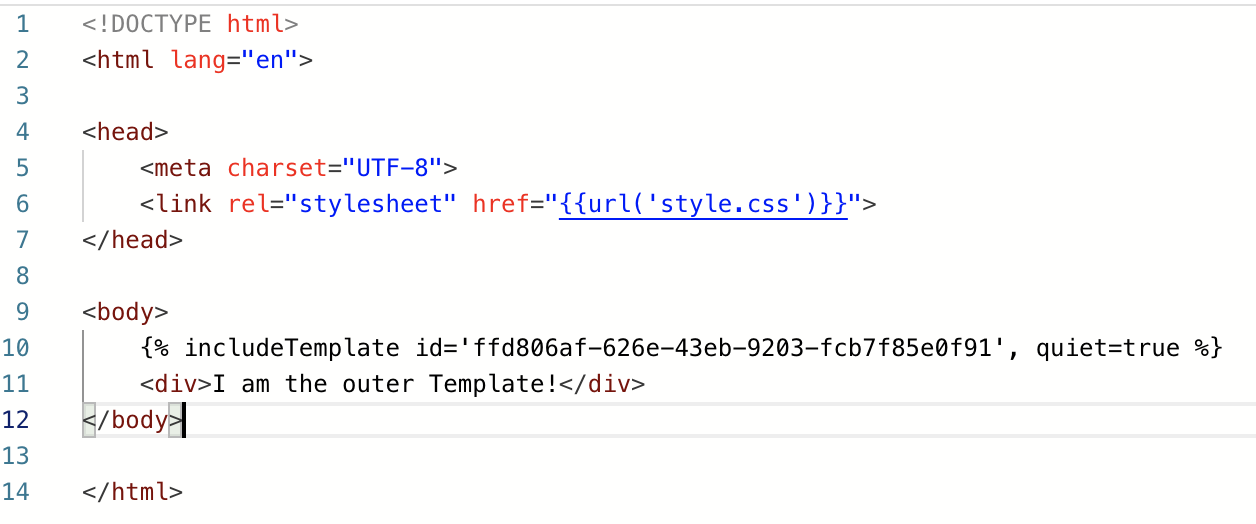
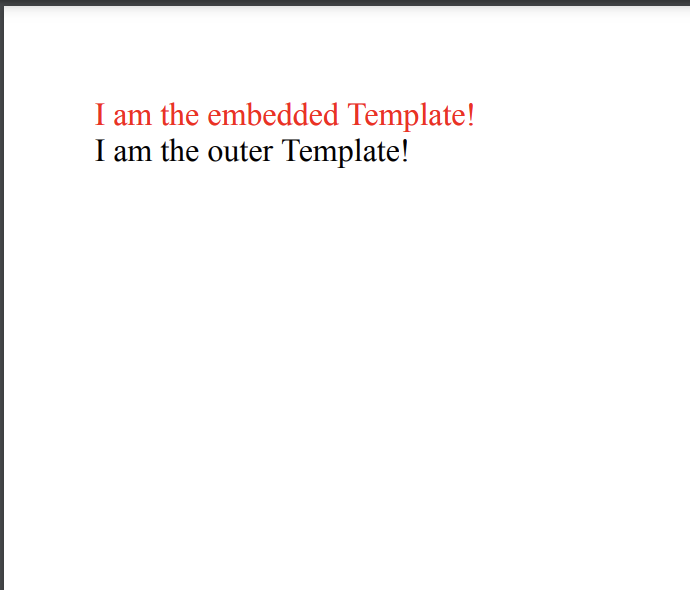
Writing and editing Templates
Designer Mode lets Users create Templates without knowing HTML, but you can also use HTML and CSS to define the format and styling of the Template. This is usually the majority of the Template. HTML and CSS are extensive and well documented elsewhere, so this article does not include a guide on them. For recommended resources, see w3schools or Mozilla for HTML, and w3schools or Mozilla for CSS.
Entrinsik has no affiliation with w3schools or Mozilla and does not control their content.
Templates in Informer also use the Nunjucks templating language to inject data into an HTML file. The official Nunjucks documentation is the best place to learn it.
Template editor
The Template editor has several important sections.
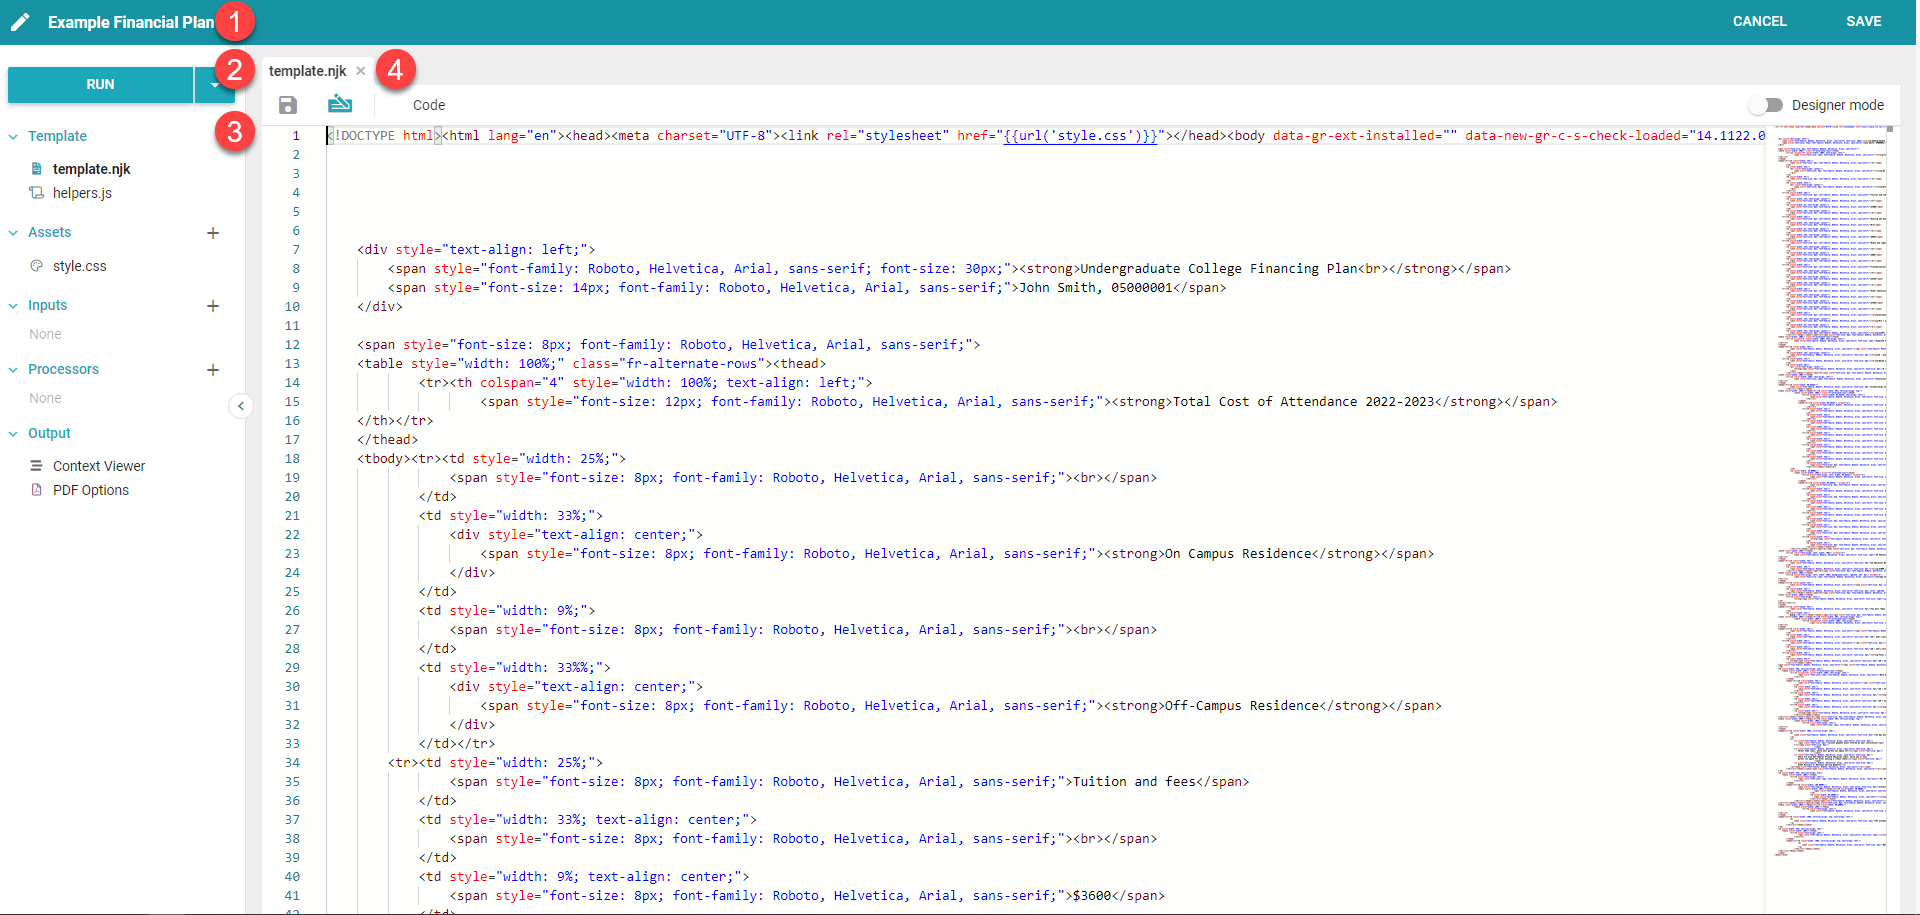
- Header bar: contains the Template name on the left, the breadcrumb navigation in the center, and the Cancel and Save buttons on the right.
- Run/Refresh button: the Run button generates a PDF or HTML preview. Click the down arrow to choose whether the preview generates in the editor or a new window. The button changes to Refresh after the first preview; click it to refresh after making changes or switching between HTML and PDF.
- Component list: a list of all editable Components. There are five categories: Template files, Assets, Inputs, Processors, and Outputs. Click a Component to open it in the Component editor.
- Component editor: where all changes to the Template are made. Navigate open Components with the tabs at the top or by clicking Components in the list. The default view is the HTML view. Toggle Designer Mode at the top to switch.
Designer Mode
Designer Mode allows Users to create pixel-perfect layouts without HTML. The editor simplifies the design process, letting you accept runtime Inputs, run Queries, access Datasets, and execute scripts. It incorporates familiar features such as text formatting, color and font-size adjustment, and the insertion of tables, lists, and images.
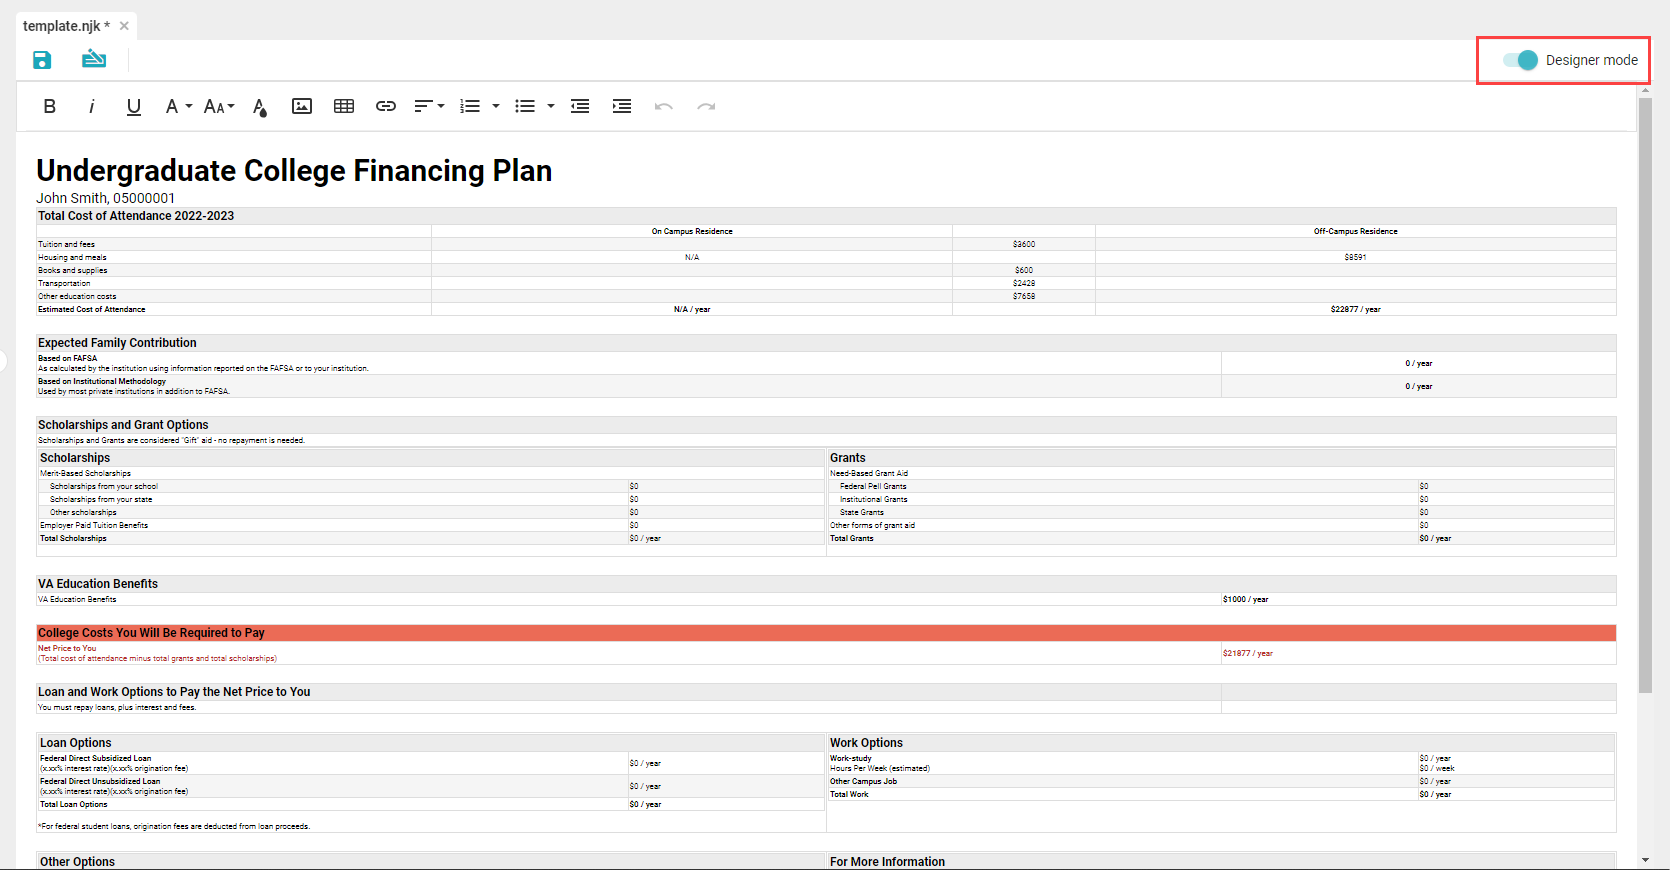
Toggle the Designer Mode button to open the Code editor, where you can write Templates using HTML and CSS.
Only one User may edit a Template draft at a time. If you try to edit a Template that is already being edited, you see a message telling you who is currently editing. You can Take Over editing (which ends the other User's ability to edit) or Exit and leave the draft as is.
Injecting data
An Informer Template uses HTML and CSS for formatting and style, and Nunjucks to inject data into HTML files. Data is populated into the context (also called $ctx), where Nunjucks can access it. The Insert Keyword button at the top of the editor lets you add data from any Processor added to the Template.
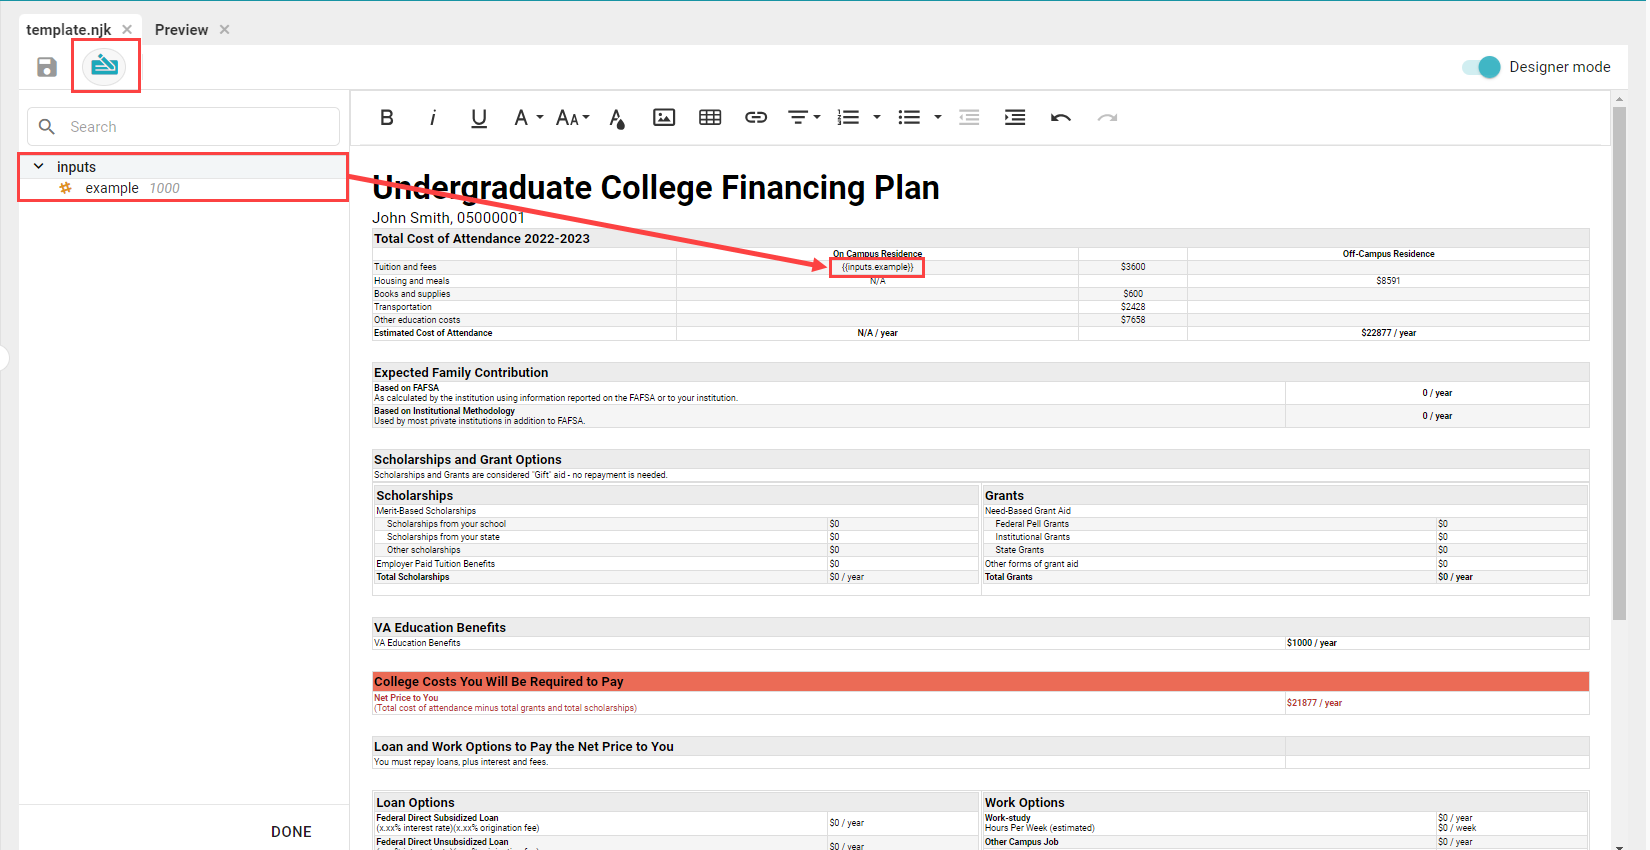
Clicking the desired Input from the panel adds it to the Template with the correct formatting for its type.
Variables
The simplest way to inject data is with double curly braces around a variable from the context. Consider this example context:
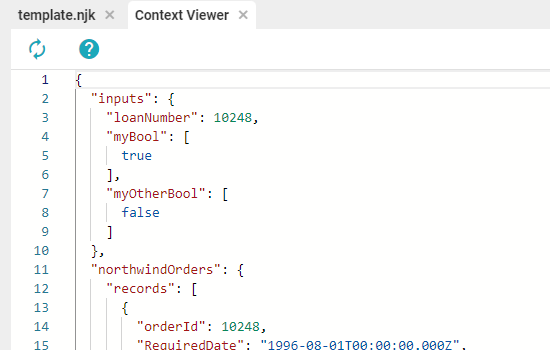
Add this line to an HTML file to insert the value of loanNumber:
<p>
  {{ inputs.loanNumber }}
</p>
Nunjucks variables are also available inside tags:
<p class="{{ inputs.loanNumber }}">
Insert nested variables the same way:
{{ northwindOrders.records }}
Filters
Nunjucks can alter variable content through filters. A filter takes the value, runs a function on it, and returns the new value. Using the example context:
{{ inputs.loanNumber | number('en-US', true) }}
displays the value 10,248. Nunjucks has several built-in filters and allows custom filters in the helpers.js file. The safe filter is worth noting: it prevents Nunjucks from converting HTML characters, so variables that contain HTML render directly.
Conditionals
Nunjucks can use data to optionally display content. This is a Nunjucks tag rather than a variable, so it uses curly-brace-percent instead of double curly braces. If-statements require an endif tag and can optionally use else or elif:
{% if myBool %} This will display {% endif %}
{% if myOtherBool %} This will not display {% else %} but this will! {% endif %}
Looping
Nunjucks can repeat output once for each item in an array (or list, or multi-value). This is especially useful for inserting all data from a Dataset or Ad hoc Query:
{% for item in northwindOrders.records %}
{{ item['orderId'] }}
{% endfor %}
Here, item is a variable created in the for loop's definition, while northwindOrders is an array variable from the context.
Embedding Templates
You can embed one Template inside another. For a simple embed, use a basic include:
{% includeTemplate id='included template id here' %}
If the embedded Template has parameters, provide them:
{% includeTemplate id='included template id here',
       params={param1: 'value1', param2: 'value2'} %}
If the embedded Template has errors, it breaks the outer Template. To suppress those errors, use quiet=true:
{% includeTemplate id='included template id here', quiet=true %}
To assign the contents of the embedded Template to a variable:
{% includeTemplate id='included template id here', as='variable_name' %}