Send an Email
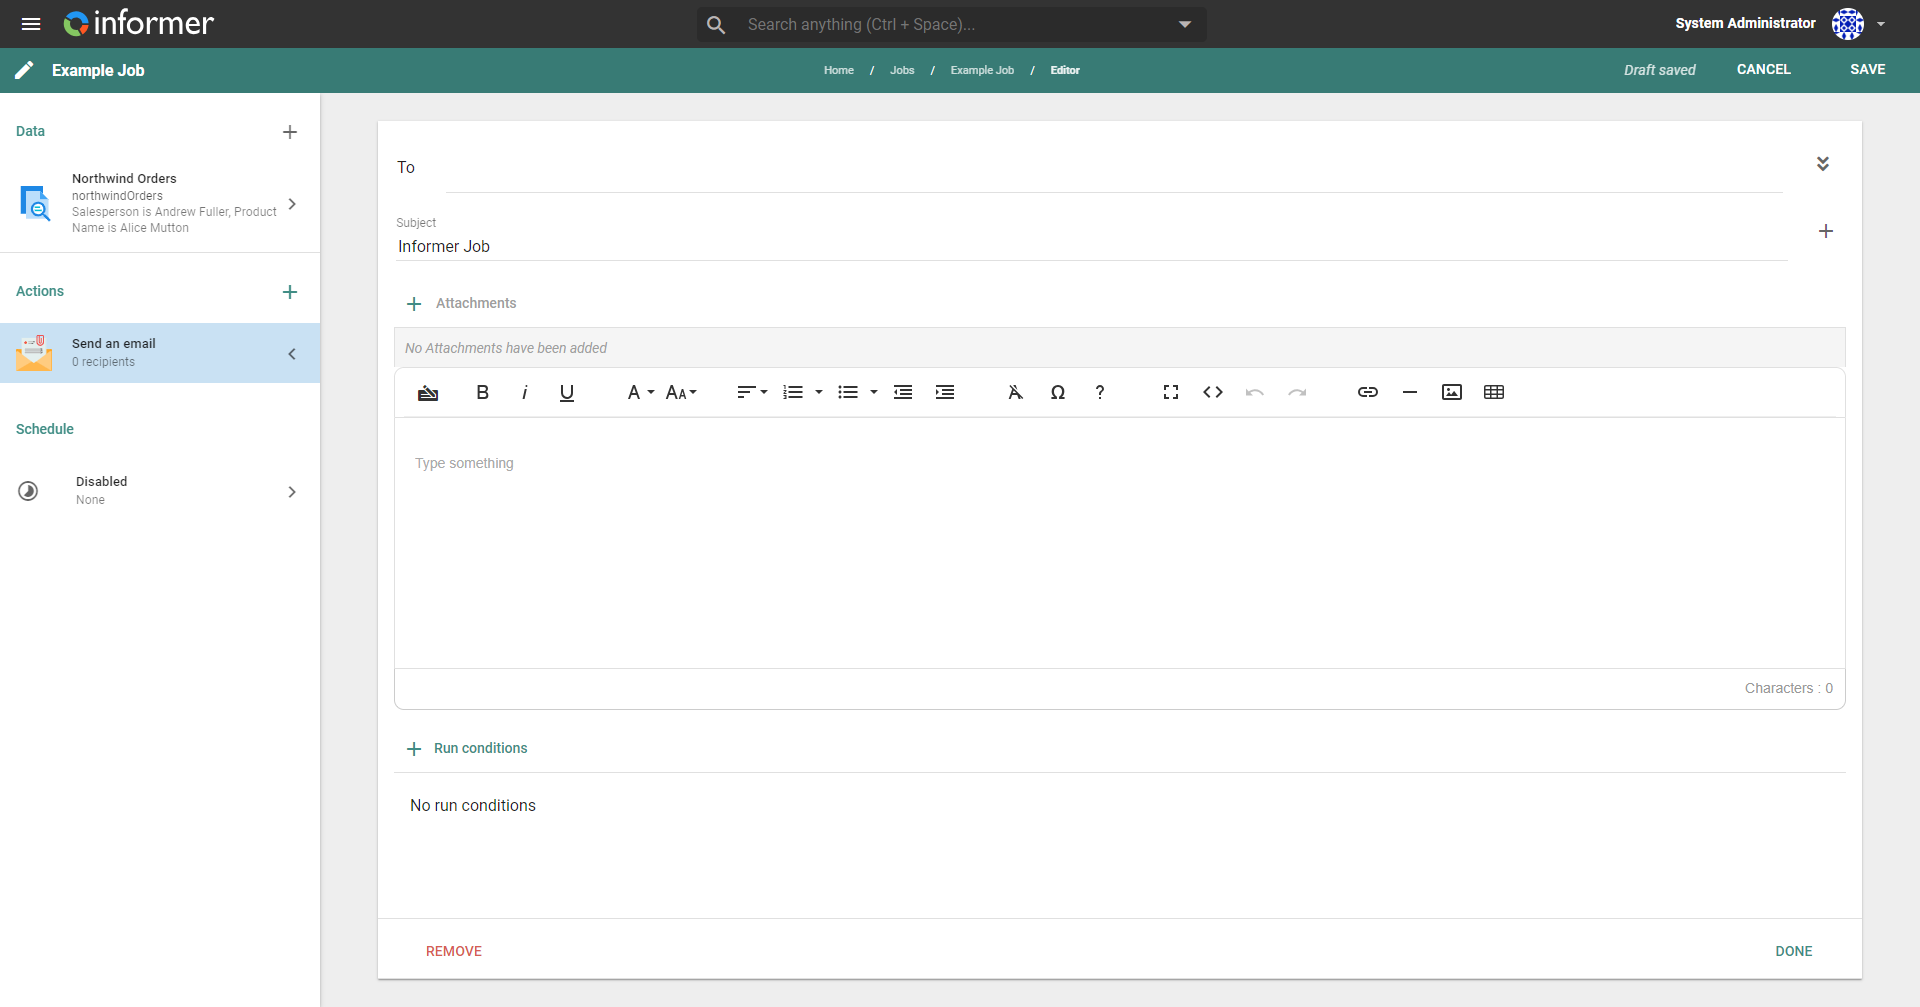
The Send an email Action sends a single email to one or more recipients, customizes the body with a WYSIWYG text editor, and sends static or dynamically generated file attachments with the email. To add an email Action to a Job, select Send an email from the Add Action dropdown on the Job edit page.
Configuring the email
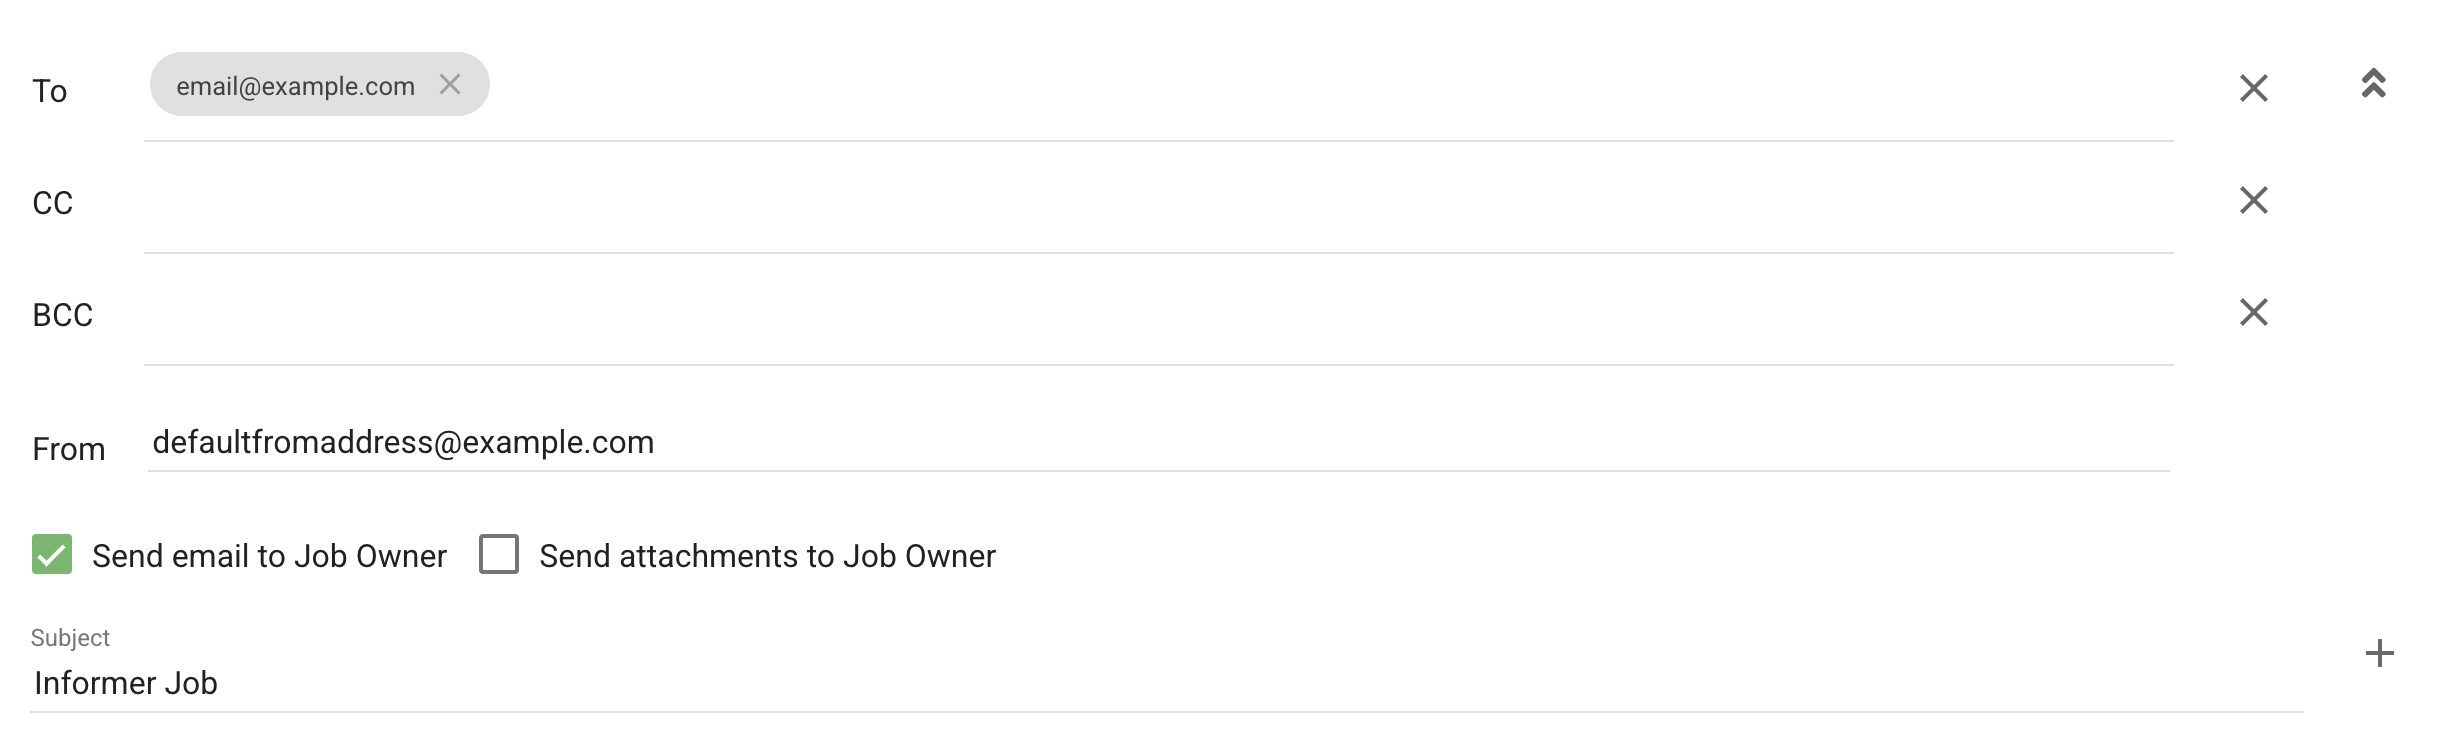
To configure the email recipients, click into the To form, type the desired recipient email address, and press Enter. If the email address is associated with an Informer User, the form auto-suggests the User's email address. Either click the email in the auto-suggest dropdown or select it with the arrow keys and press Enter. Clicking the chevron button to the right of the To form exposes the CC, BCC, and From forms. By default, outgoing emails use the Default from address value defined in the Administration settings.
Use standard email addresses in the common user@domain.com format. Invalid or non-standard addresses are excluded and do not receive emails.
Job Owner email options
Two additional checkboxes are available in the expanded email configuration:
- Send email to Job Owner: when enabled, the Job Owner automatically receives a copy of the email in addition to the recipients in the To, CC, and BCC fields.
- Send attachments to Job Owner: when enabled along with Send email to Job Owner, the Job Owner's copy includes all configured attachments. If this option is left unchecked, the Job Owner receives the email without any attachments.
For these options to appear, the Job Owner must have an email configured in their User profile.
Attachments
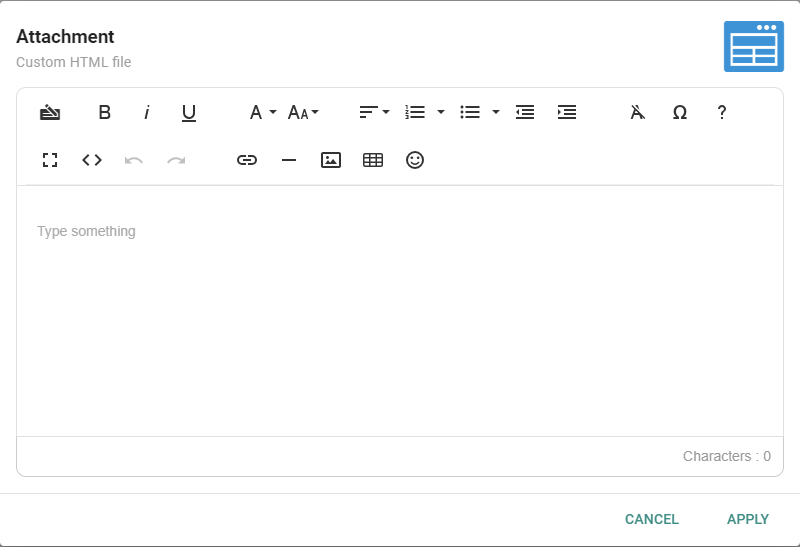
To configure email attachments, click the + icon next to Attachments. Attachments can be static HTML files, PDFs, text files, client-uploaded files, a Template, or ZIP files containing any of the above. These static file types provide a WYSIWYG editor to create the file.
A Zip file attachment is configurable with or without encryption. Enter an encryption type and password to use this option. There are two supported types of encryption, Zip 2.0 and AES 256.
- Zip 2.0: most modern operating systems can open this encryption type without special software (less secure).
- AES 256: this option uses 256-bit encryption and likely needs additional software to open, such as 7-Zip or WinRAR (most secure).
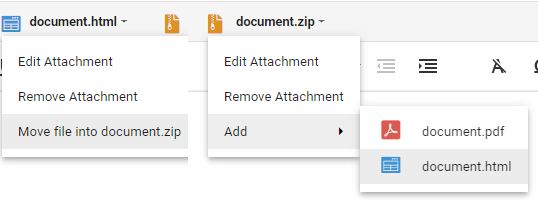
After creating a Zip file, other files attached to the Job can be added to it. Add an attachment to the Zip file by clicking the down arrow next to the file name and selecting Move file to <name>.zip, or by clicking the down arrow next to the Zip file, selecting Add, and adding the desired attachment.
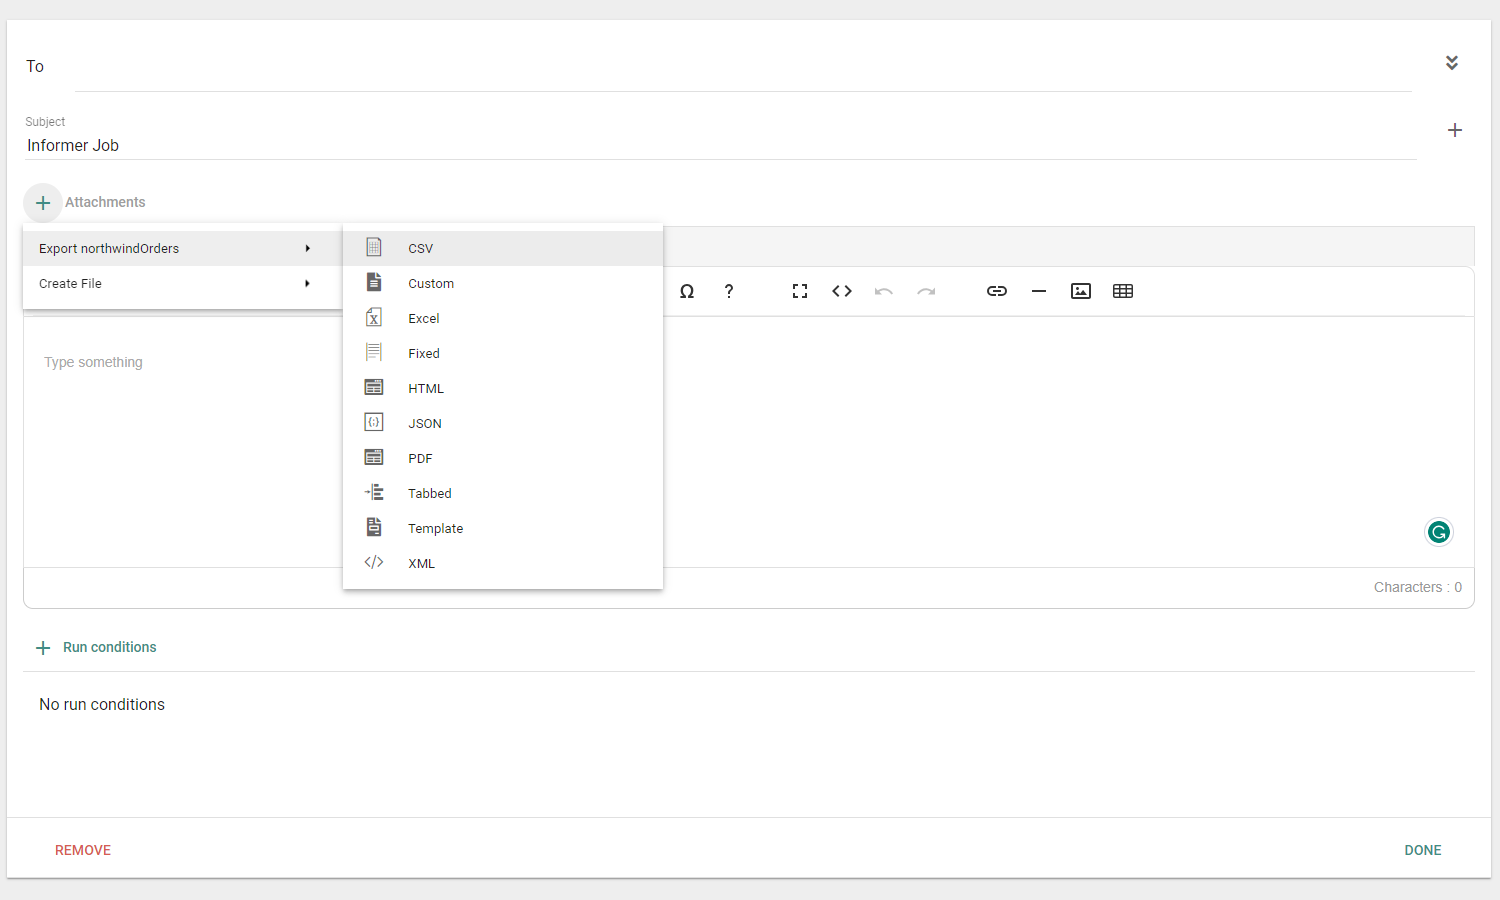
Attachments can also be files exported from the data components of the Job. The configurable options for each export file type are the same as when exporting a file directly from the Query results (see Exporting).
Templates and Jobs
Jobs let you attach a Template to a Job. A Template attached to a Job can be rendered with either attached data or as a new Template with manually entered inputs.
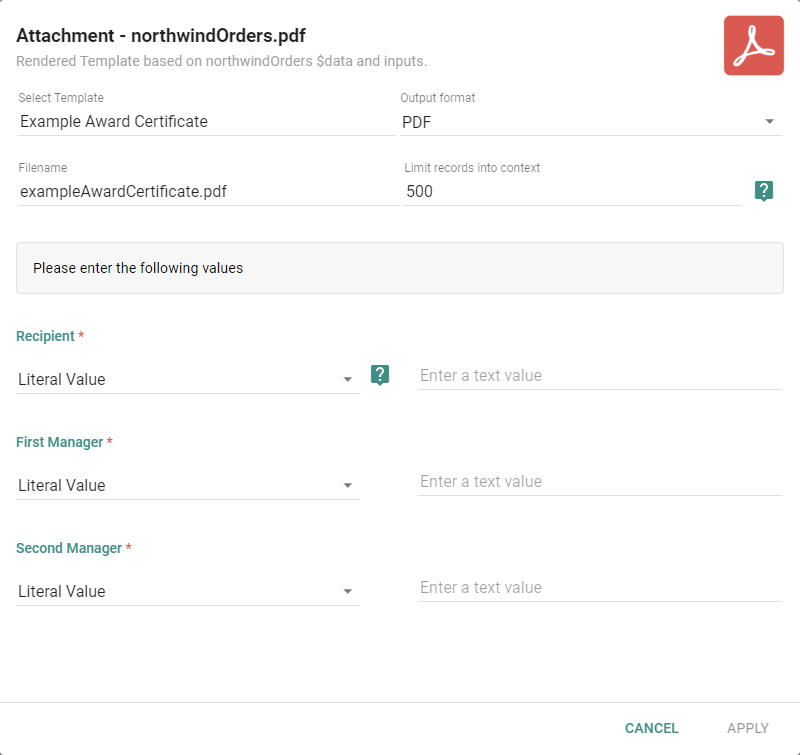
- Click the + button next to Attachments and select Export or Create File, depending on how the Template should be rendered.
- Search for and select the desired Template.
- Select either PDF or HTML for the export's file type.
- Optionally, set the filename and a record limit (data export only).
- Enter the input values for the Template. For a new Template, manually enter the inputs. The options for data export are:
- All Records: provides the full collection of data from all Fields. Only available for object-type inputs.
- Field: grabs the unique value(s) from the selected Field.
- Literal Value: enter a value manually.
- Click Apply to save the inputs and attach the Template to the Job.
Too many records loaded into a Template's context can cause performance issues. Filter and choose only the columns the Template needs to maximize speed and efficiency. The record limit is not reflected in the UI preview, only in the final context used by the Template. Use -1 to indicate no limit, but use discretion.
Editing the body
The toolbar above the WYSIWYG editor gives formatting options to change the body of the email. Clicking Insert Keyword provides options for adding dynamic keywords to the email body or subject line. These populate at runtime with metadata or aggregate information pulled directly from the data components of the Job.
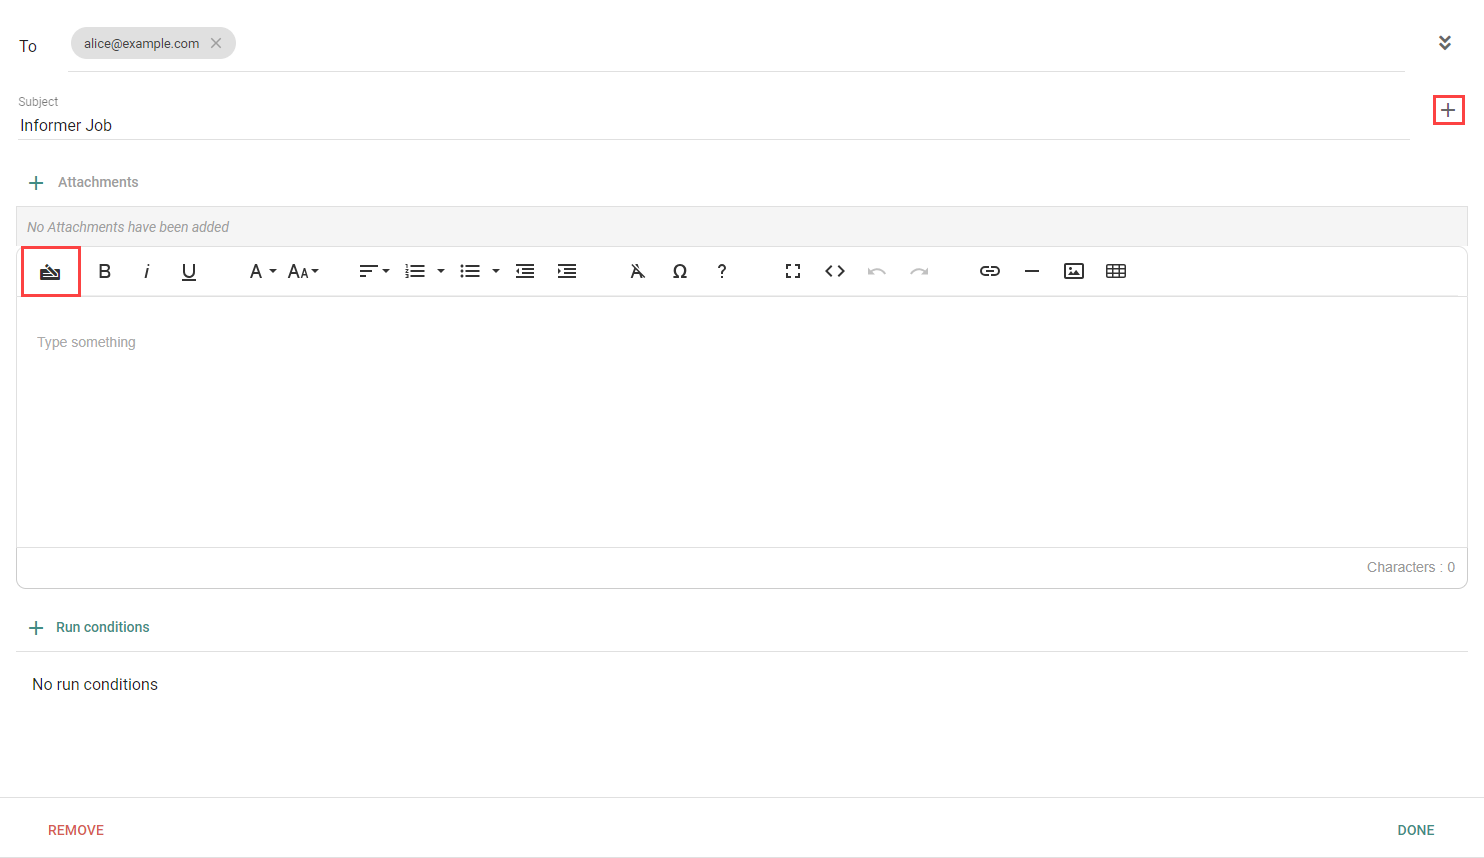
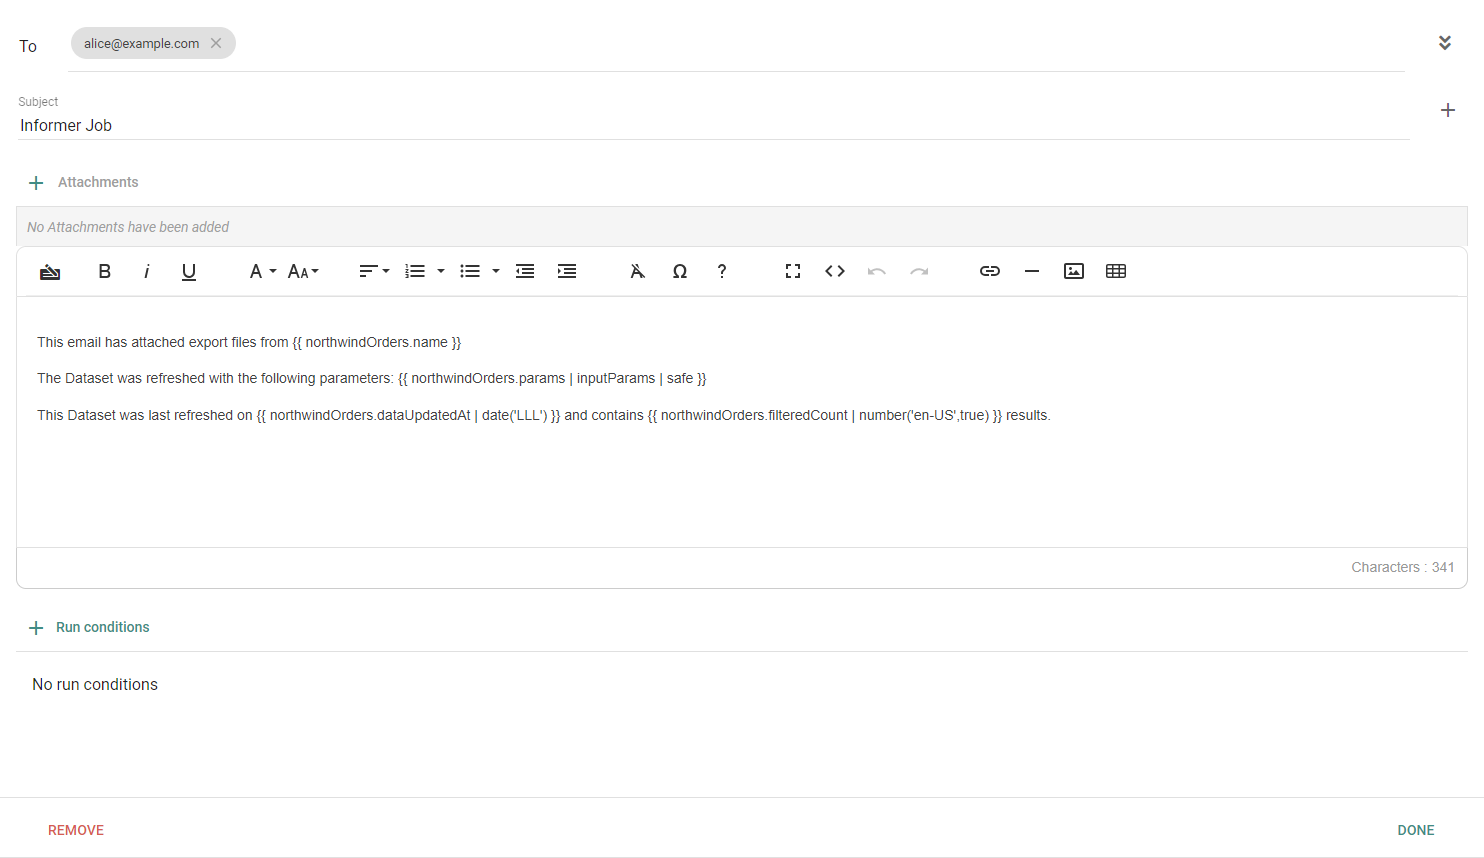
A special case of insertable metadata is the Full Export. This option embeds the entire Dataset the Job is using as a table in the body of an email. The syntax in the editor looks like this:
{{ northwindOrders | htmlDataTable( { columns: ["orderDate","shipCity","shipCountry"], showColumnHeaders: true }) | safe }}
A Full Export may send large amounts of data that can cause serious repercussions in email applications.
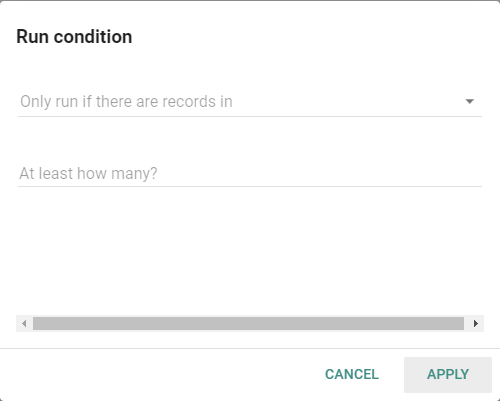
Lastly, Run on a condition configures this Action to run only when a specific number of records come back from a specific data component. This is helpful when you do not want to send out emails with attachments containing zero records.