Upload to Drive
The Upload to Drive Action uploads files to a OneDrive or Google Drive Library or Integration via a Job run. You can upload files from your computer, export files from a Dataset or Query, or add custom files directly to your Drive. To add a Drive upload Action to a Job, select Upload to Drive from the Add Action dropdown on the Job edit page.
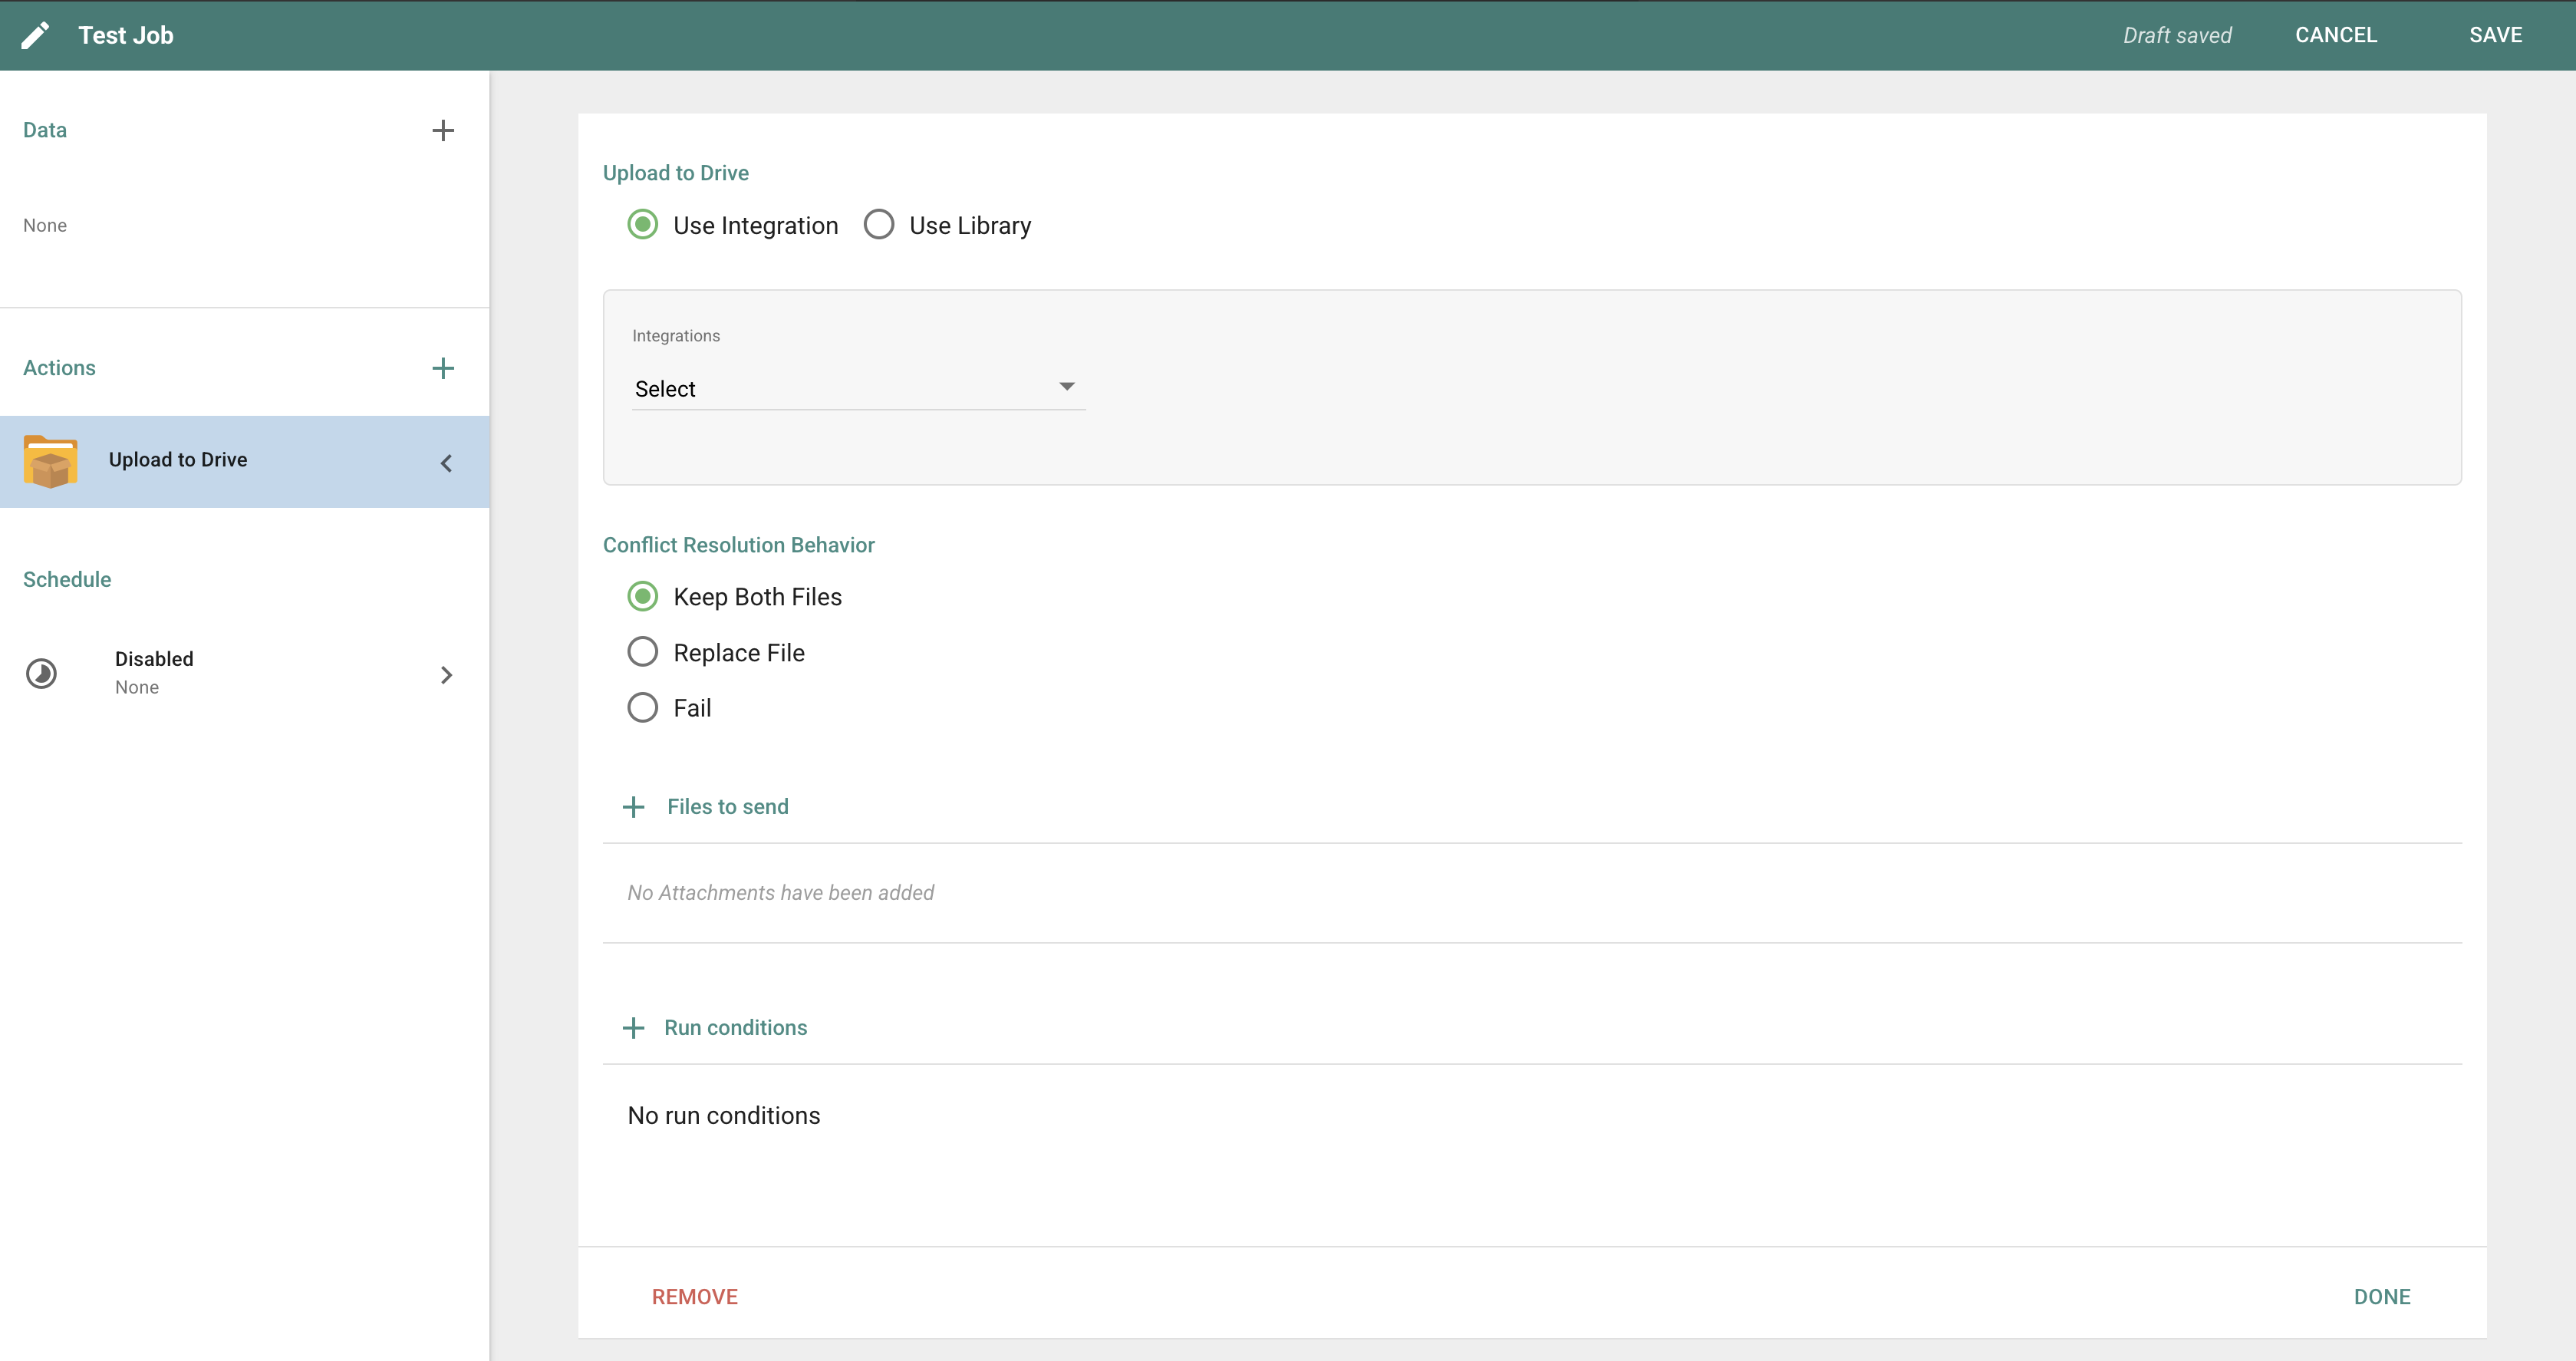
Select an Integration or Library
To use the Upload to Drive Action, you need at least one Microsoft OneDrive or Google Drive Library or Integration with write access enabled in Informer. For more information on how to set up these features, refer to the Libraries and Integrations documentation.
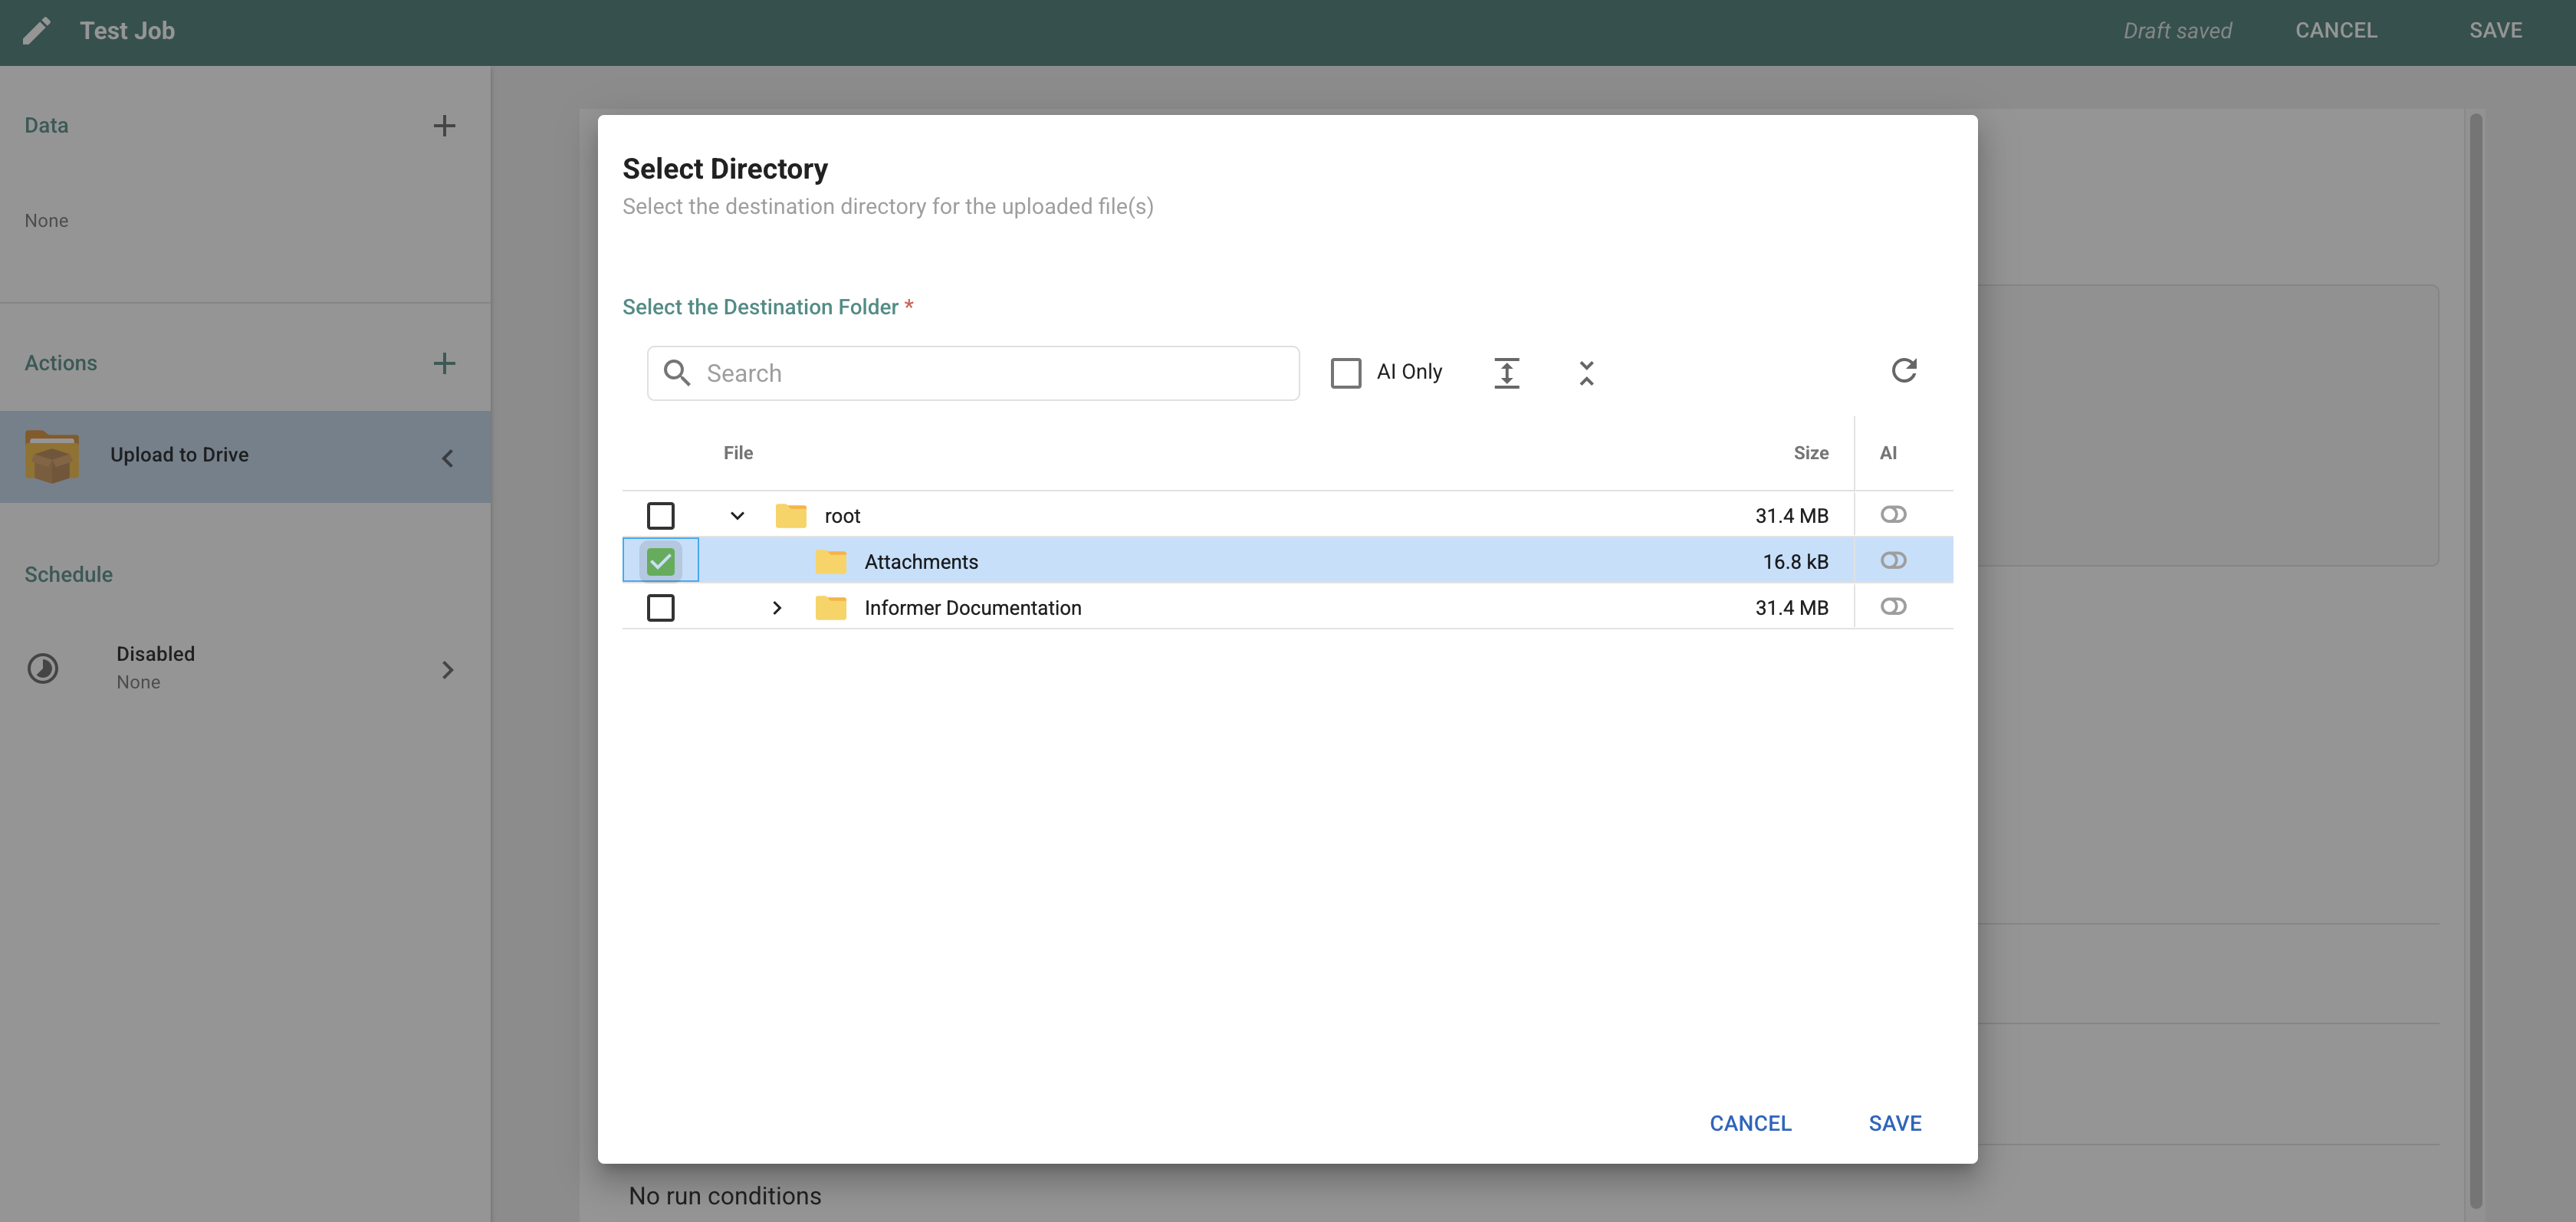
Once you have at least one eligible Library or Integration configured, choose whether to upload to a Library or an Integration, then select the desired option from the dropdown menu. Finally, you are prompted to choose the folder where the uploaded files should be stored.
Conflict resolution behavior
Conflict resolution behavior refers to how Informer handles file uploads with the same name as existing files in your Drive. There are three ways to handle this scenario:
- Keep Both Files: if a conflict occurs, both the existing and new files remain available in your Drive after the Job completes.
- Replace File: if a conflict occurs, the existing file is replaced by the new upload.
- Fail: the upload fails if a file with the same name already exists.
Upload files
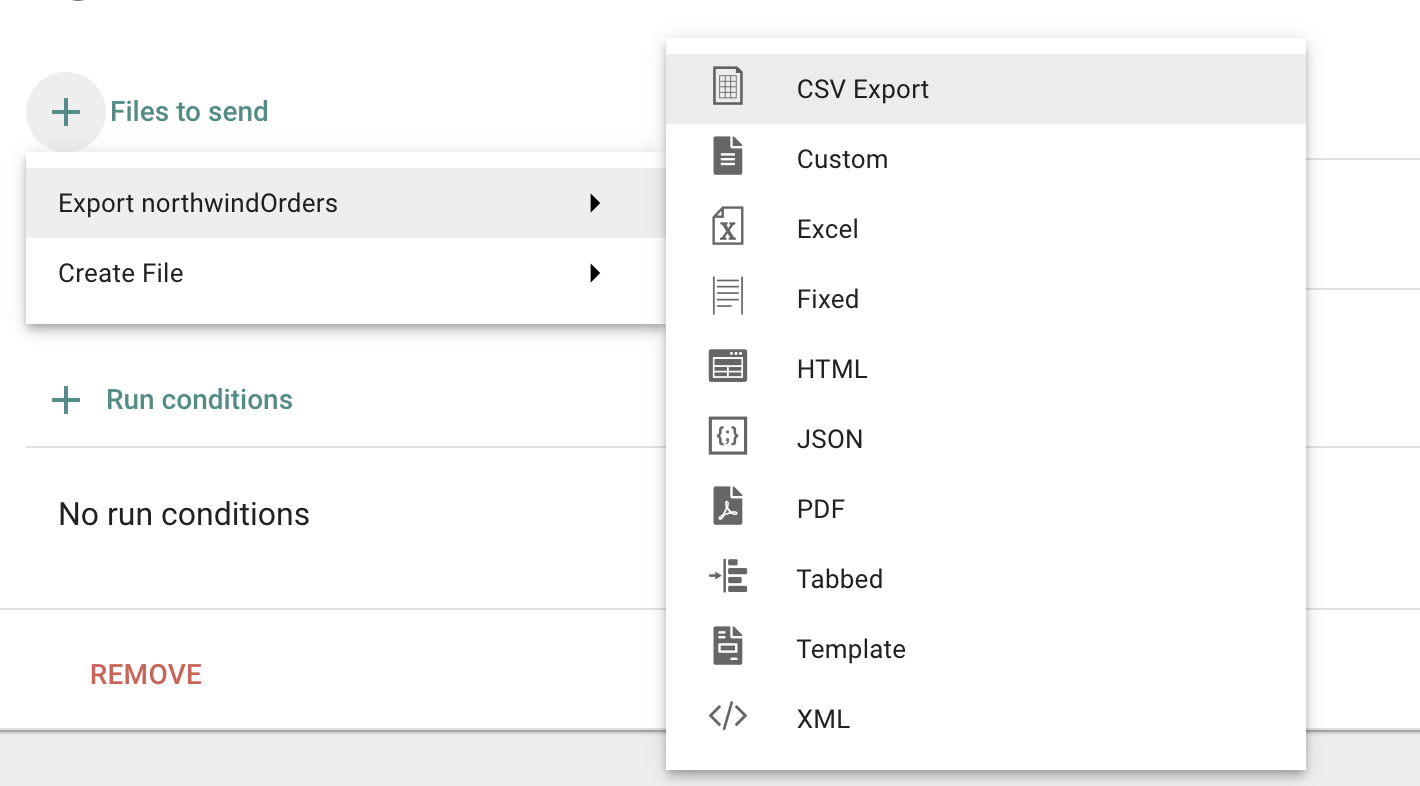
After selecting a Library and defining the conflict resolution behavior, you can add files to upload to your Drive. You have the option to upload a Dataset or Query export, create your own file, or upload files directly from your computer. Multiple files can be uploaded to your Drive at once.
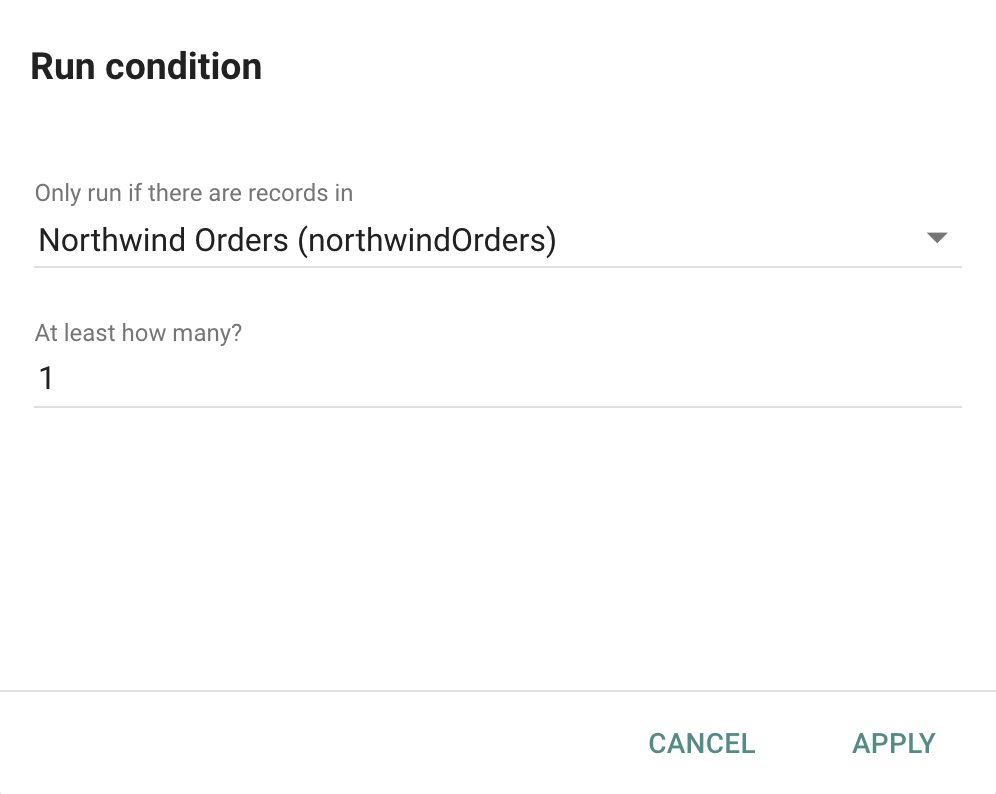
Run conditions
Run conditions configure the Upload to Drive Action to run only when a specific number of records are returned from a Dataset or Query. This is useful if you are uploading a Dataset export to your Drive and do not want to upload a file that contains zero records.
Connection ownership
When you create an Upload to Drive Action and configure an Integration, you become the connection owner. Connection ownership remains with you even if the owner of the Job changes later. So even if the Job owner changes, your Integration connection is still used for the Upload to Drive Action.
Key points about connection ownership:
- The connection owner is the person who set up the Job Action, not necessarily the current Job owner.
- If you need to transfer ownership of the connection, you can disconnect the Integration on the Upload to Drive Action.
- For transparency, the UI displays who the current connection owner is.