Batch Upload
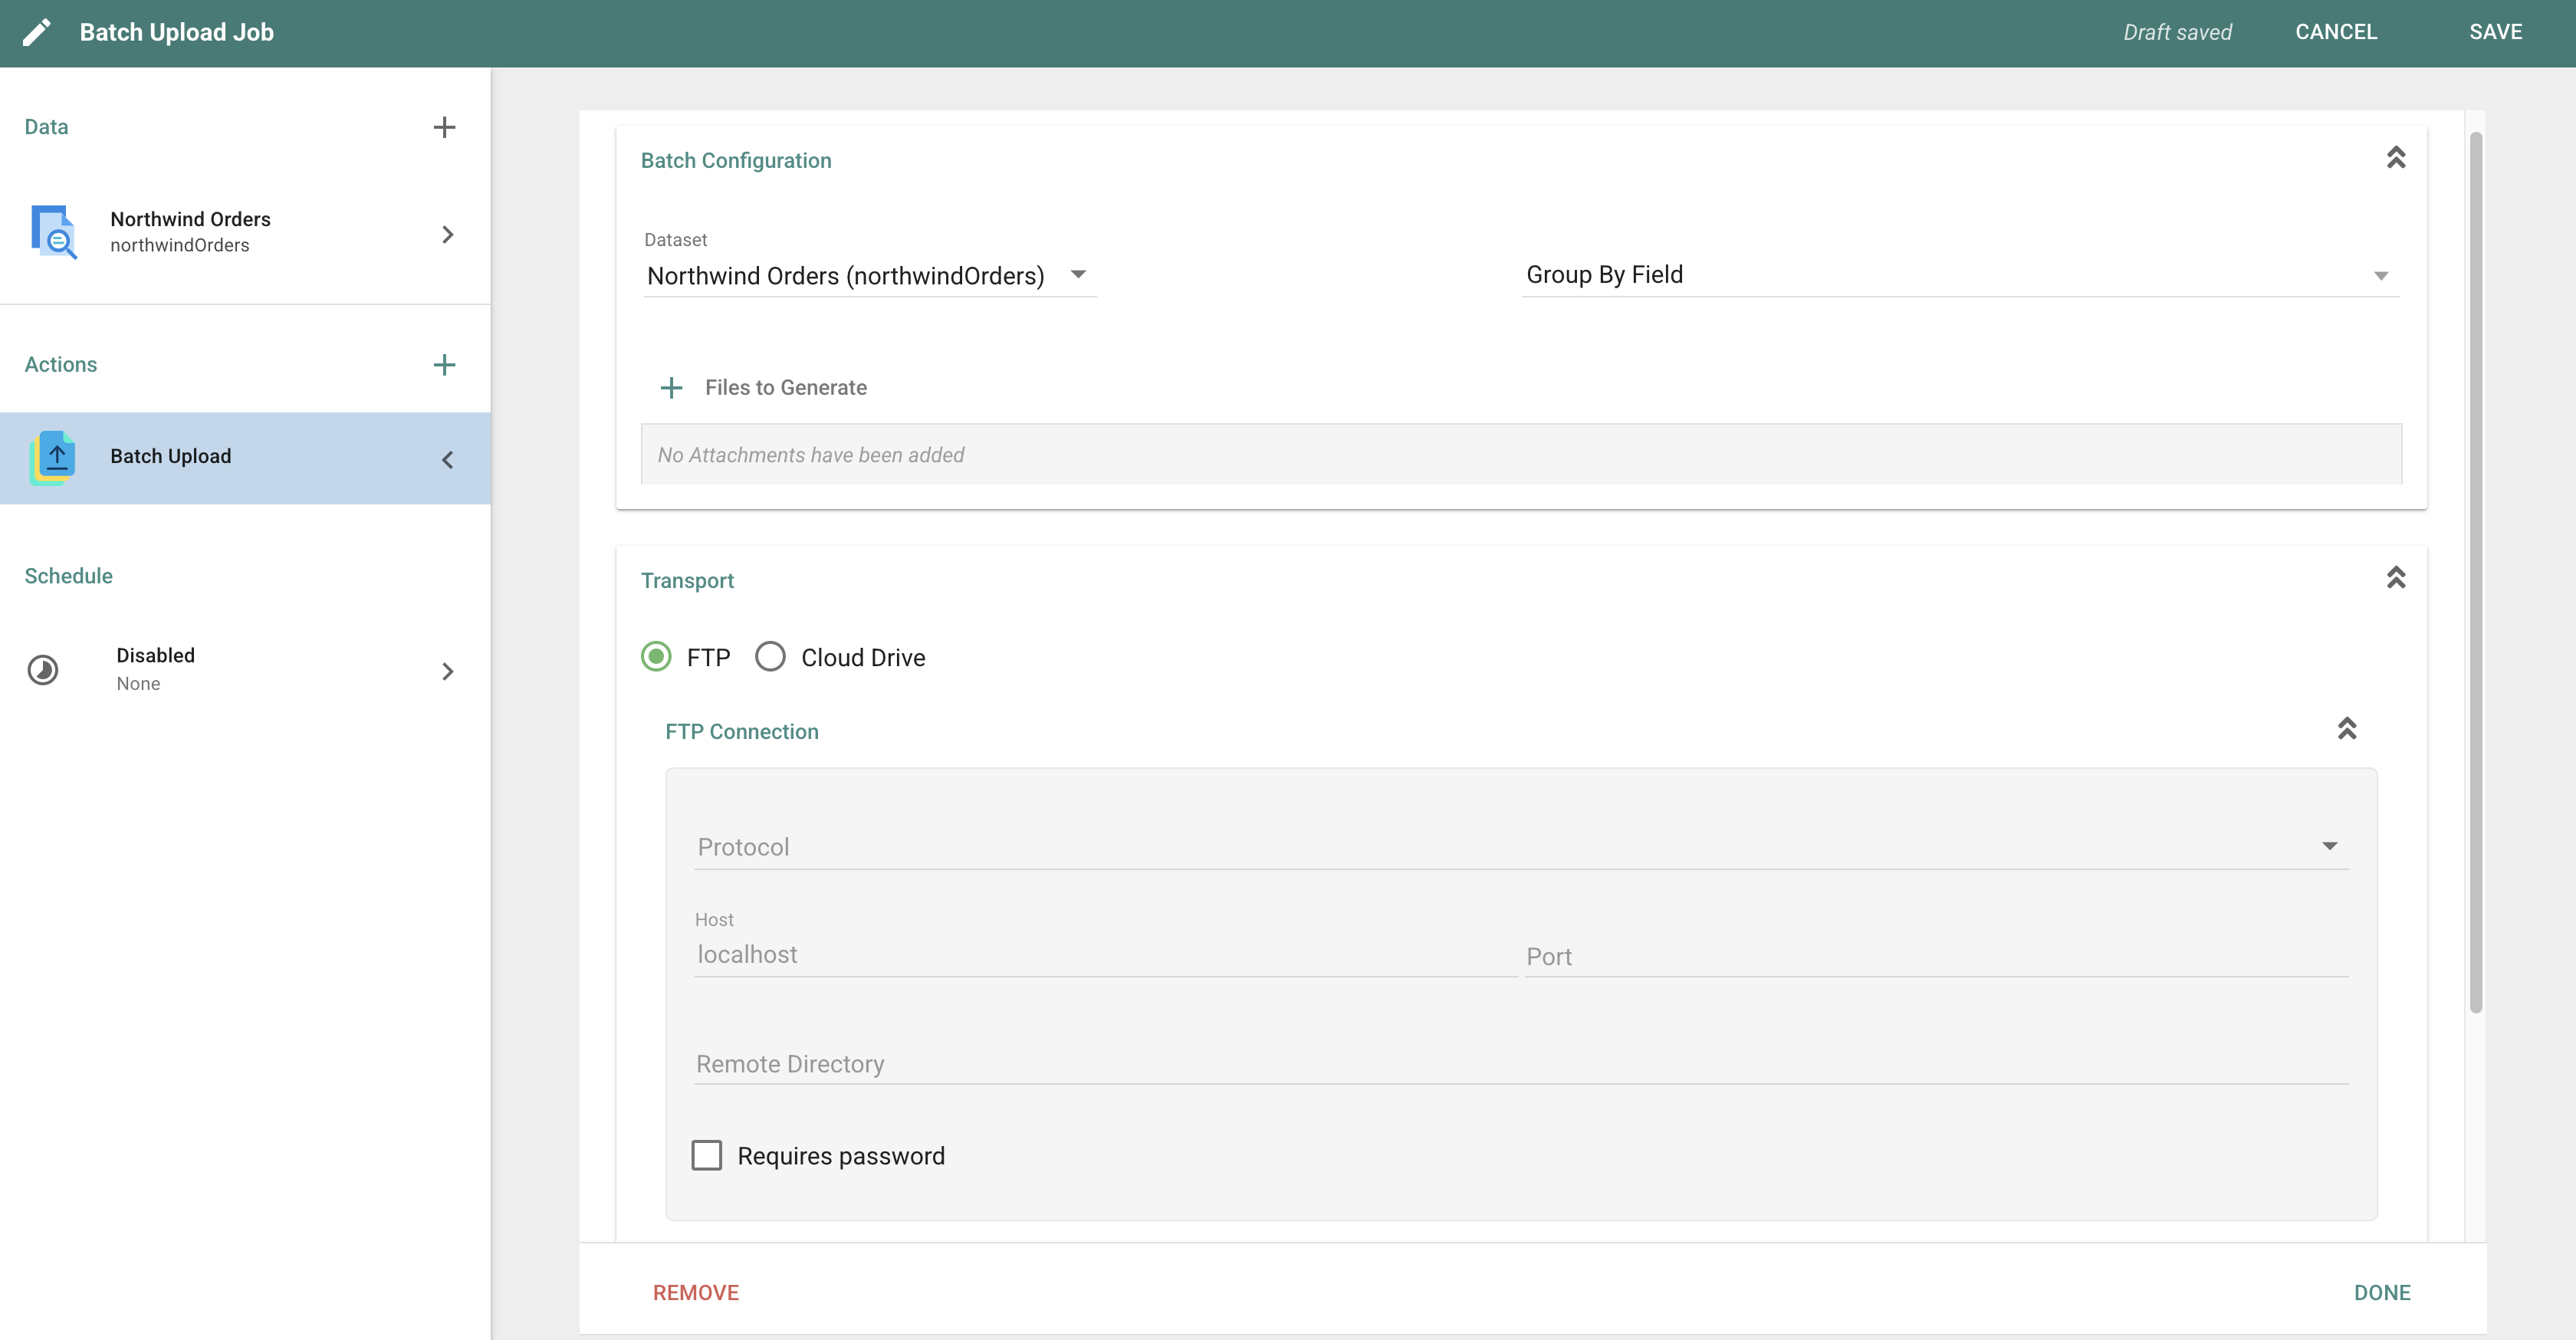
The Batch Upload Action uploads files to your chosen destination (FTP or Cloud Drive) via a Job run. This Action groups your data by a specified Group By Field, generates separate files for each group, then uploads them all in a single batch operation. You can generate files by exporting grouped data from a Dataset or by using Templates that create customized files for each group. To add this Action to a Job, select Batch Upload from the Add Action dropdown on the Job edit page.
Batch configuration
To set up the batch configuration, you need a Dataset or Ad hoc Query already added to the Job.
- Select the Dataset or Query that contains the data you want to upload in batches.
- Select the Group By Field. This Field creates separate files for each unique value. For example, if you group by "Department," separate files are created for Sales, Marketing, Finance, and so on.
- Use the Files to Generate + button to specify how files should be created for each group. There are several options:
- Dataset/Query export (Burst data only): export the grouped data directly, creating one file per group containing only the records for that group value.
- Template export (Burst data only): use a Template to generate customized files for each group.
- Custom Files (non-burst options): upload single files to your destination. You can upload files from your computer, export an entire Dataset or Query, export a Template, or create custom files.
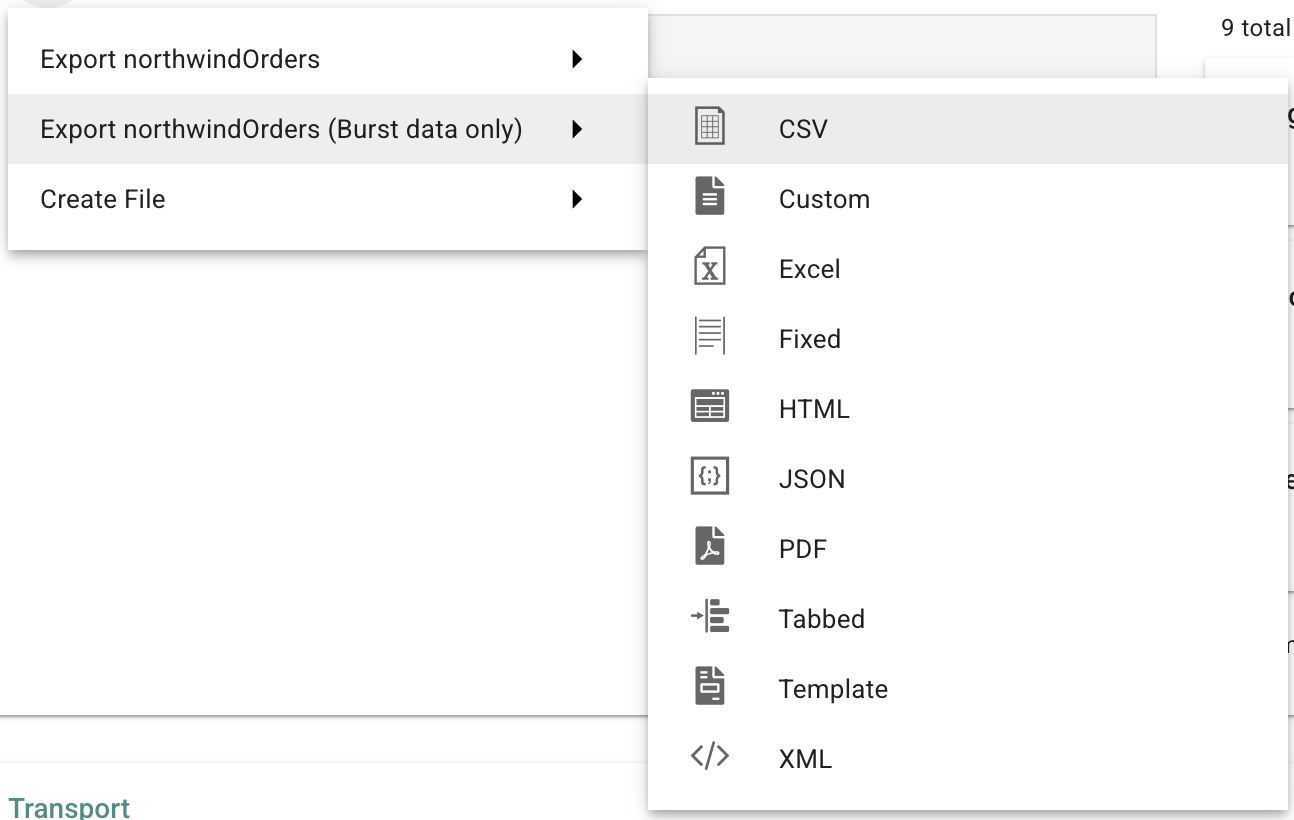
After configuring the file generation, you can see a preview of the Sample Output. The Sample Output shows:
- Summary statistics: the number of files that will be generated and the number of unique groups found in your data.
- Data insights: the actual values for your selected Group By Field along with the record count for each group.
- File naming verification: if you use templated strings for your filenames (such as
<%= burst %>), you can verify the group name is being correctly inserted into the filenames.
Transport
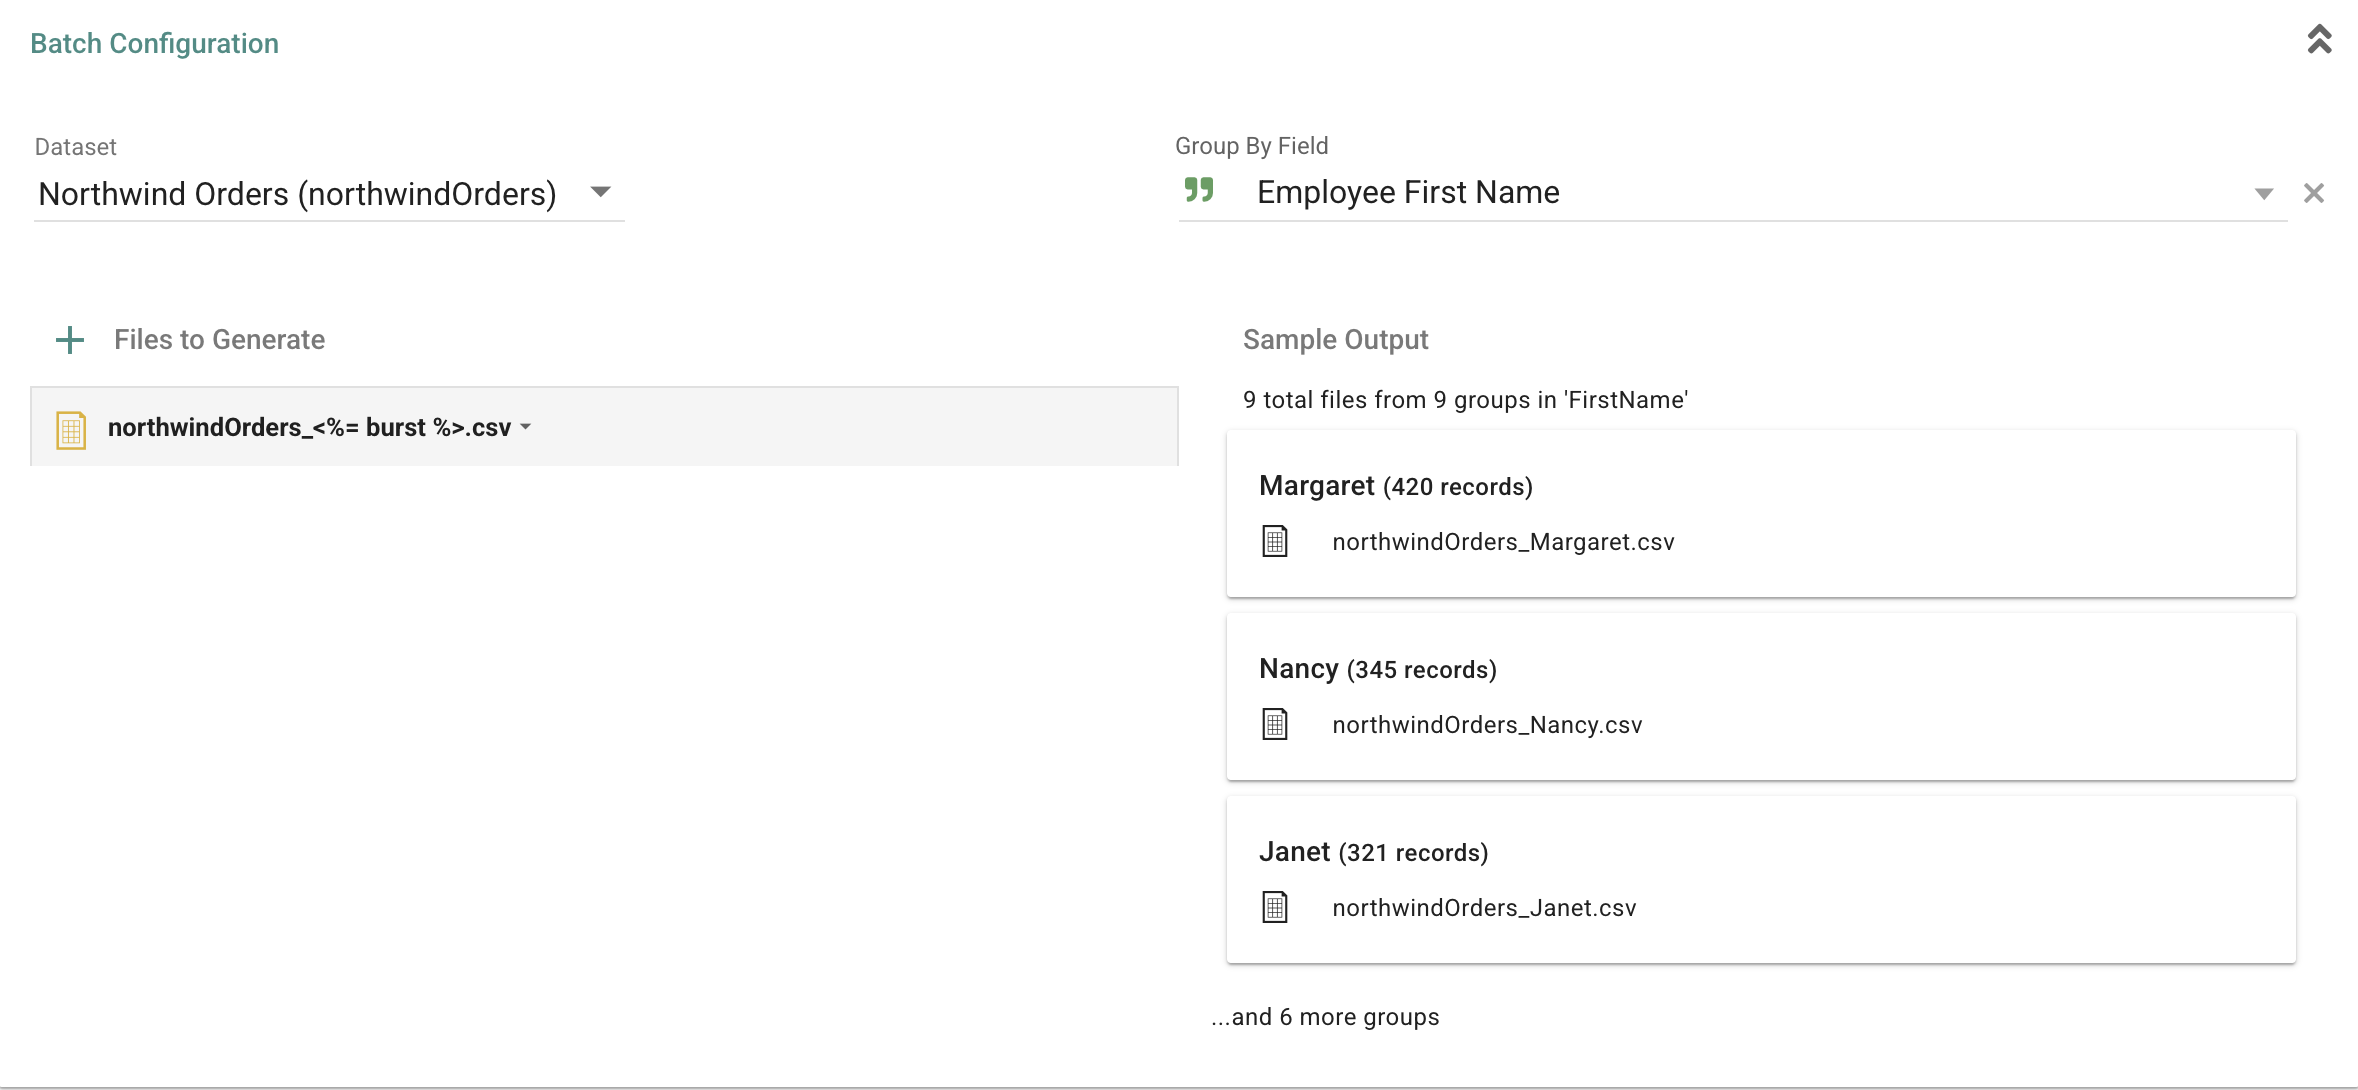
Select your preferred destination for the files:
- FTP: upload files to an FTP server by entering the protocol, host, port, and remote directory, and providing a username and password if necessary.
- Cloud Drive: select whether to use an Integration or Library, then select which one to send files to. Connect to that Integration or Library, choose a destination folder, and choose the conflict resolution behavior:
- Keep Both Files: if a conflict occurs, both the existing and new files remain available in your Drive after the Job completes.
- Replace File: if a conflict occurs, the existing file is replaced by the new upload.
- Fail: the upload fails if a file with the same name already exists.
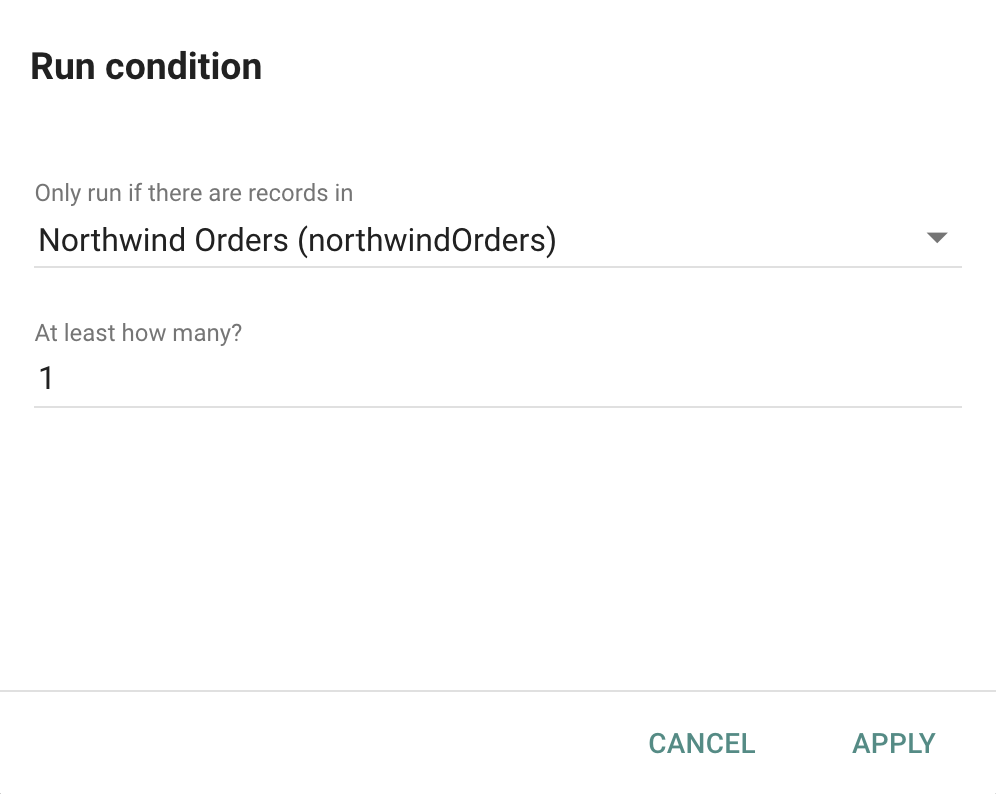
Run conditions
Run conditions configure the Batch Upload Action to run only when a specific number of records are returned from a Dataset or Query.