Using Apps
Opening an App
Open any App from the Home or Apps tab in Informer GO: click its tile. Filter the gallery by tag, owner, or type (All, Apps, Magic Reports), sort by name, author, or last modified, and star your favorites so they surface on Home.
On desktop, you can also open an App in its own window: right-click the App tile and choose Open. Each App gets a real window you can place on a second monitor, with its own icon and title, and it remembers its size and position for next time. If the App is already open in another window, Informer GO focuses that window instead of opening a duplicate.
The App title bar
Every open App has a slim title bar with the App's name and a row of actions:
- Print: export the App to PDF.
- Edit: appears if you're allowed to edit this App; see Editing & draft protection.
- App settings: opens the App's admin panel (sharing, settings) if you have access.
- App actions: everything else on a three-dot menu.
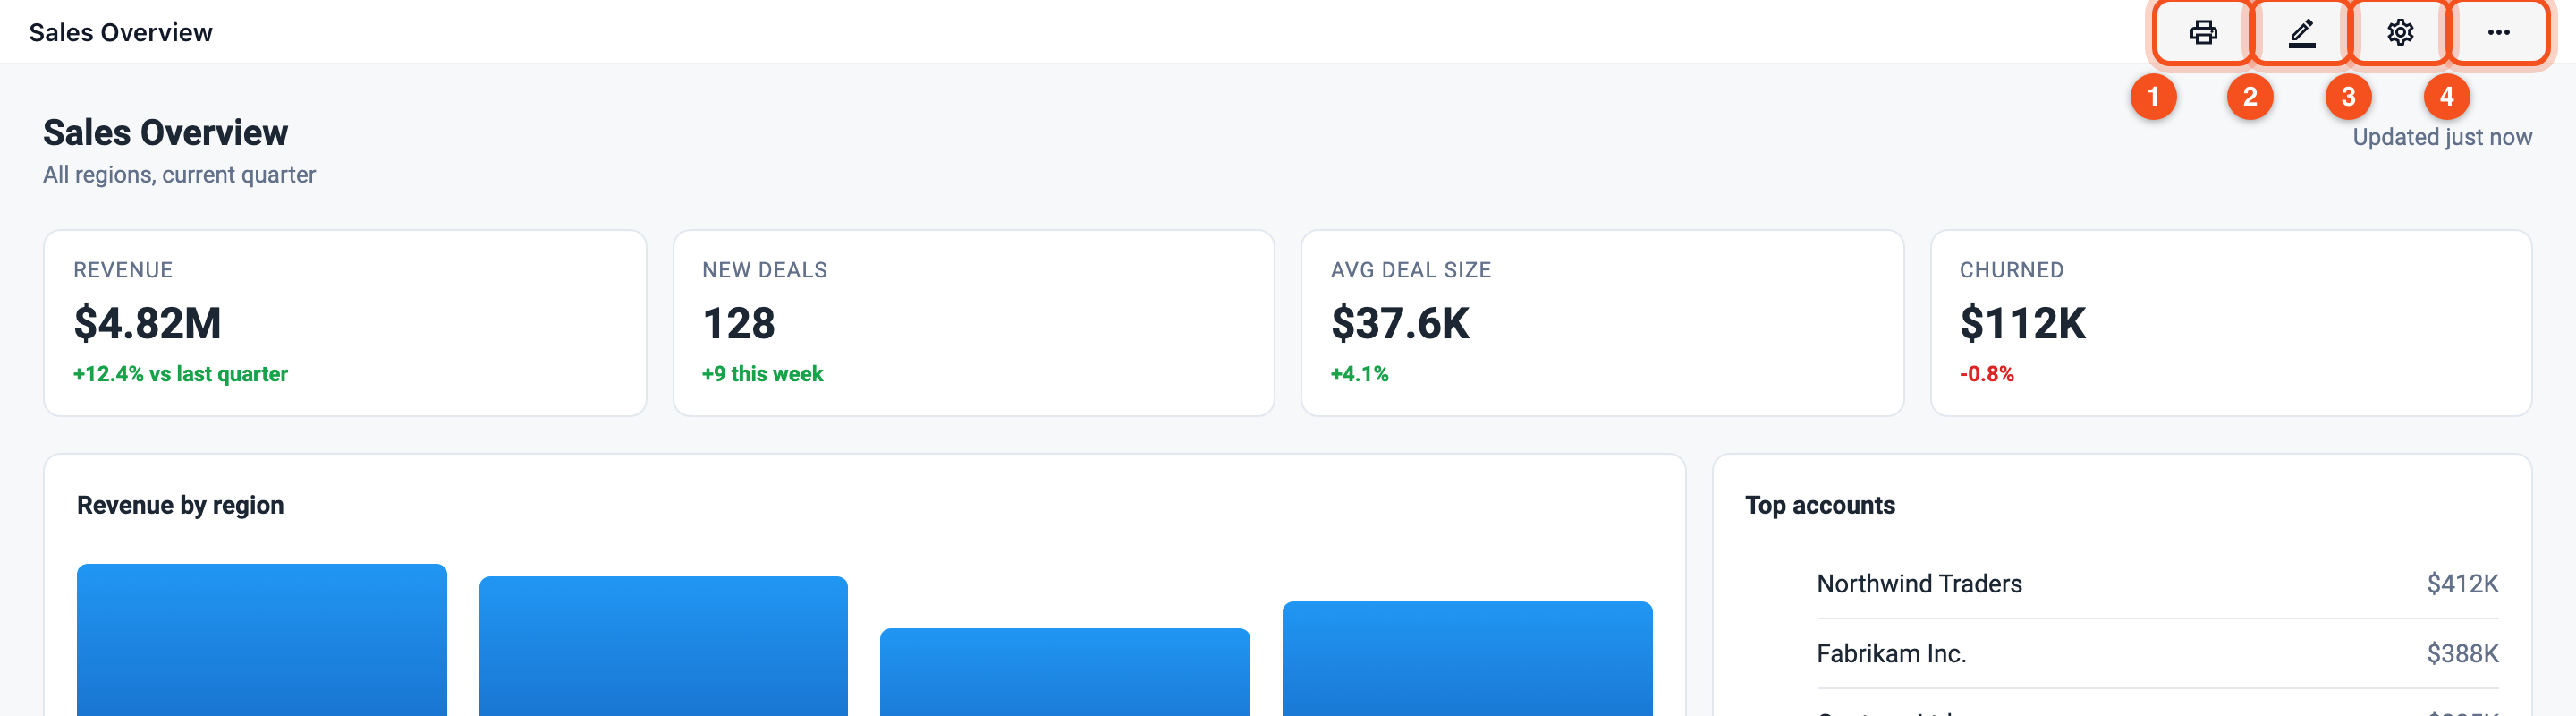
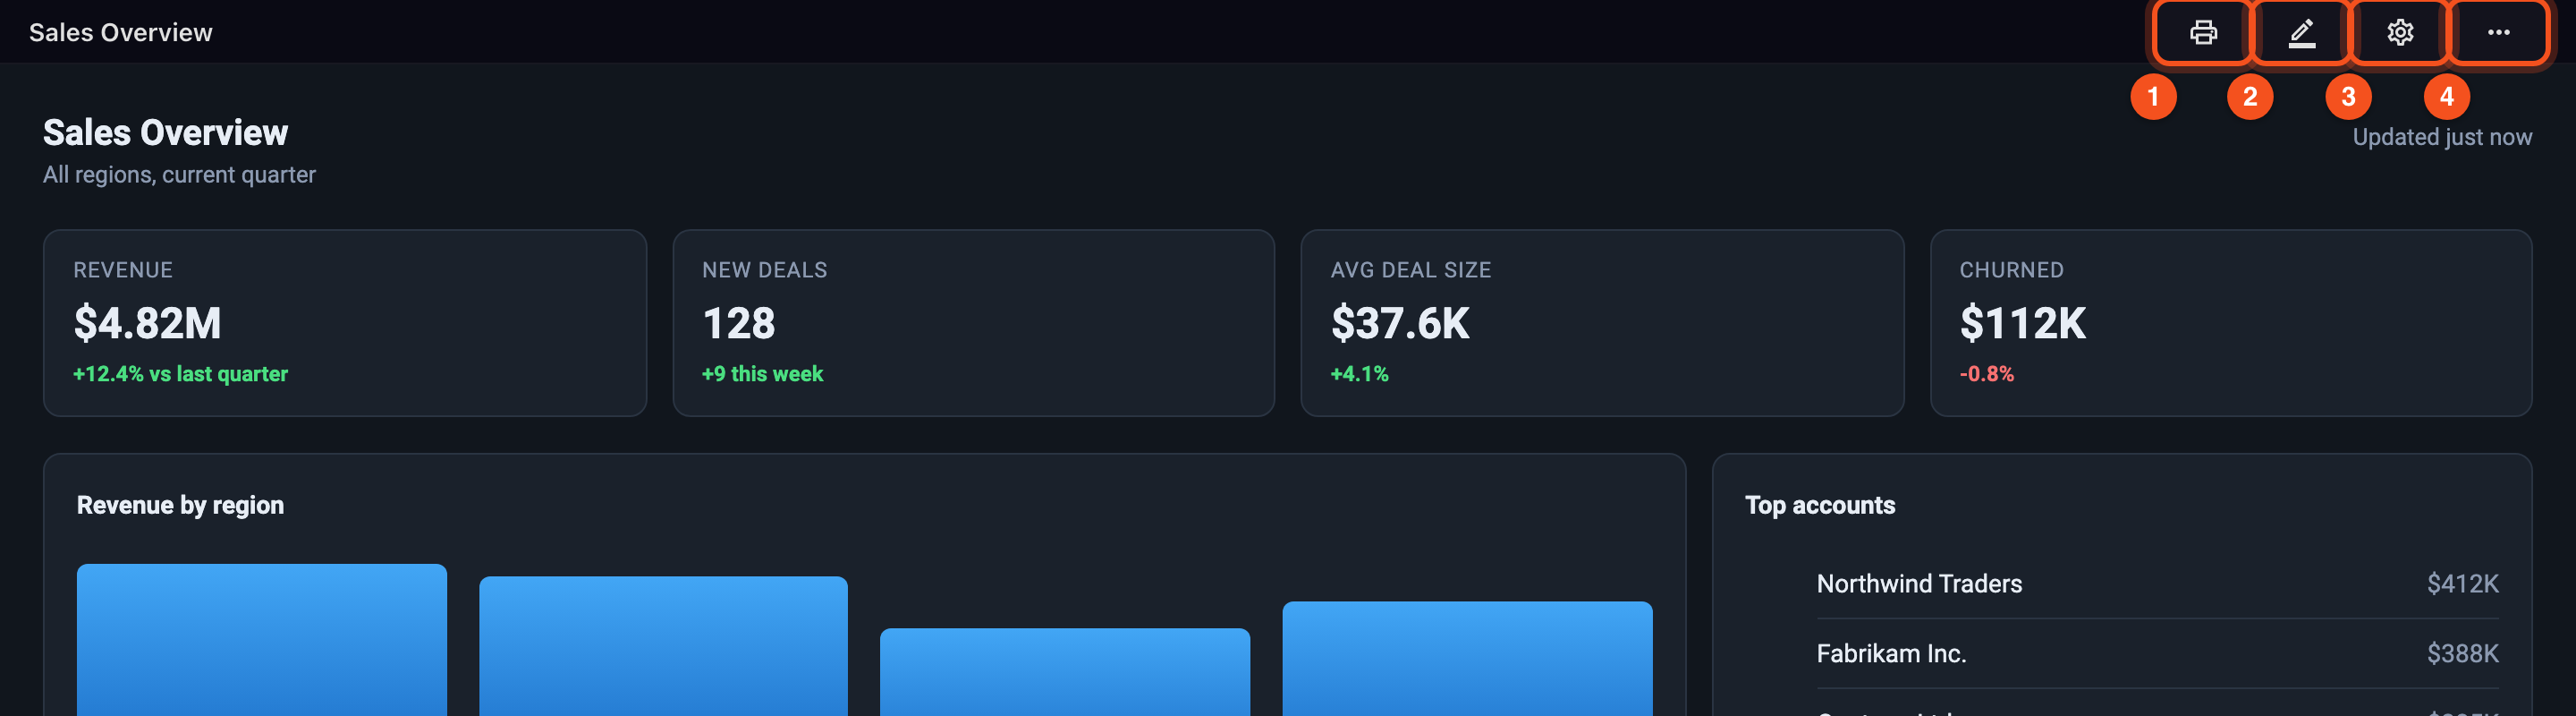
In the desktop app, the title bar also has a Chat toggle that slides in an AI panel beside the App, ready to answer questions about what you're looking at.
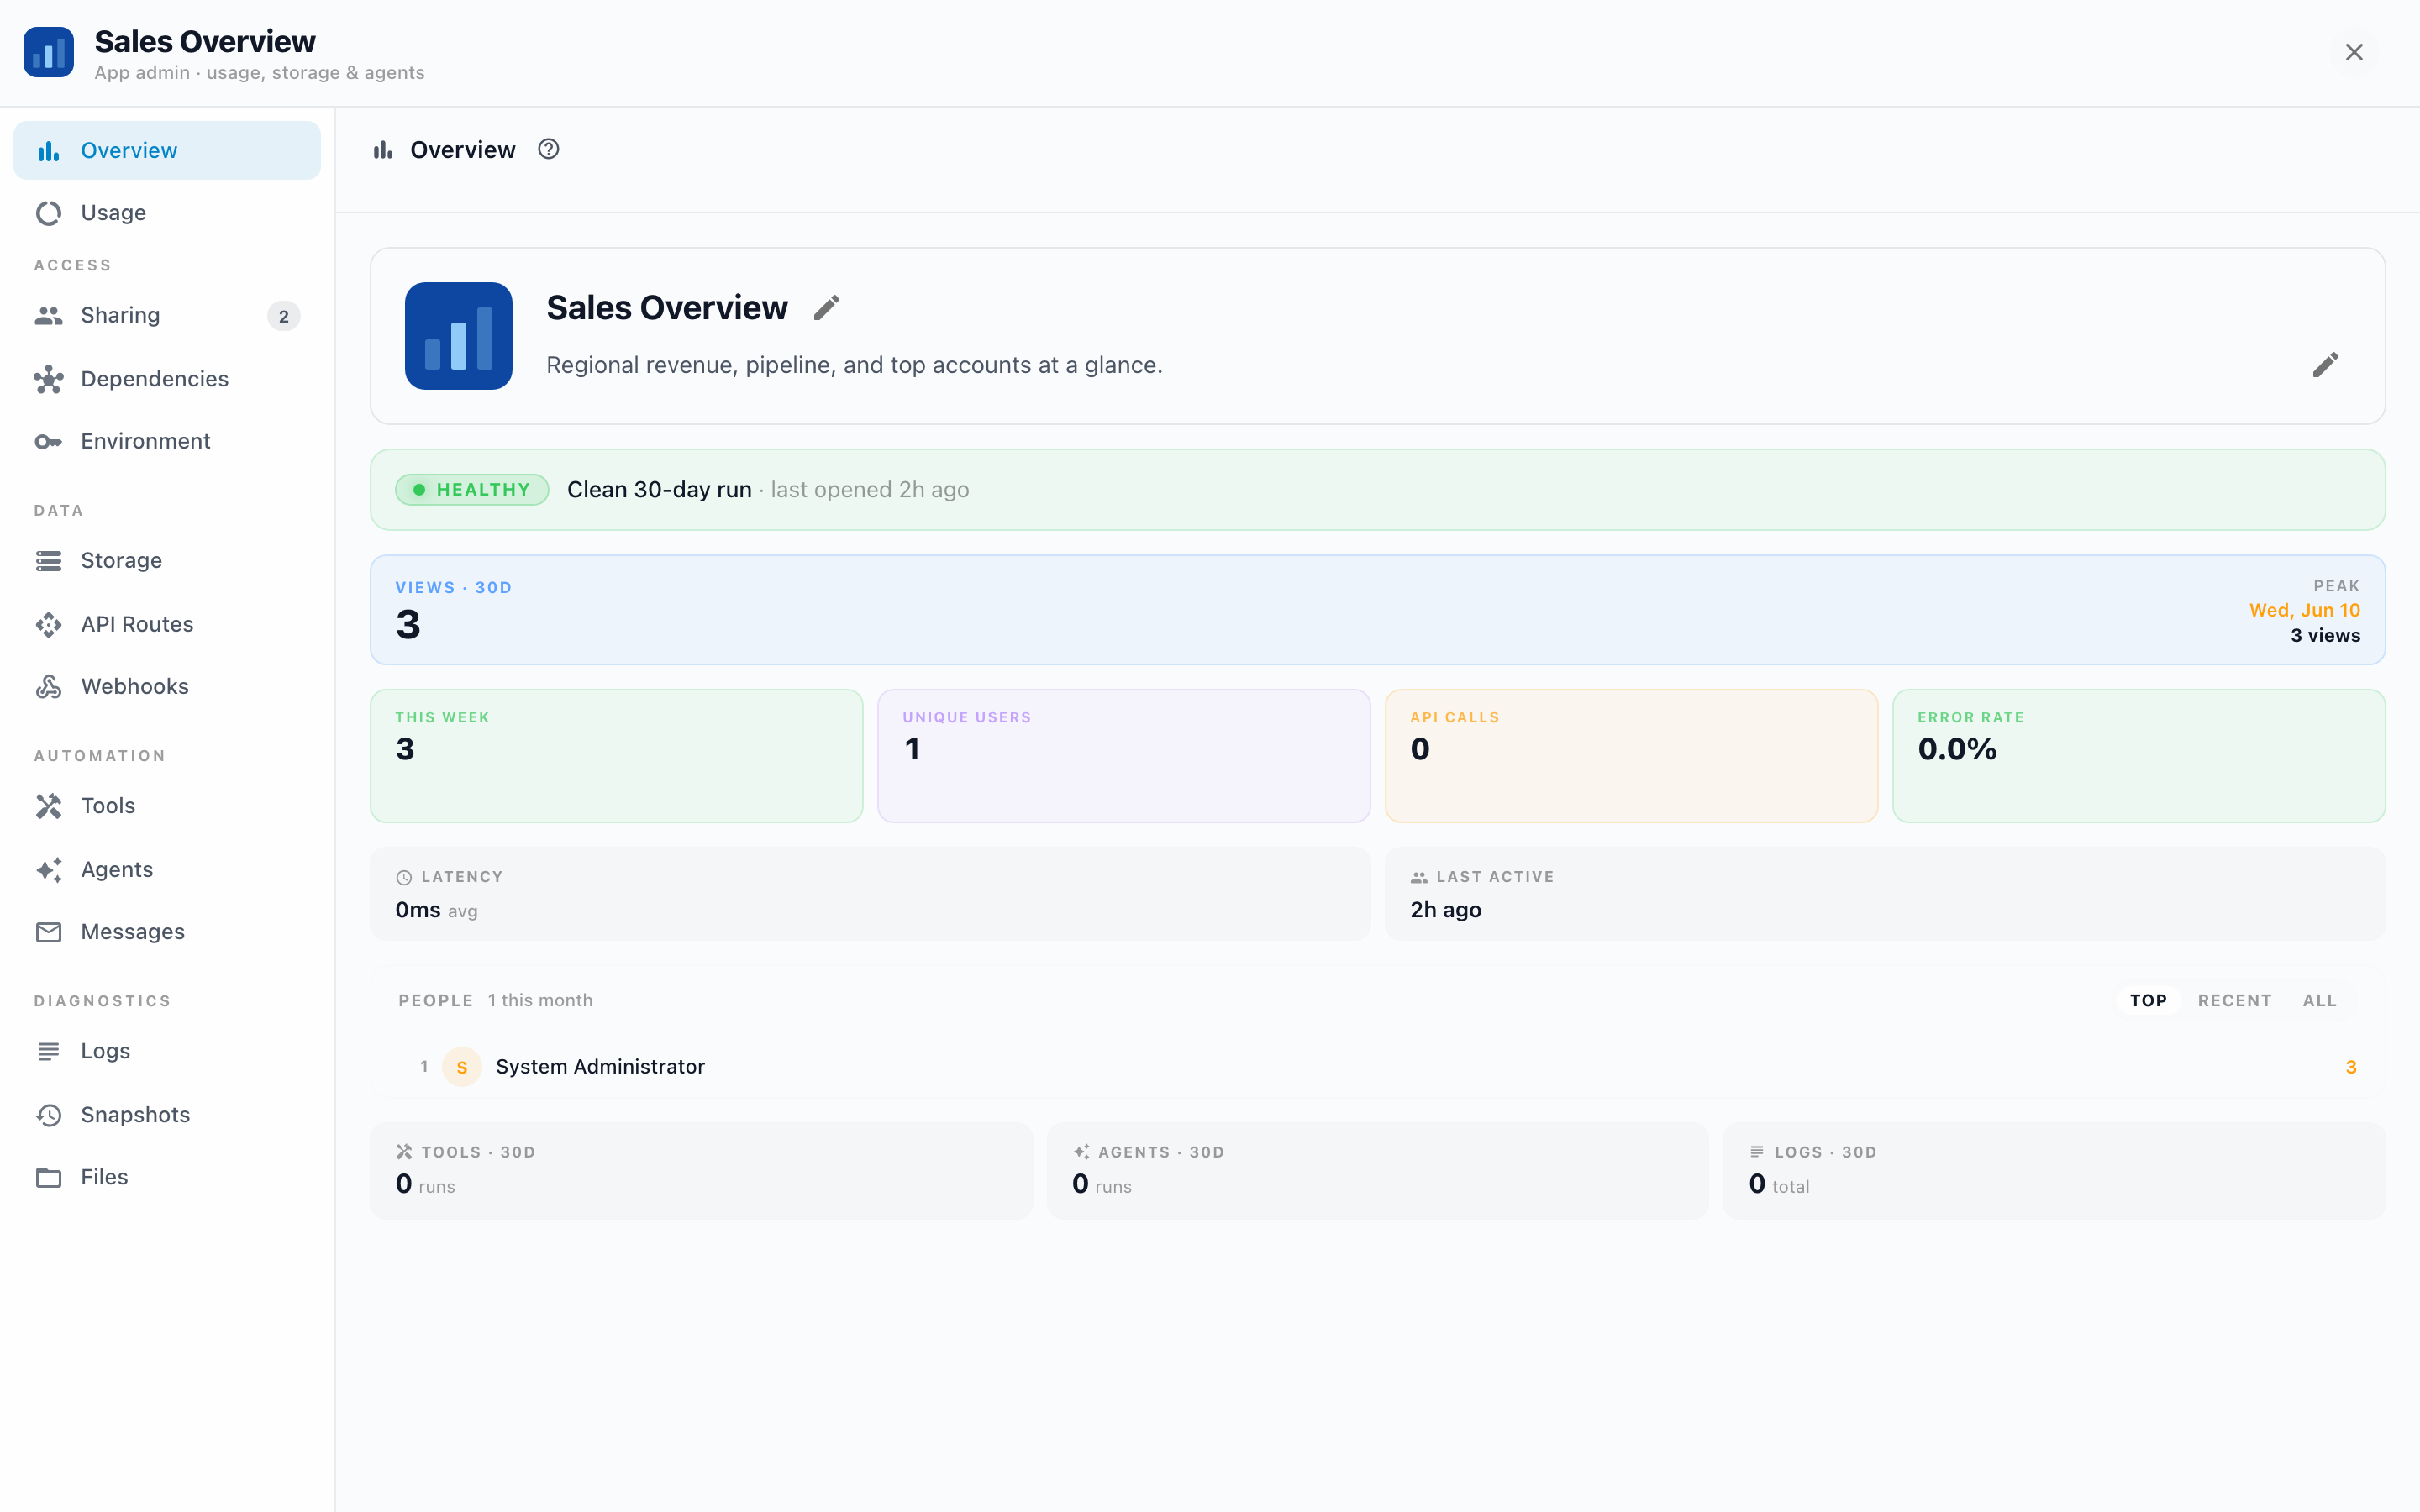
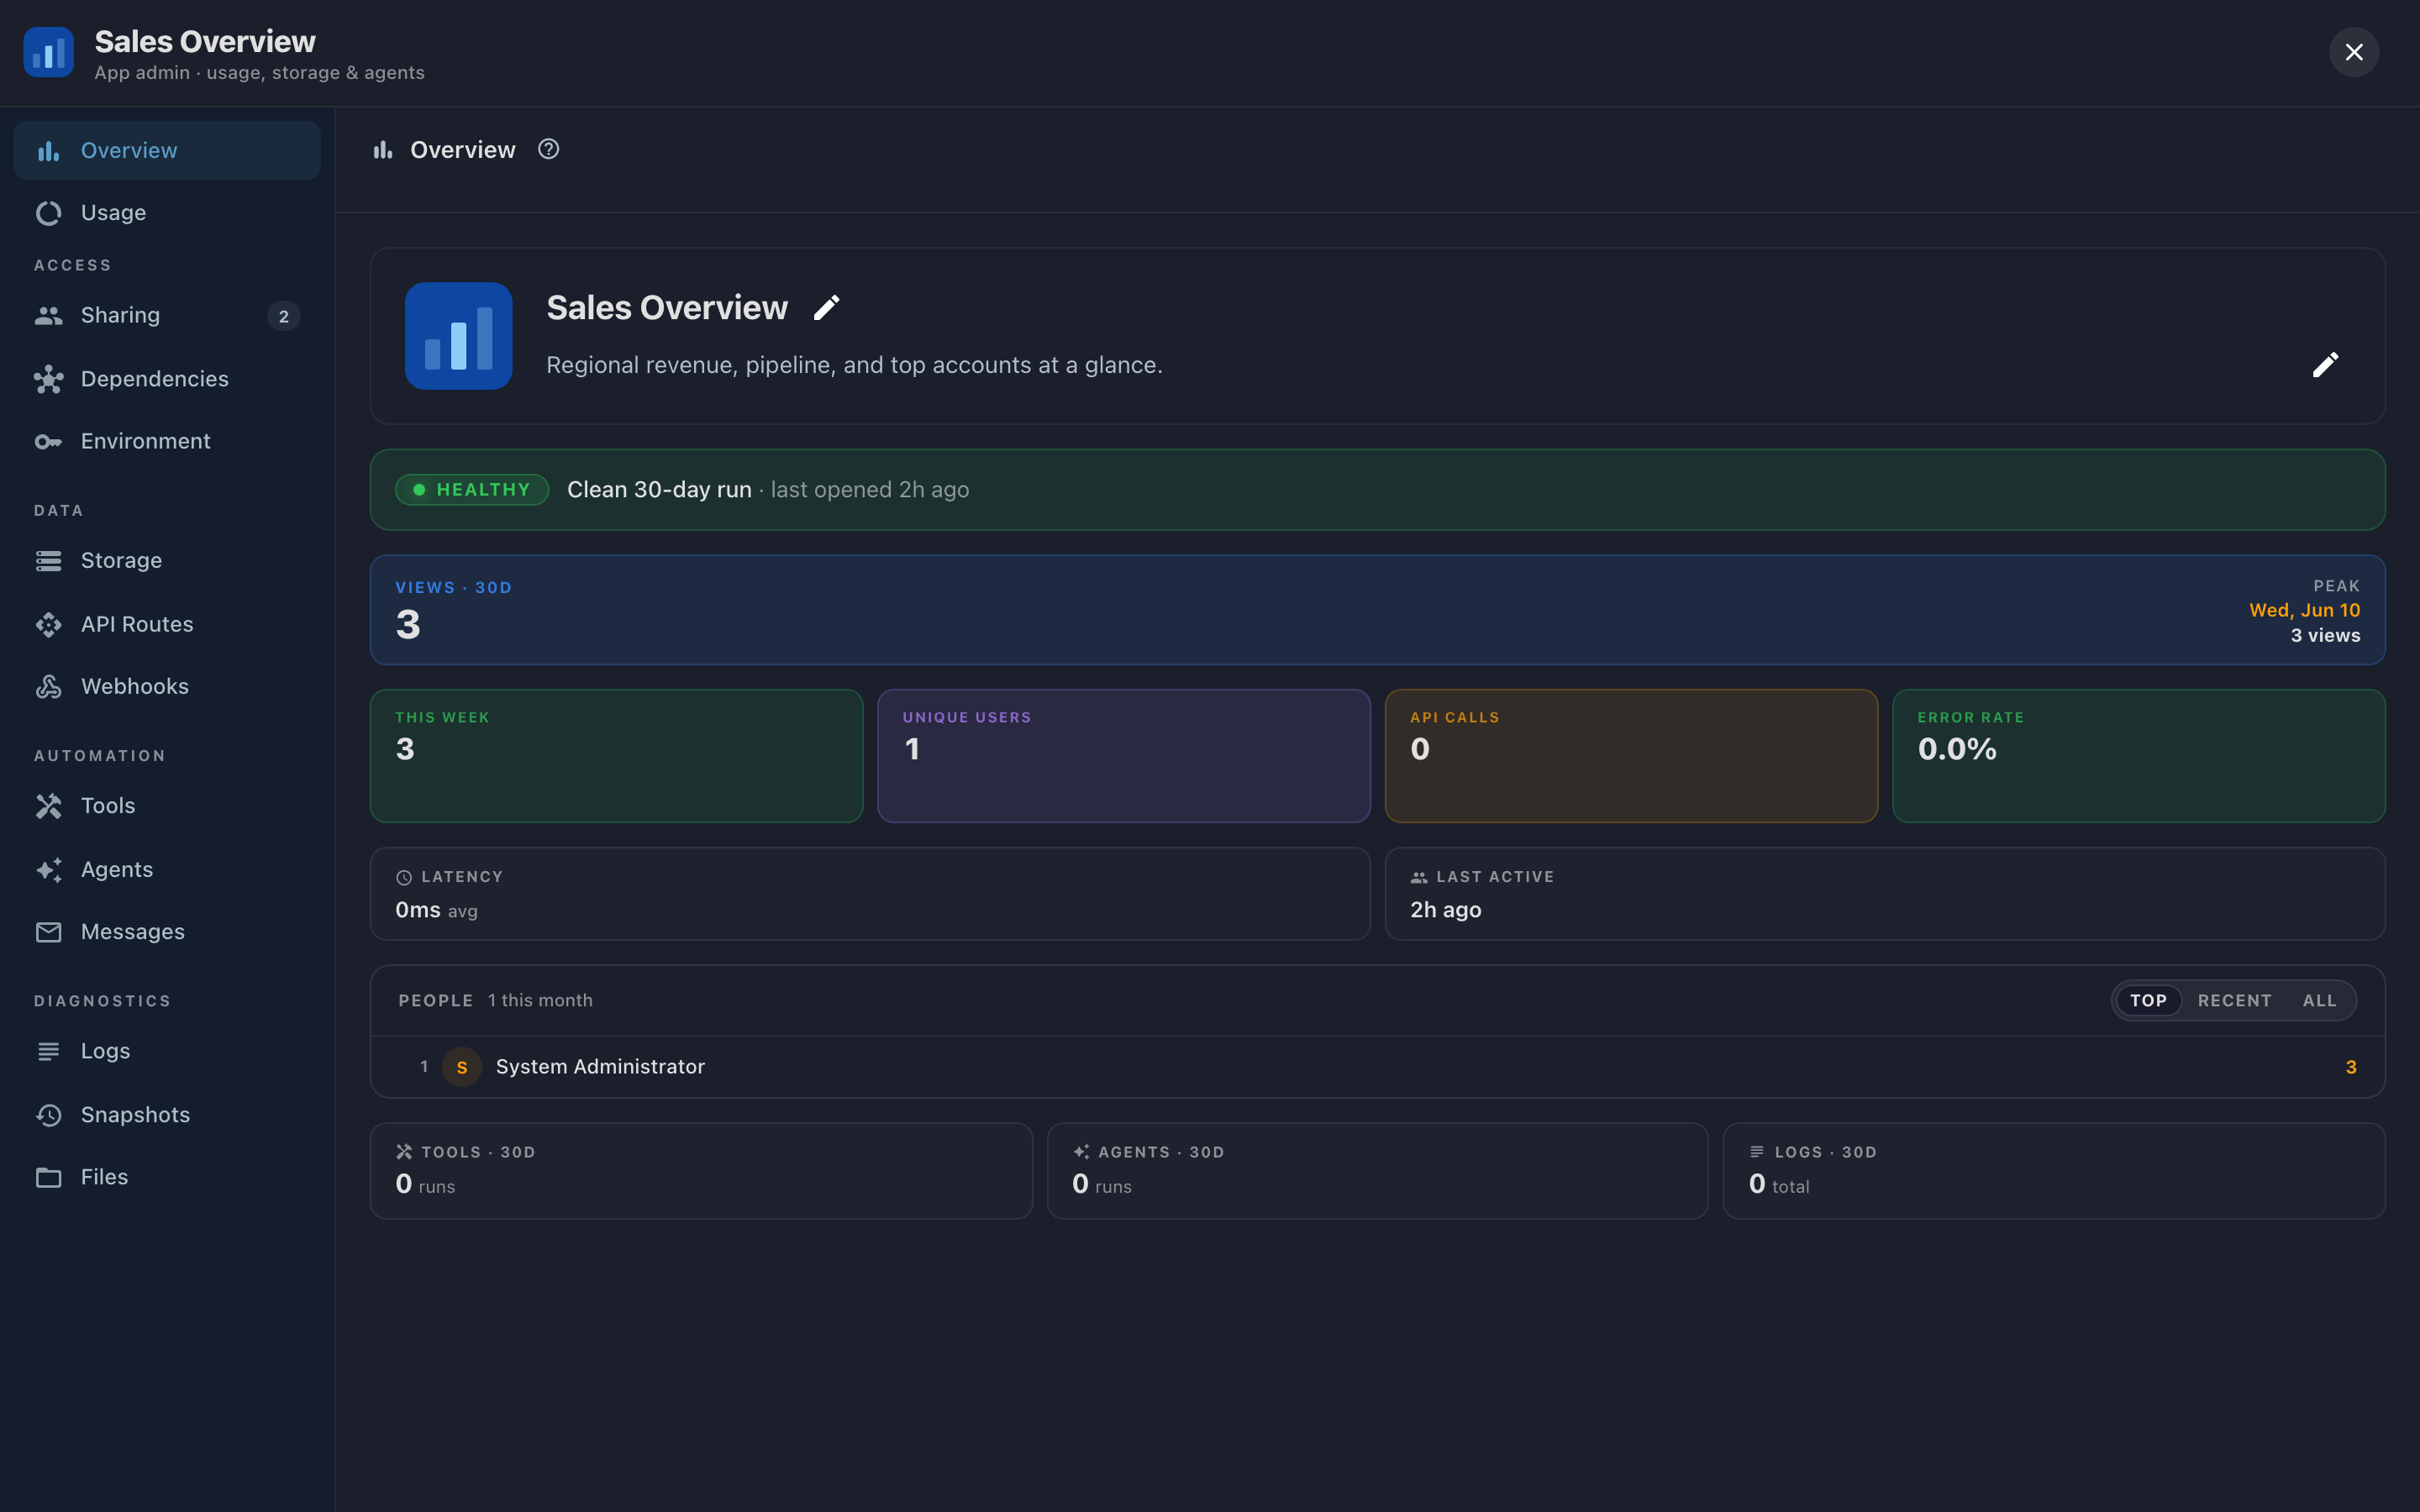
App settings opens the App admin panel: an overview of the App's health and usage, plus tabs for sharing, dependencies, storage, automation, and diagnostics. The full tour is in Managing an App.
Chatting with an App
In the desktop app, click the chat icon in the title bar and a chat panel slides in beside the App. Ask about the data on screen ("why did revenue spike in March?") and the AI answers in the context of the App you have open, no need to describe what you're looking at. Close the panel and the App gets its full width back.
Printing to PDF
- Click the print icon
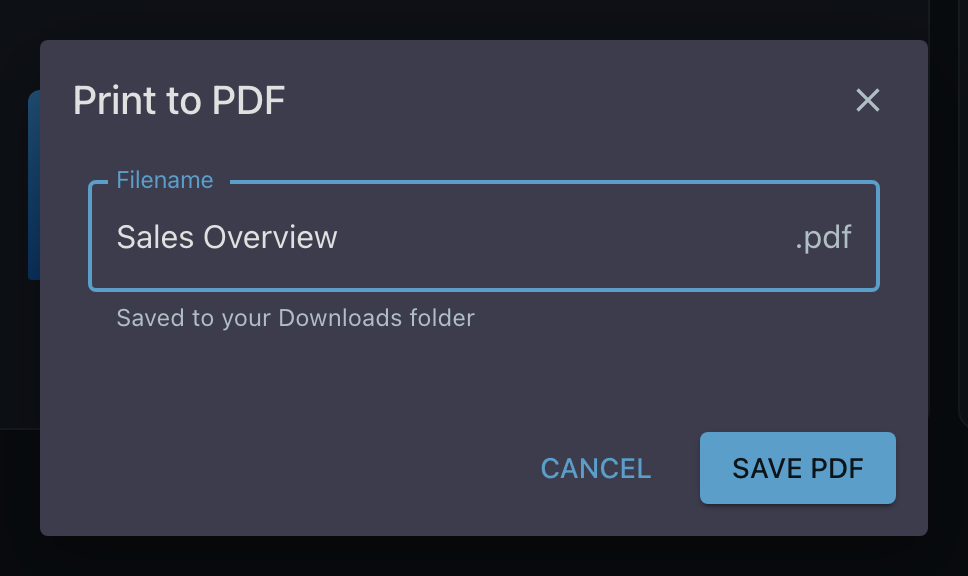
The Print to PDF dialog opens with the App's name prefilled as the file name. Change it if you like.
- Generate
Informer renders the App server-side, shows progress ("Generating PDF…", then "Downloading…"), and saves the file to your Downloads folder.
- Open it
When it finishes you'll see where it was saved, with a link to reveal the file in Finder or Explorer. Changed your mind mid-render? Cancel the dialog and the export stops cleanly.
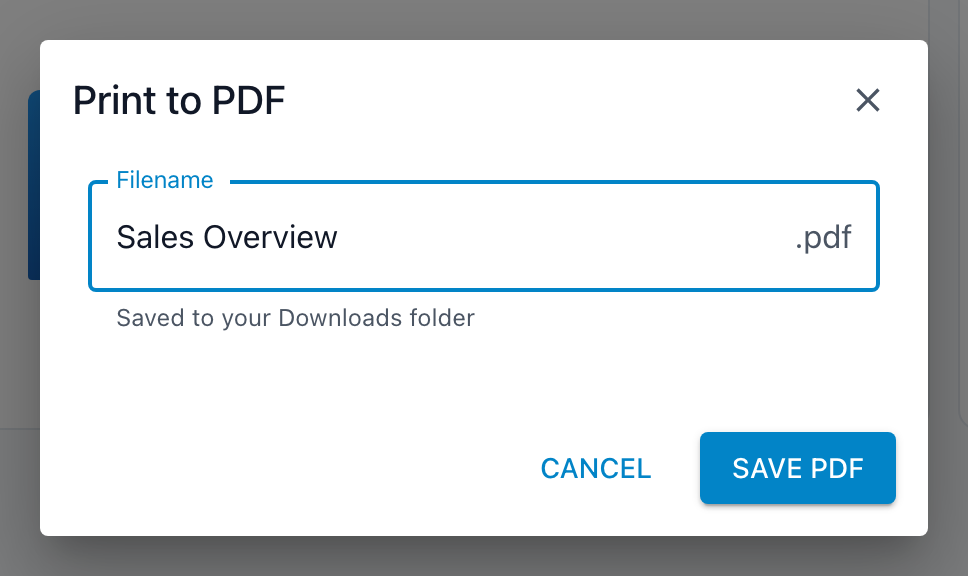
The PDF reflects the App as it is right now, with the filters and state you have on screen, so set the App up the way you want it preserved before printing.