Users Actions overview
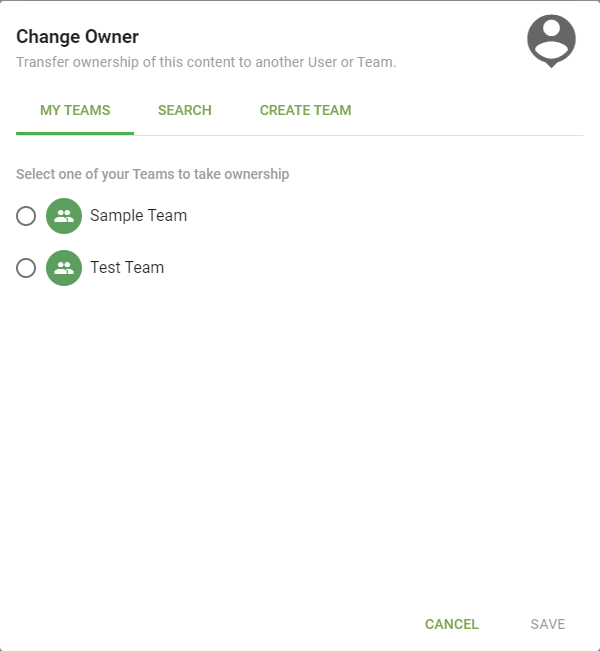
Click the ... on the left side of a row on the Users listing page to open the Actions menu, which collects the ways to modify the selected User.
Add to Bundle
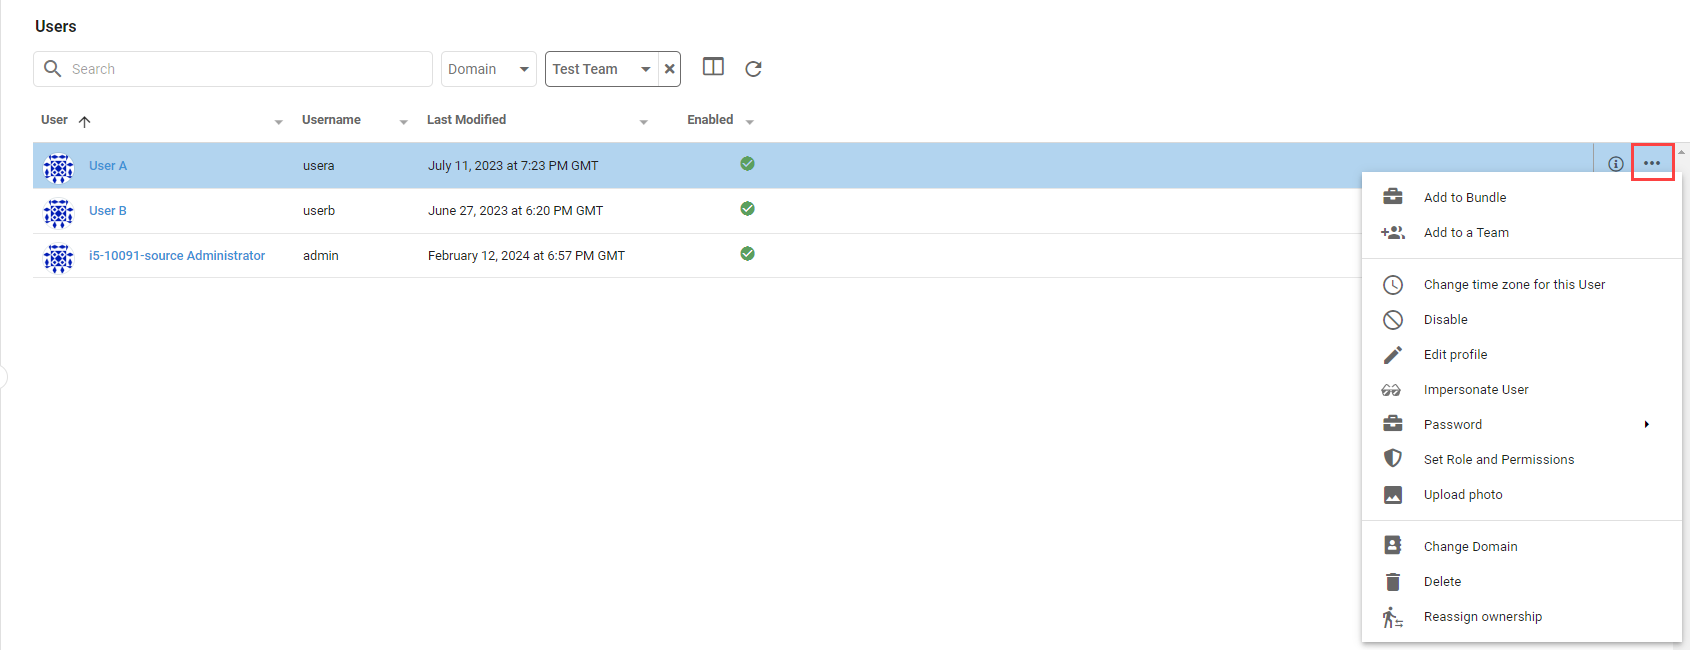
Add to Bundle opens a dialog to add the User to a new or existing Bundle, optionally including the Datasets or Ad hoc Queries the User owns.
Add to Team
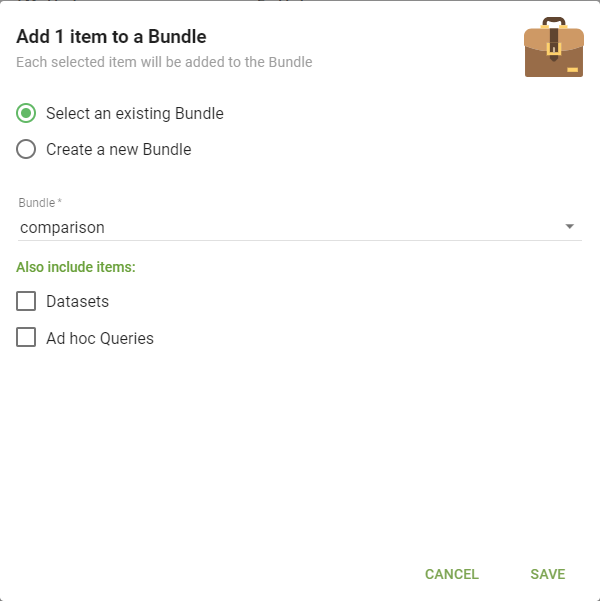
Add to Team opens a dialog to add the User to Teams. Search for a Team, choose the User's role in the Member Role column (see Assigning roles to Users within Teams), and click Save.
Change Time Zone for this User
Change Time Zone for this User opens a dialog to select the User's time zone.
Time zone affects the formatting, filters, and aggregations of time and timestamp Fields.
Disable and Enable
Disable prevents the User from logging in; Enable allows it. The state shows in the Enabled column of the Users listing page.
Edit Profile
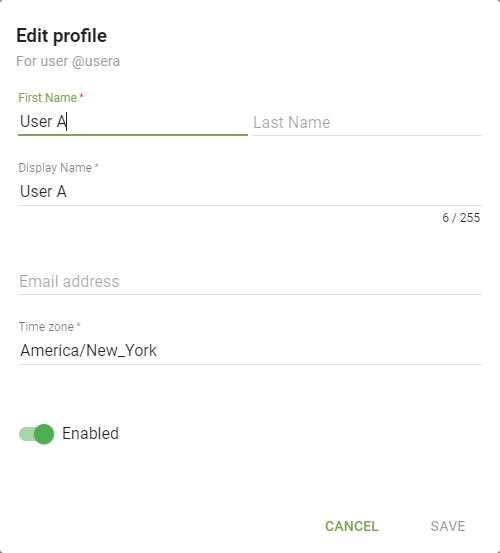
Edit Profile opens a dialog to update the User's profile, including name, display name, email address, time zone, and enabled status.
Impersonate User
Impersonate User changes the login session to see content as the selected User. This is only available to Administrators and Super Users. See Impersonate.
Password
Password has options for updating a User's password, applicable only to local Users. See Passwords and multi-factor authentication.
- Change Password: change the User's password.
- Reset Password Expiration Time: reset the expiration window for the User's password.
- Send User a reset password email: email the User a link to reset their password.
Set Role and Permissions
Set Role and Permissions opens a dialog to change the User's type or permissions. See Editing a User.
Upload Photo
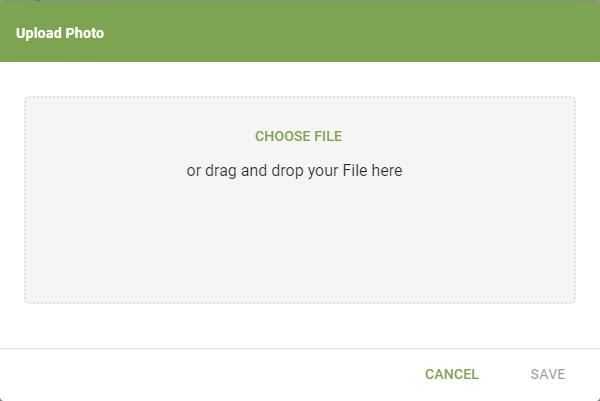
Upload Photo opens a dialog to select an image for the User's profile. Click Choose File or drag and drop, then click Save.
Change Domain
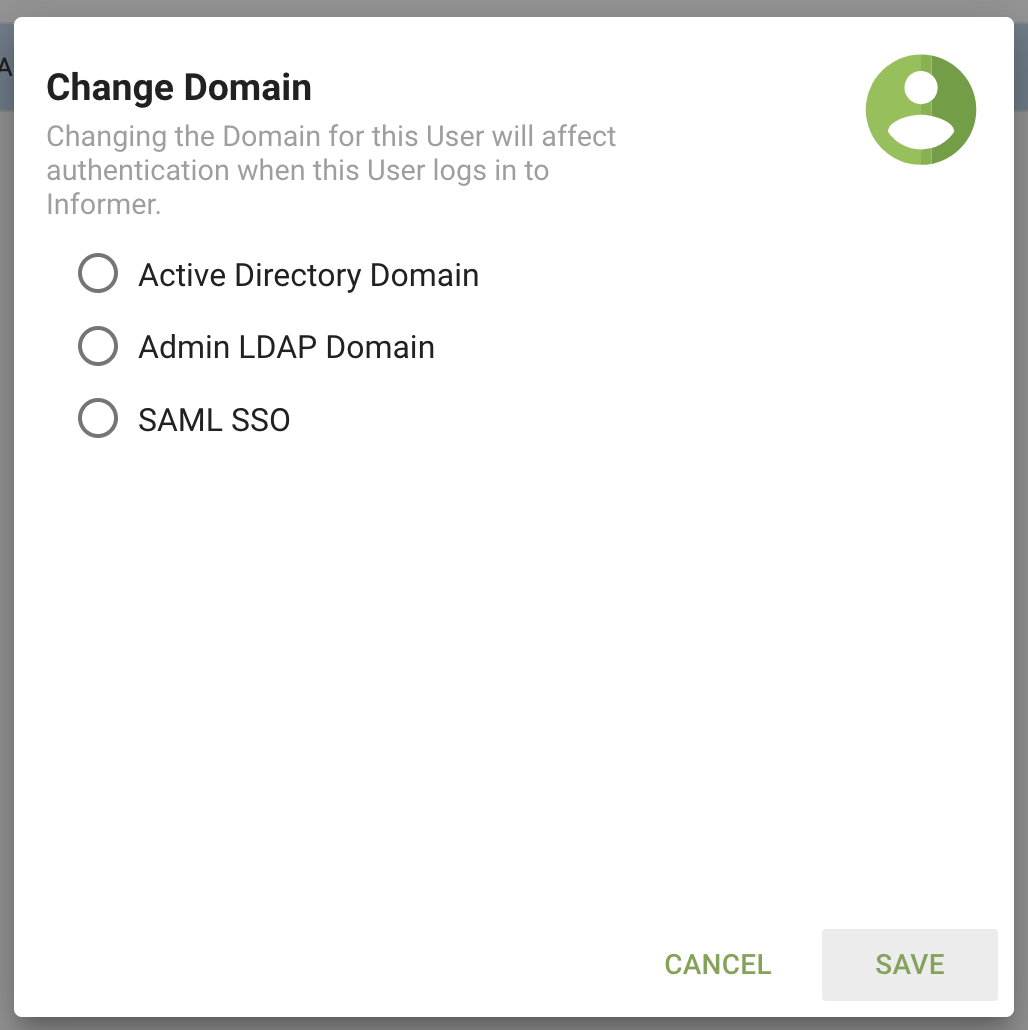
Change Domain opens a dialog for Administrators or Super Users to change the User's authentication domain. It appears only if a domain exists in Informer.
Delete
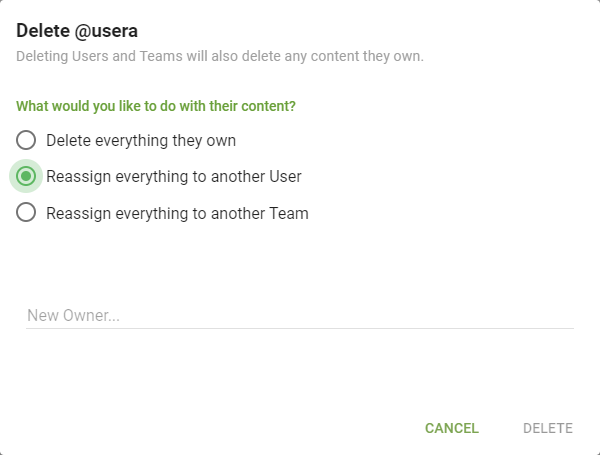
Delete opens a dialog that confirms deleting the User and asks what to do with the content the User owns: delete it, reassign it to another User, or reassign it to another Team.
Reassign Ownership
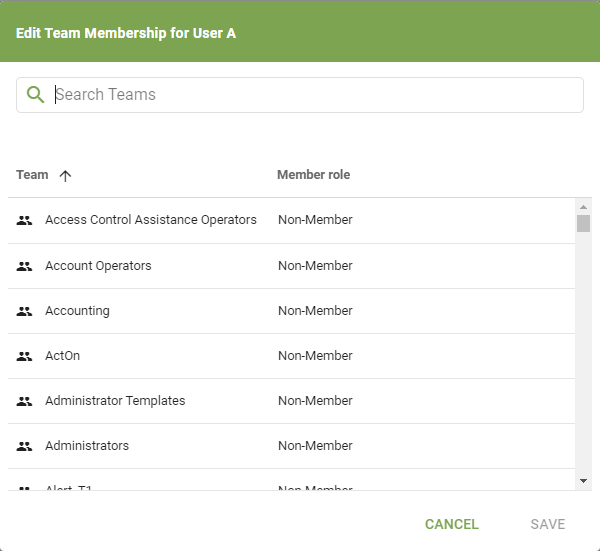
Reassign Ownership opens a dialog to change the User's content ownership to another User or Team. Use the tabs at the top to find a new owner.