Adding Criteria
Criteria are part of the Query definition and are a more concrete way to filter a Query's result set.
Adding Criteria
To add Criteria to a Query built with the Query Designer, open the Query's Edit page, click Criteria in the left panel, click the + icon, and choose Criteria.
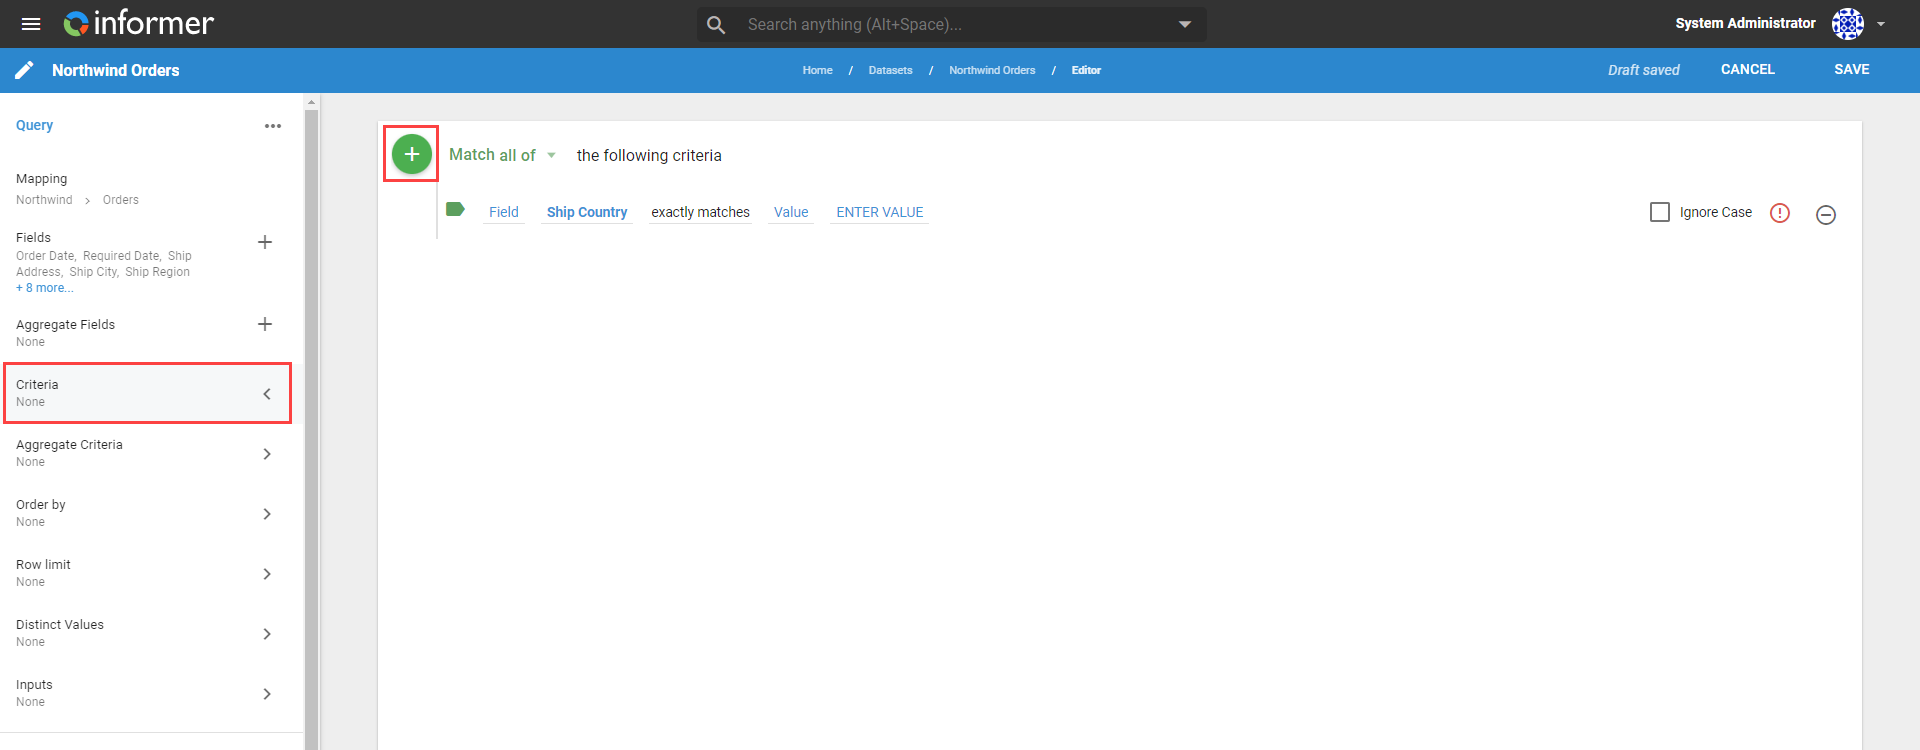
For Native SQL Queries, add selection criteria directly to the SQL statement.
The dropdown next to the green + sets the Boolean logic applied to all the Criteria on the Query. It is Match all of by default, which requires every Criterion to be true for a record to appear in the results. There are four Boolean operators:
| Informer | Description | Boolean |
|---|---|---|
| All | Returns records that match all Criteria. | AND |
| Any | Returns records that match any Criteria. | OR |
| None of All | Returns records that do not match every Criterion, but may match some. | NOT AND |
| None of Any | Returns records that do not match any Criteria. | NOT OR |
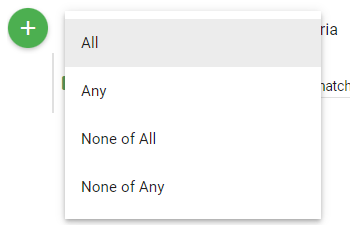
After adding Criteria, rearrange them by dragging the label icon to the left of each Criterion. Optimize a Query by placing larger Criteria first.
Removing Criteria
Remove a Criterion by clicking the minus icon to its right. If the Criterion references an Input, a prompt asks whether to delete the associated Input.

Criteria options
Every Criterion has six options to configure.

- Field / Value / User Field: choose whether the Criterion applies to a Field, a literal value, or a User Field. The default is Field.
- Select Field / Enter Value / Select User Field: choose which Field, value, or User Field the Criterion is compared with. Select Field opens a window to pick a Field from the underlying Dataset; Enter Value opens a window to set specific values; Select User Field lets you choose from the available User Fields.
- Logic: choose the logic that compares the left and right sides of the Criterion. The available logic depends on the Field type: Date Fields allow "after," "on," and "before," while Text Fields allow "contains," "starts with," and "ends with." The default is "Exactly Matches."
- Field / Value / Saved List / Variable / Inputs: choose what type of Criterion to apply. For an Input type, create a new Input or use an existing one. See Inputs for more.
- Enter Value: select which value, Field, or Input to match. Match a Field's value by choosing the Field from the Field Picker. Match a literal value by typing it into the prompt, or match multiple literal values by clicking OR... to create a separate value.
- Ignore Case: check to ignore capitalization when the two values are compared.
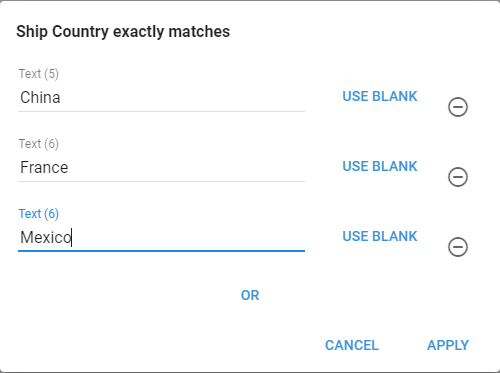
The red ! on the right turns into a green checkmark when all required options are filled in and the Criterion is valid. There is no limit to the number of Criteria a Query can have. Click Done to view a sample with the Criteria applied, then Save to save your changes.
Sample options
When no records return while editing a Query, a Sample Settings button appears where the results would be.
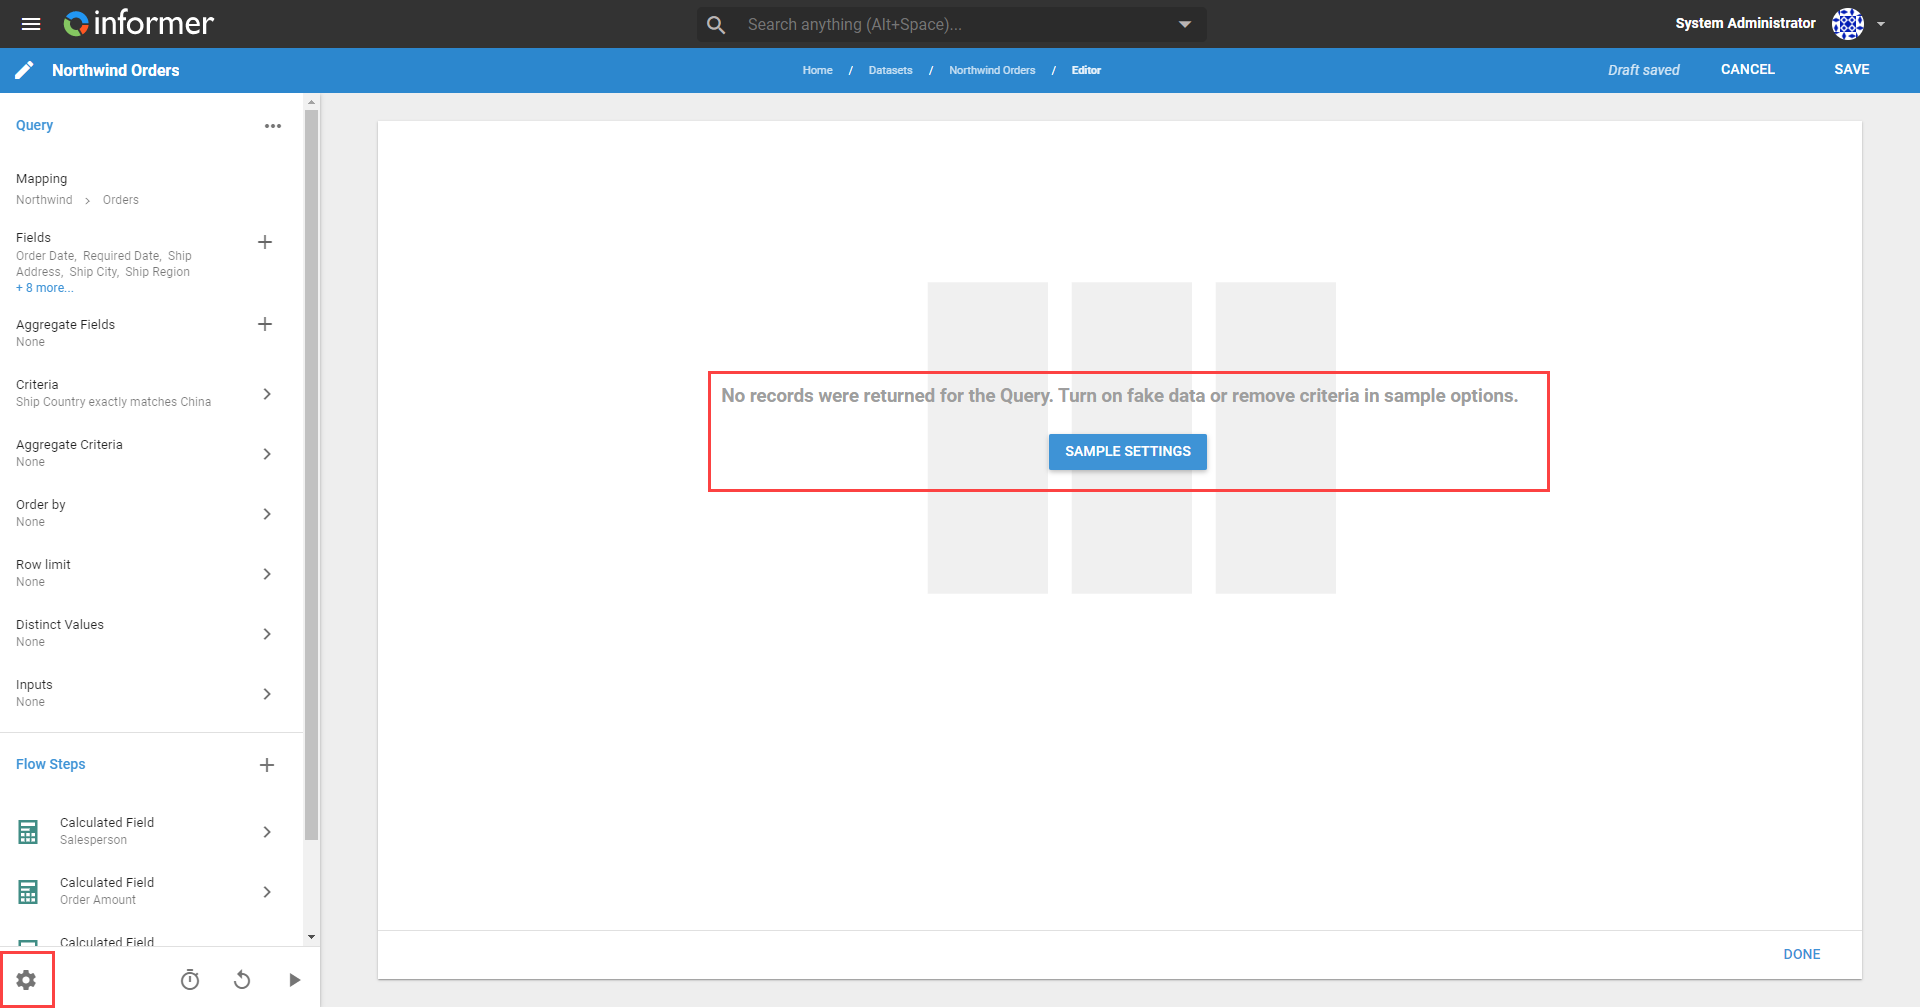
Click the button, or the gear icon at the bottom left of the Query editor, to open the Sample Options window. There are three parameters:
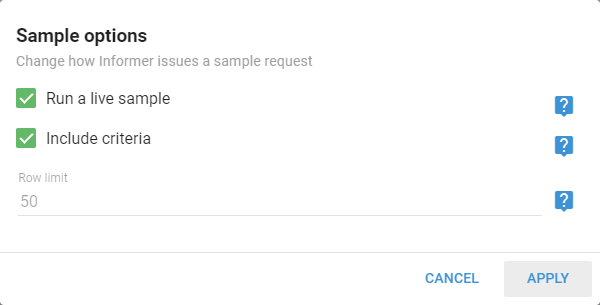
- Run a live sample: loads live-streamed Query results. If disabled, Informer generates placeholder data for each row based on the column data types. Enabled by default.
- Include criteria: uses the current Query criteria in the sample. Including criteria can drastically slow the sample in some cases. Enabled by default for its usefulness.
- Row limit: limits the number of rows returned in the sample. The default is 50. A query limit can supersede this value; the resulting number of rows, before Flow Steps, is the lesser of the two.