Field options while editing
Field options control how Fields display in a Query. Any changes you save to these options on the Edit page become the default settings for the Query across the system.
Field options
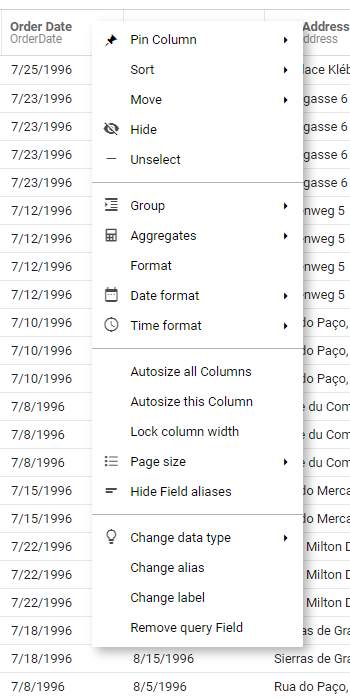
View a Field's options by opening the Query in Edit mode and clicking the down arrow next to the Field's name.
Pin Column
Pins the Field to the left or right side of the table, keeping it in place while you scroll. Unpin a Field by selecting No Pin under Pin Column, or by dragging the Field header away from its pinned side.
Sort
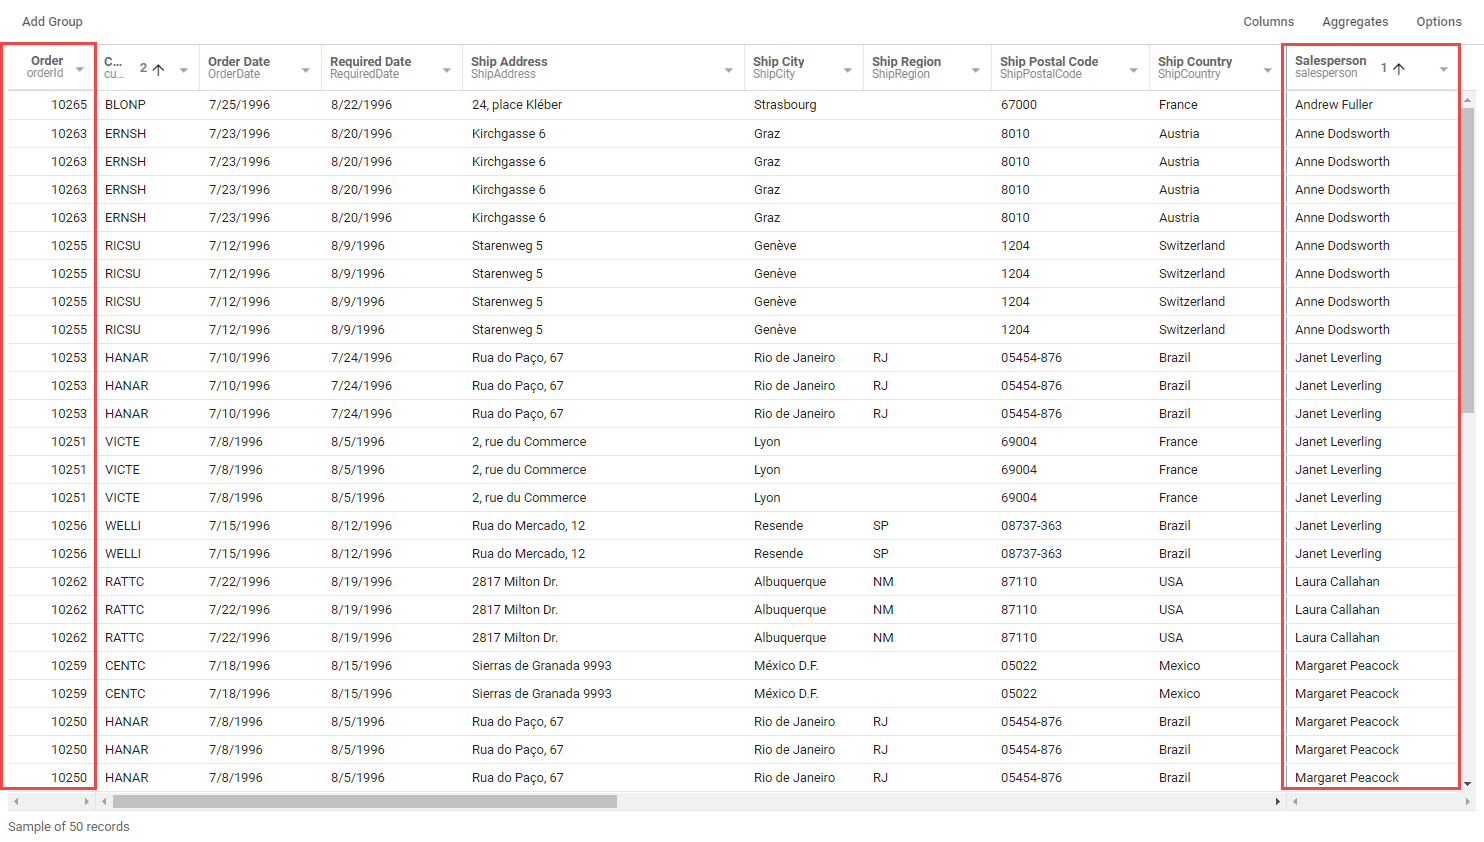
Adds or removes sorting on the selected Field, ascending or descending. Clicking the Field header once sorts ascending, twice sorts descending, and a third time removes the sort. You can sort by multiple Fields at once: Fields with a sort configured show a number in the header denoting the sort order.
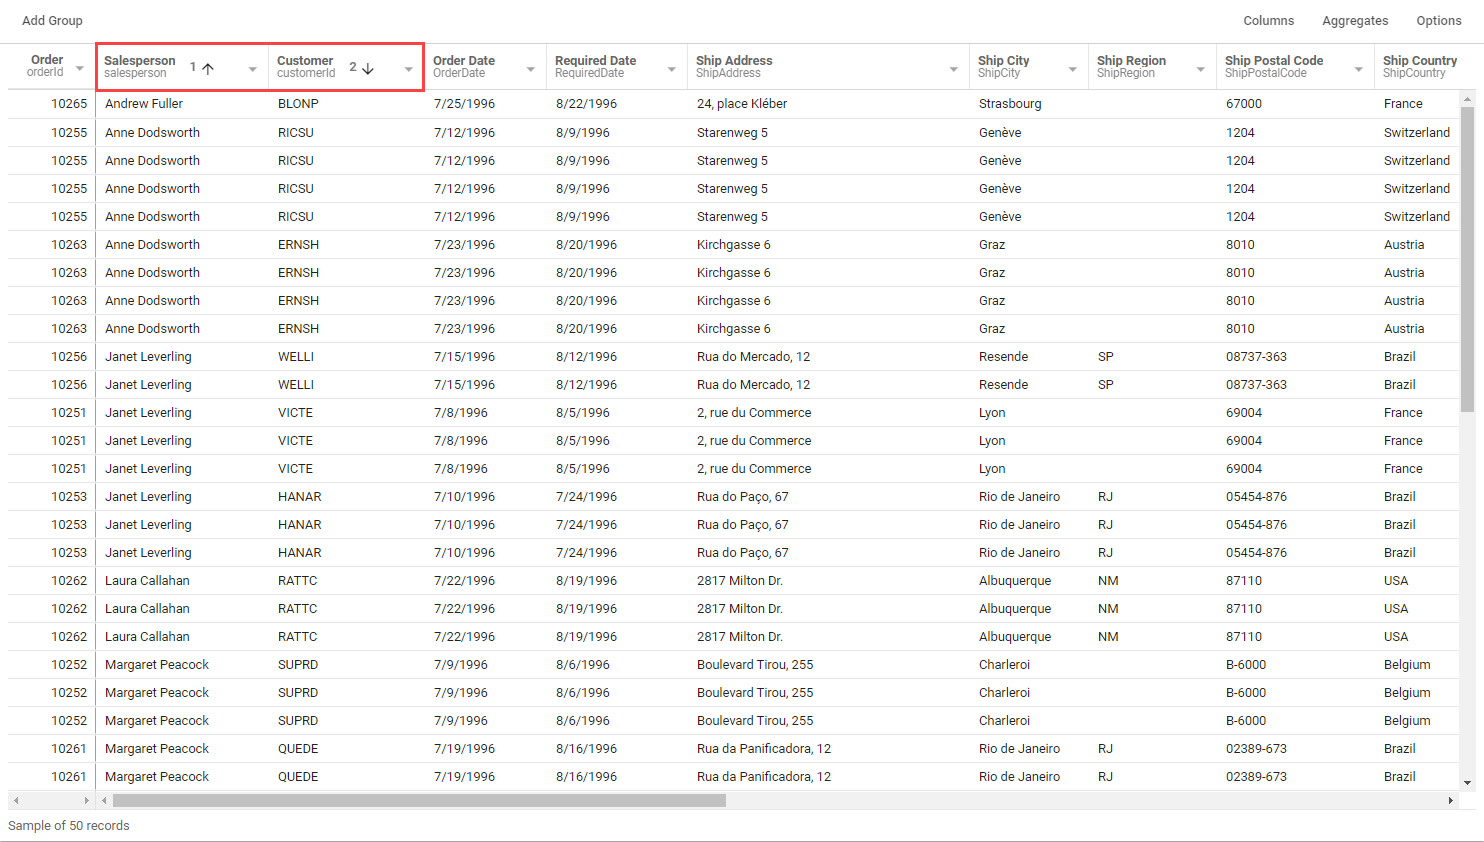
The grid-level sort overrides any query-level sorting configured with the Order by option on the Edit page.
Move
Moves a Field to the beginning (far left), to the end (far right), or after a specific Field. You can also drag Field headers left or right.
Hide and Unhide
Hide hides a Field from view and excludes it from exported files. Unhide makes a hidden Field fully visible again and includes it in exports.
Unselect
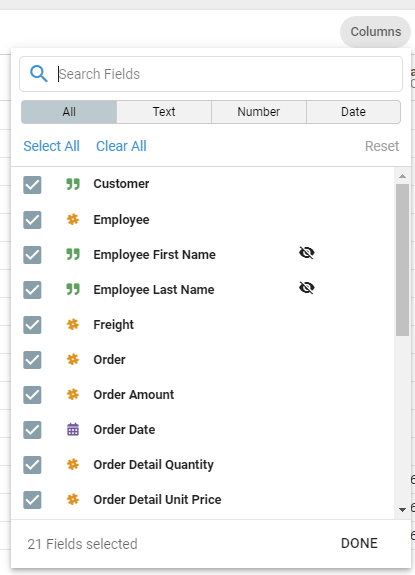
Unselect removes a Field from the underlying Elasticsearch query (and the data grid) without removing it from the entire Query payload. This is the most secure option when you want to remove a Field's data from the underlying network query without removing the Field from the whole Query. Add it back to the grid by clicking the Columns button in the settings bar, finding the Field, and checking its box.
Group
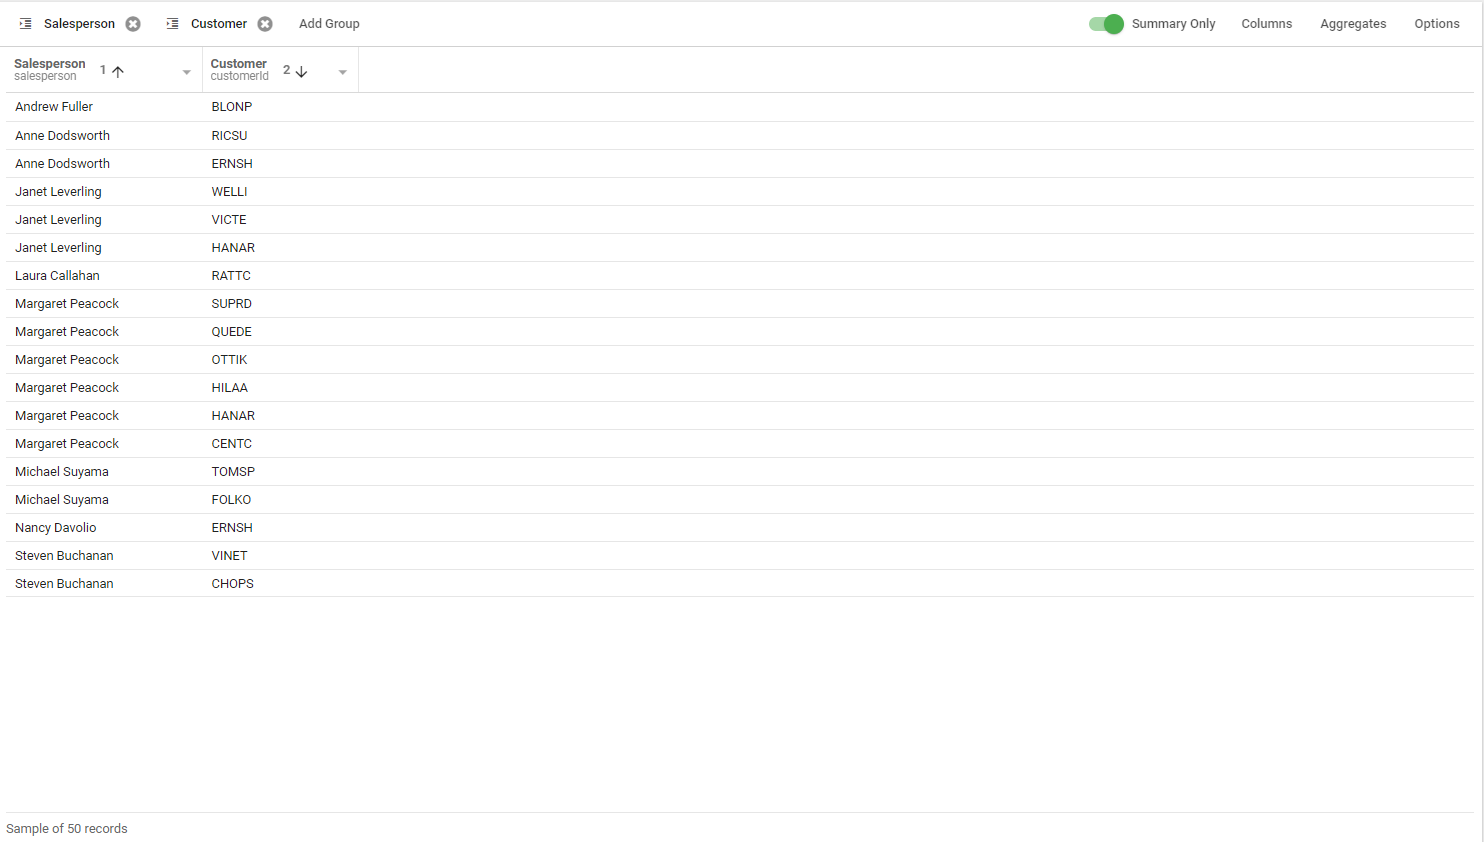
Groups data into separate tables based on the distinct values of the selected Field. Add nested groupings by clicking Add Group in the grid settings bar and selecting the next Field to group by. Remove a group by selecting Remove group from the Field's options, or by clicking the X next to the group on the Group bar.
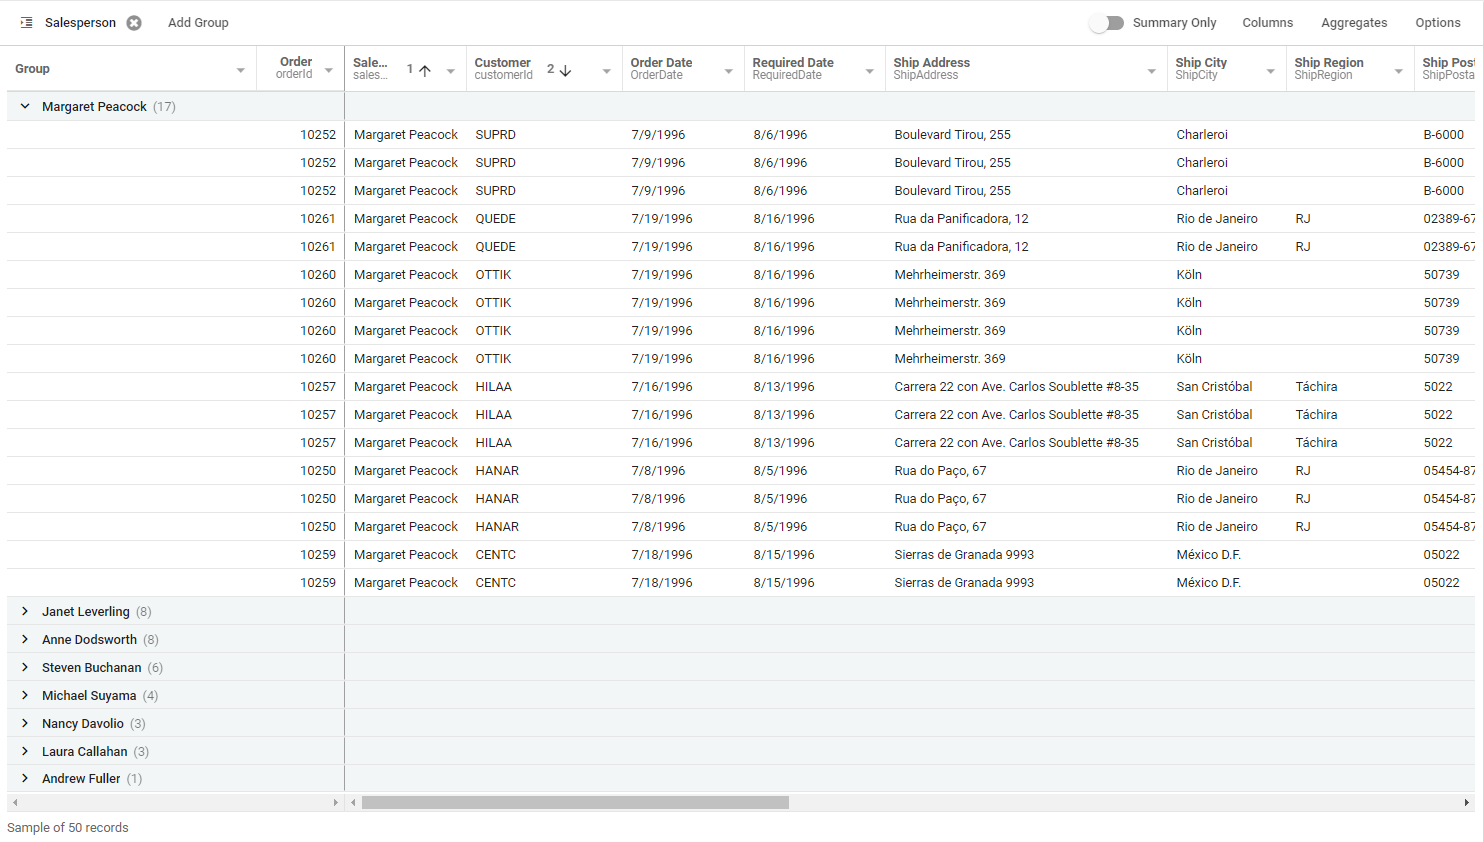
Grouped data can show a summary without the details. Click the Summary Only toggle to display aggregate values for each group, with the total at the bottom. The Summary Only option is available on the Query edit and results pages and in Jobs.
Aggregates
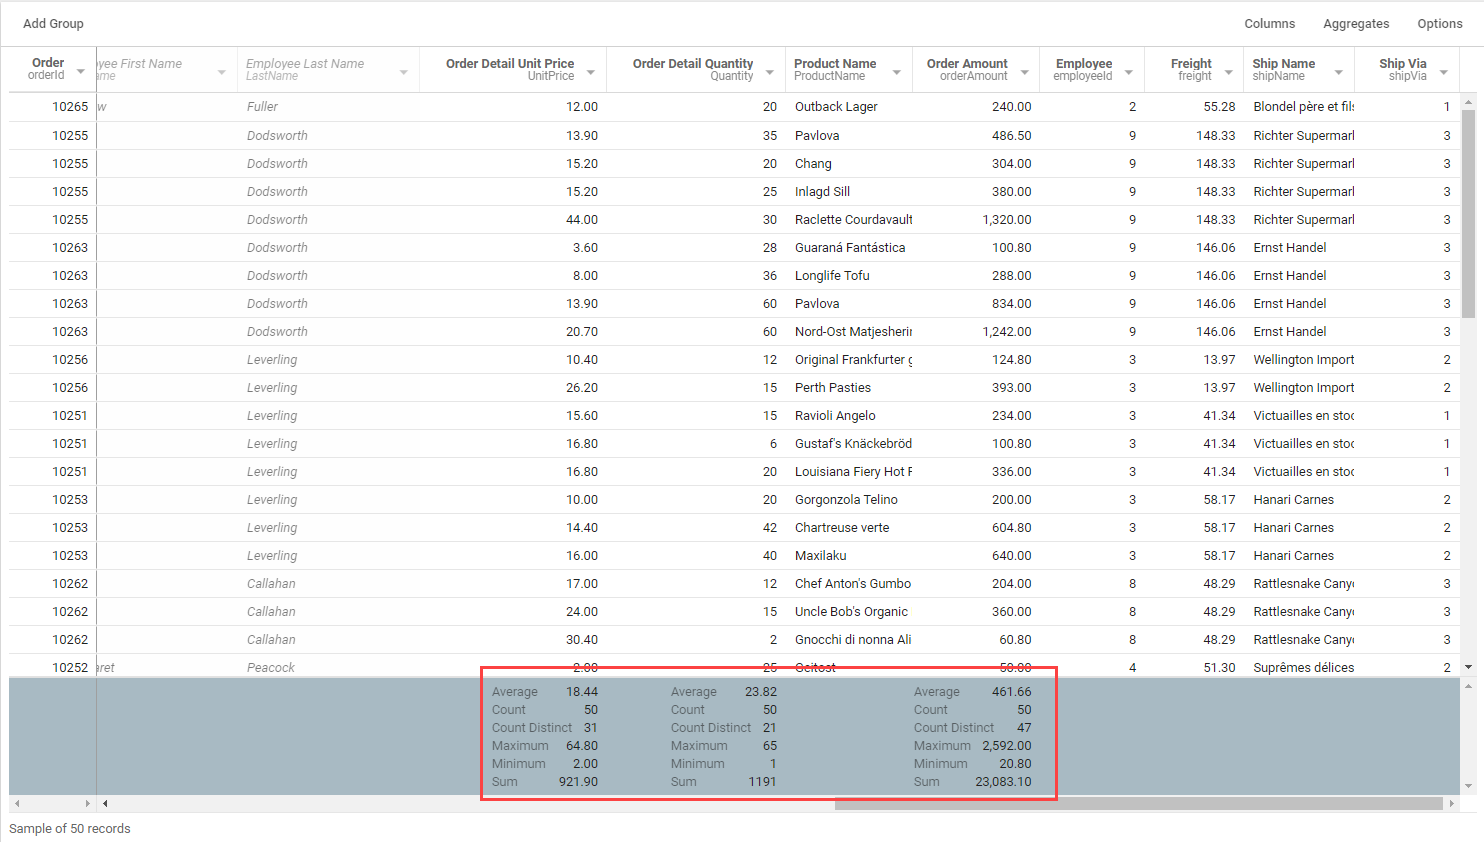
Displays aggregate values below the selected Field. The options depend on the Field's data type, and the values appear in the Aggregates Footer at the bottom of the result set.
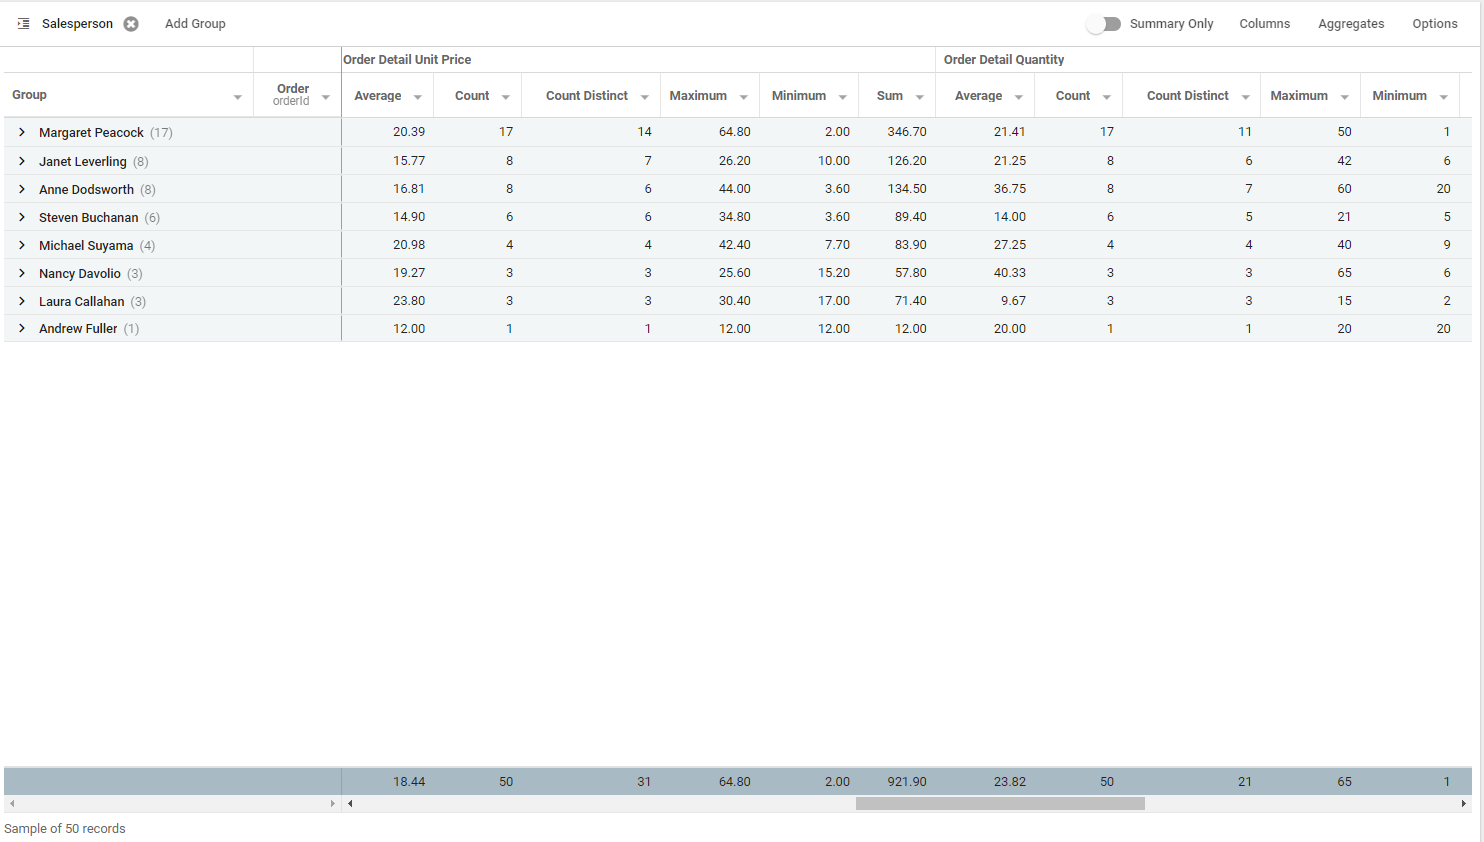
When both groupings and aggregations are enabled, the grouping summaries show the aggregate values for each unique grouping, with an overall Aggregates Footer at the bottom.
Format
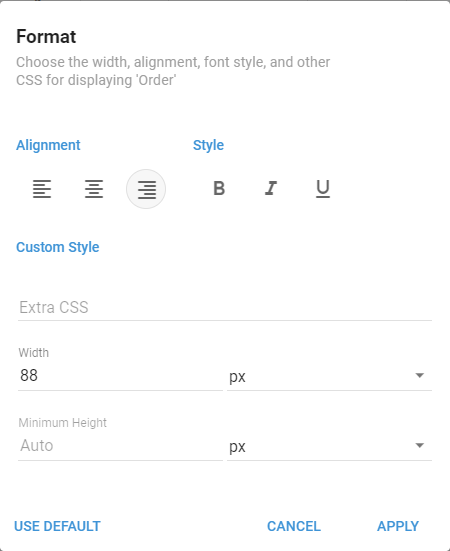
Sets the alignment, style, column width, minimum height, and CSS formatting. Click Apply to save the settings. Use Default sets the alignment to Align Left and the width and minimum height to Auto.
Grid Settings
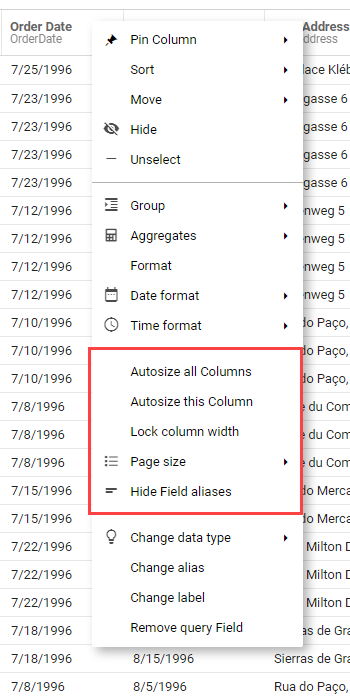
These options change the appearance of the entire table, unlike the standard Field options that affect a single column.
Column width
Autosize all Columns adjusts every column's width to prevent truncating headers or cell values; Autosize this Column does the same for the selected column. Lock column width prevents the selected column's width from changing.
Page size
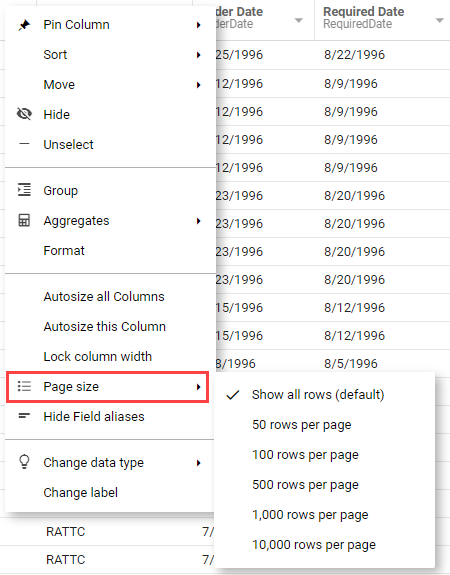
The default view shows all records on one page. The Page size option configures how many results display on each page.
Show Field alias
Shows the alias of the Field under its label. If aliases are already shown, this option changes to Hide Field alias.

Change data type
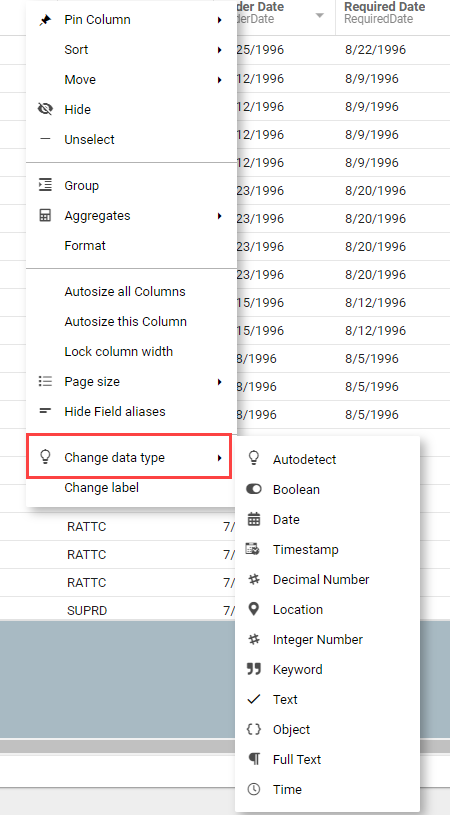
Changes the Field's data type. If changing a data type would cause data loss, such as changing a Decimal Number to an Integer, revert to the original data type.
Change alias
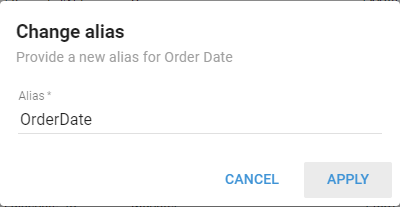
Changes the Field's alias. An alias is the name used internally by the Query and has stricter naming guidelines than the Field name. Aliases have no character limit, but long aliases are shortened to fit the column width.
Changing a Field's alias affects any calculated Fields that use it. Update the calculated Field to reflect the new alias.
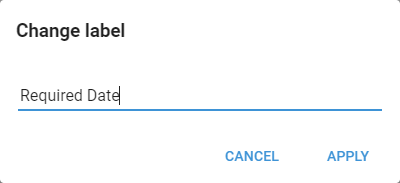
Change label
Changes the column header of the selected Field.
Remove Query Field
Removes the selected Field from the Query. Calculated Fields referencing this Field's alias will not work until the Field is re-added. To keep those calculated Fields working, hide or remove the Field using the Remove Flow Step instead.
Display options
Columns
The column selector lists all the columns in the Query, even those removed or hidden from the grid. Add or remove columns here.
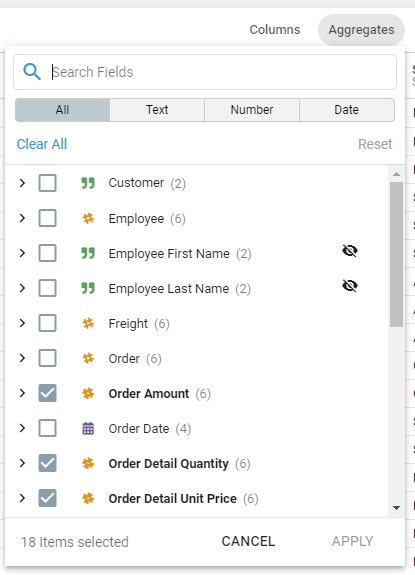
Aggregates
The Aggregates button in the settings bar manages all the aggregations for the entire grid. This selector lists every column, filterable by data type. Check a Field's box to turn on all its available aggregations, or expand a Field to choose specific aggregations.
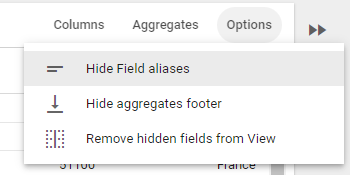
Options
The Options button in the settings bar reveals extra grid options, including hiding or showing the aggregate footer and aliases, or showing hidden Fields.
Hide and show
These settings hide the aggregate-values row at the bottom of the grid or the aliases in the header row. They change to Show Aggregates Footer or Show Field aliases when hidden.
Reveal hidden Fields
The Options menu also has Reveal hidden fields. Revealed hidden Fields display in the grid with grayed-out, italicized text. Remove them from view again by selecting Remove hidden fields from view.
Save options
When you make changes to the Query's grid while editing and then save, you can Keep or Clear the display settings for the Query.
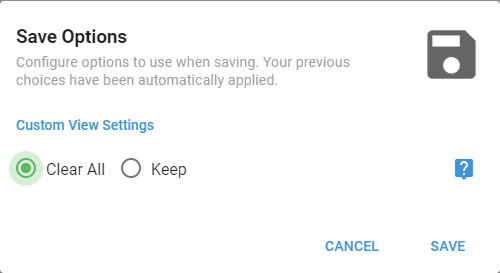
- Clear All: after saving, the custom view settings for all Users are cleared and set to this view. This is the default and recommended choice when you change the appearance of the grid, or want the grid to look the same for all Users. When saving, this can also affect the grid appearance of Jobs with custom view settings for the Query.
- Keep: after saving, Users keep their existing custom view settings. This is recommended for minor changes that do not affect the grid's appearance, or when you do not want to reset the grid for all Users.