Snapshots
Snapshots let you preserve and load data from previous Dataset refreshes for use in the Dataset viewer, Dashboards, and Visuals, so you can compare historical data with current data, all from one Dataset.
Capturing Snapshots
Snapshots are captures of a Dataset at a specific point in time. They let you keep historical data while continuing to edit and update the Dataset.
Snapshots create additional Elasticsearch indices, so you may need to change allocated disk space depending on usage.
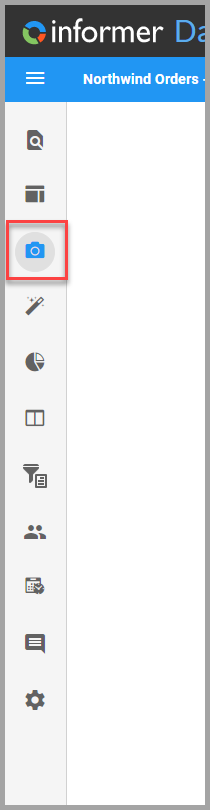
To create a Snapshot, open a Dataset, click the camera icon on the left sidebar, and click Add Snapshot. This creates a new Snapshot with the current data. The same page lets you edit the name and description of previous Snapshots and delete Snapshots you no longer need.
You can also capture Snapshots using a Job. See Datasets in a Job for more information.
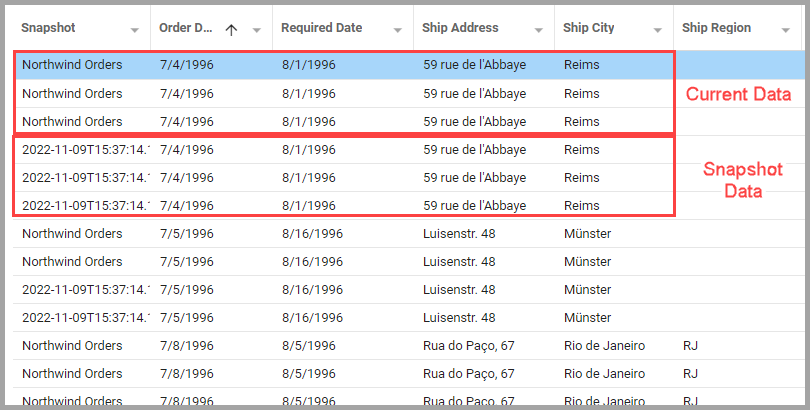
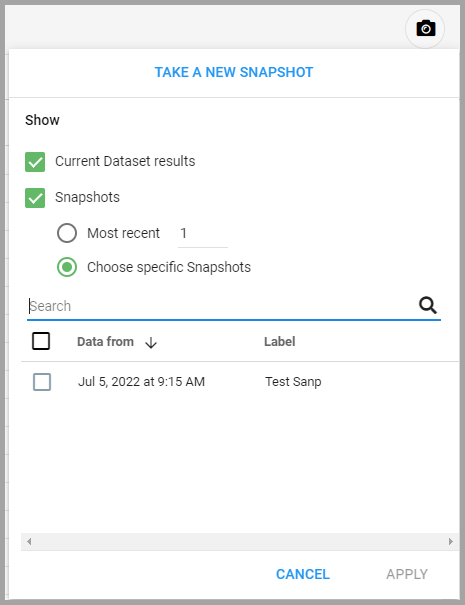
To view the data in a Snapshot, in the Data view of the Dataset, click the camera icon in the upper-right corner. The default tab lets you select specific Snapshots: check the boxes next to the ones to open. Selecting more than one combines the records, with an extra column identifying which Snapshot each row is from. The other tab lets you select a number of previous Snapshots.
Promoting Snapshots
You can create a Dataset from a Snapshot using the Promote Dataset option. A promoted Dataset becomes a standalone Dataset, disconnected from the original Datasource, and you cannot create additional Snapshots from it.
- On the Snapshot page of a Dataset, click the ... at the end of a Snapshot's row and select Promote Dataset to open the dialog.
- Enter a name and description for the new Dataset.
- Click Save to create the Dataset.
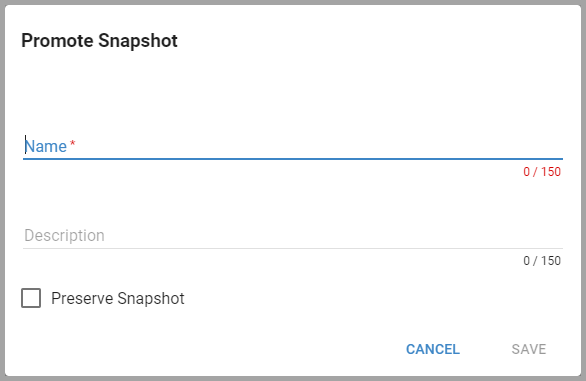
When promoting a Snapshot, the Preserve Snapshot option keeps the Snapshot in the originating Dataset's Snapshot list. By default, Informer removes the Snapshot from that list when it creates the new Dataset.
Snapshots in Reports
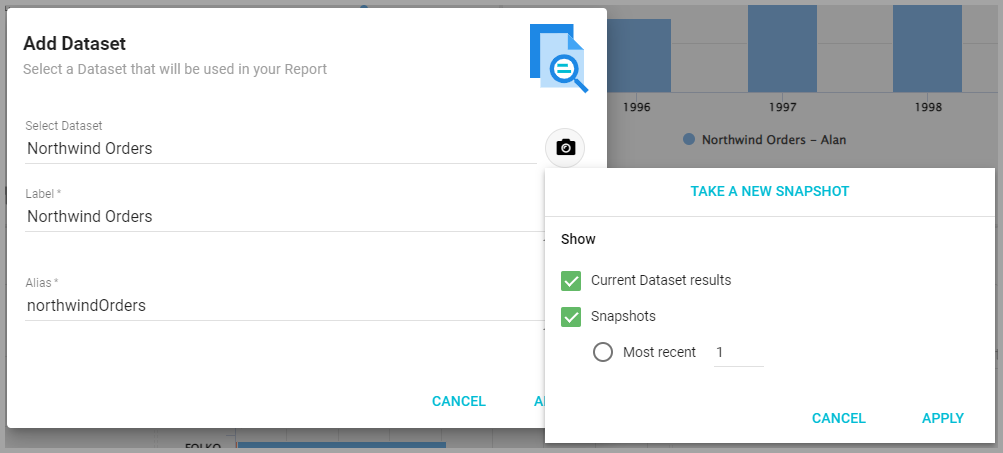
Snapshots can also be used to create Reports. When creating a new Report, after you select a Dataset, an additional dialog lets you select specific Snapshots to use. While editing a Report, you can also select the Dataset on the left sidebar, click the three dots in the top right, choose Dataset Options, click the camera icon to open the Snapshots, and select the Snapshots to use.