Multitenancy
Informer supports multiple unique contexts within one deployment through the concept of Tenants. Multitenancy provides a single point of administration via a Manager Tenant. Multitenancy deployments share the same back-end dependencies, PostgreSQL, ElasticSearch, Redis, and other components, across all Tenants, optimizing server resources. Each Tenant's ID isolates its context, so each Tenant has its own data, configuration, security model, and any tenant-specific functionality. This gives the end user an indistinguishable experience between a single-tenant and a Multitenancy deployment, while simplifying the administration of multiple Informers in one location.
With only one software deployment of Informer and its dependencies, there is less to manage when supporting multiple Informer deployments. Upgrading the Informer version or one of its dependencies for all Tenants involves only a single deployment. Multitenancy requires a license feature and version 5.3.0 or higher. Contact an account representative to inquire about licensing. Once enabled, a Tenants option is accessible from the Administration screen.
Tenants
Tenant administration is only possible from the Manager Tenant.
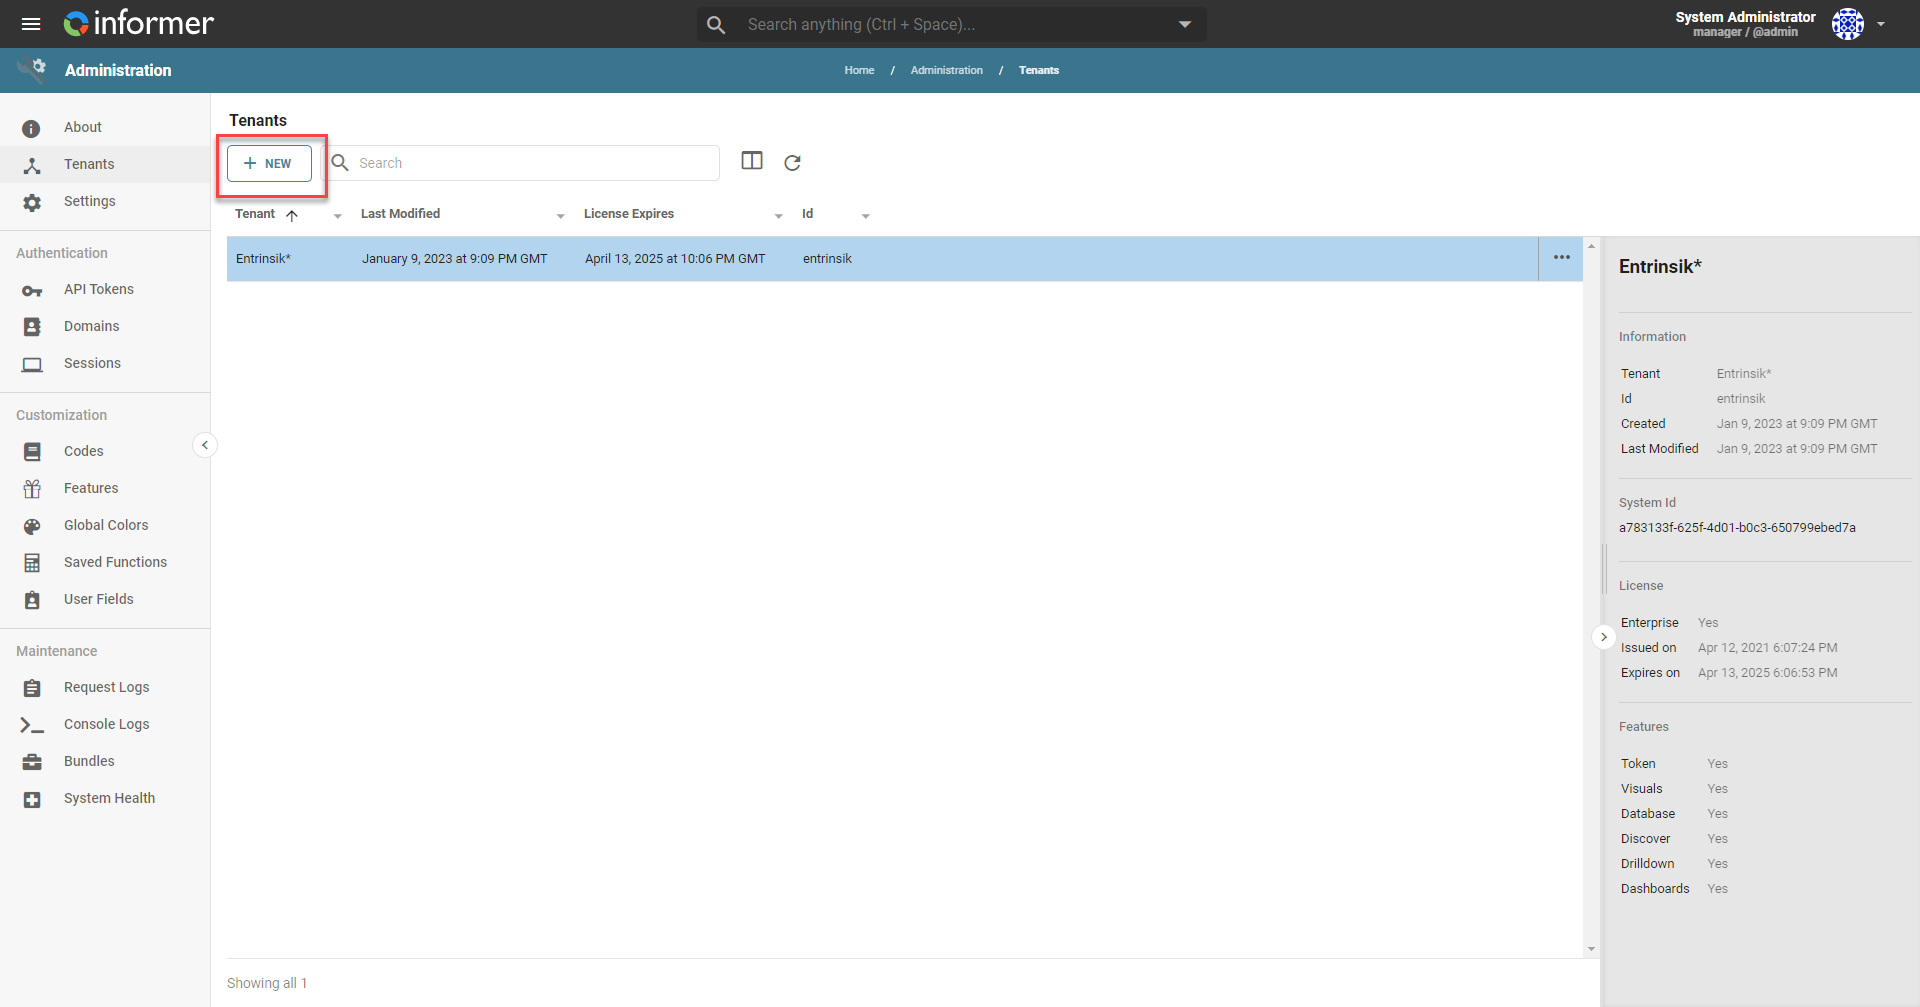
To add Tenants, ensure the required license is in place, go to the Tenants option under Administration, and click New Tenant. Enter a unique license token for the new Tenant, choose the desired options, and click Save.
Tenant initialization
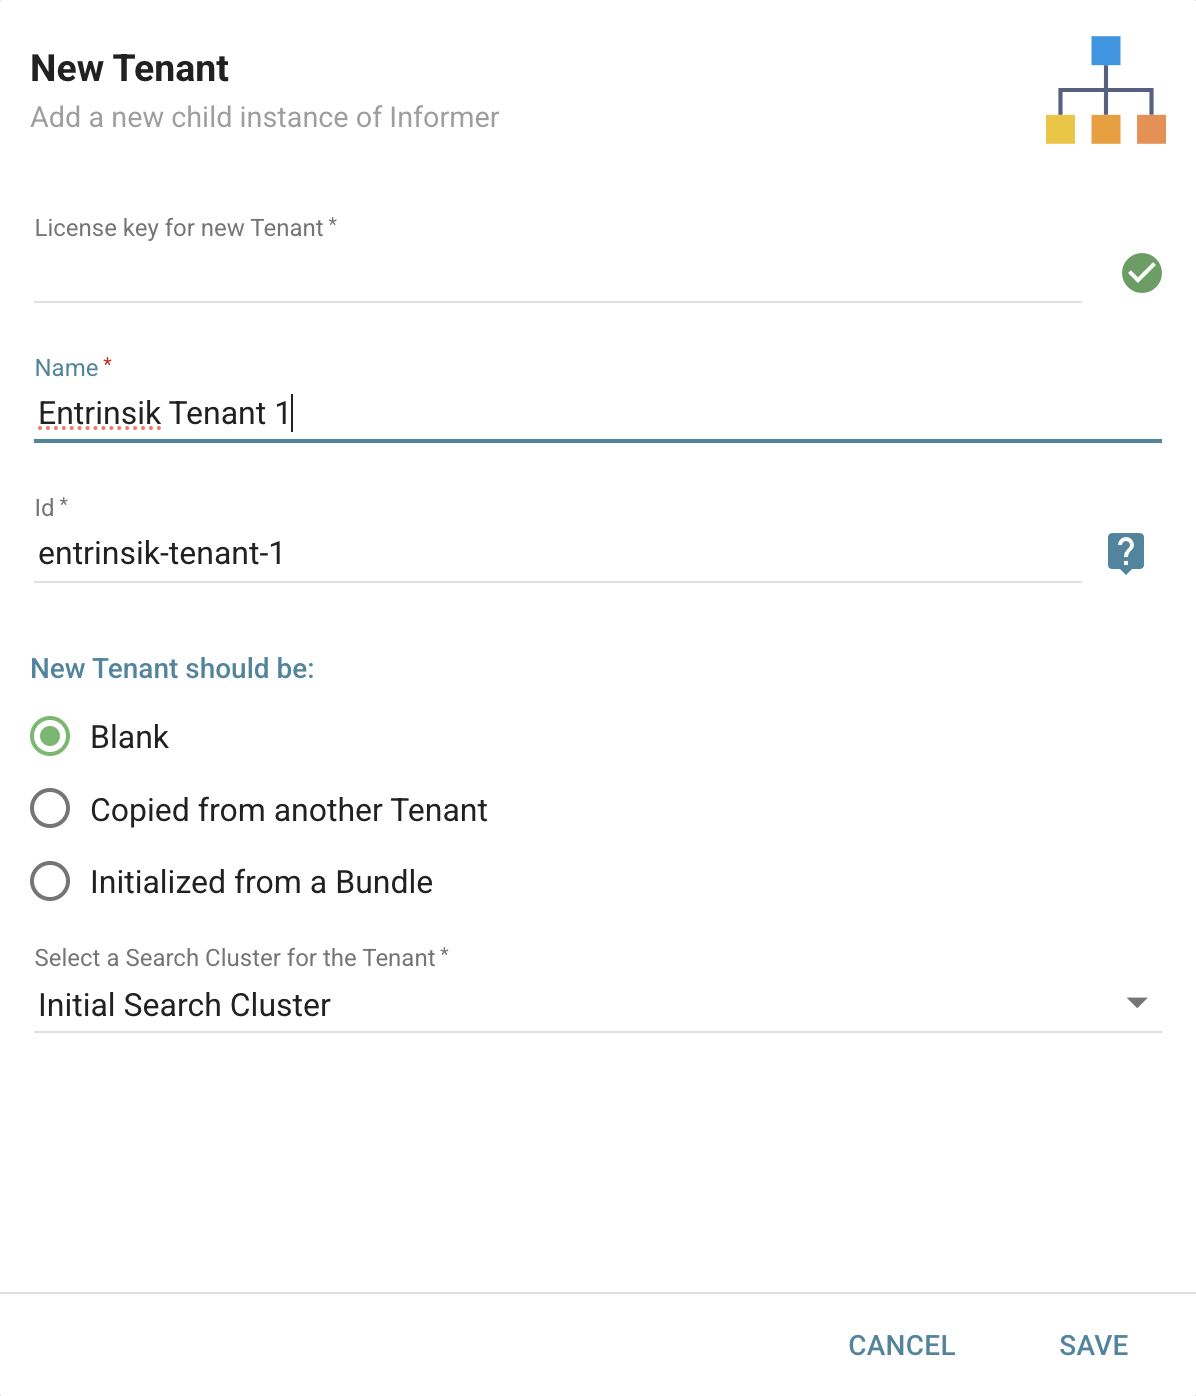
When entering the license key for a new Tenant, default values populate for the Name and ID. The Name derives from the information entered into the Informer License Manager, and the ID derives from the Name. Both values are configurable and should reflect logical values for Tenant access and administration. The Name is a display field to reference each Tenant; the ID is used for Tenant access (more on that below).
The remaining option on the initialization screen allows for a blank Tenant deployment. Alternatively, content can be copied from an existing Tenant in the deployment. The copy feature saves time by applying a template Tenant when creating similar configurations. Finally, select a Search Cluster for the Tenant; by default, the Initial Search Cluster is selected. For more information, see Search Clusters.
Once there is at least one Tenant in the system, the Tenants screen displays a list of available Tenants and possible Actions.
Actions
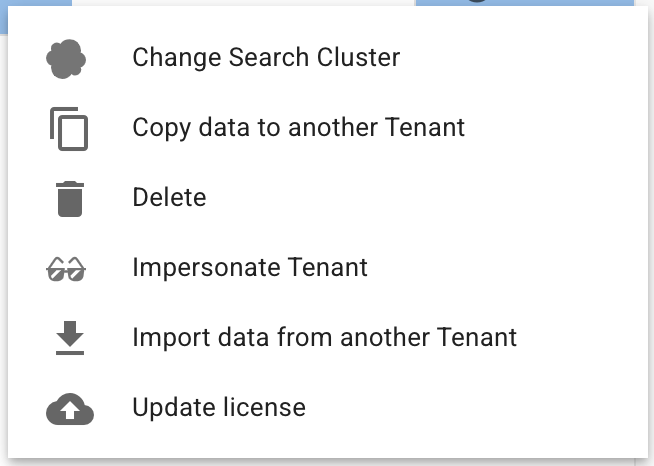
- Change Search Cluster - Change the Search Cluster used for the selected Tenant. Note that changing the Search Cluster causes all existing indexed data for the Tenant to become inaccessible.
- Copy data to another tenant - Copy all the data from the selected Tenant to a target Tenant.
- Delete - Removes the selected Tenant from the system.
- Impersonate Tenant - Move into the selected Tenant as the Tenant Admin. This can only be done from the Manager Tenant. The feature provides a Tenant viewpoint while allowing the Tenant Admin to apply changes within the Tenant.
- Import data from another Tenant - Copy all the data and configuration settings from one Tenant to the selected Tenant.
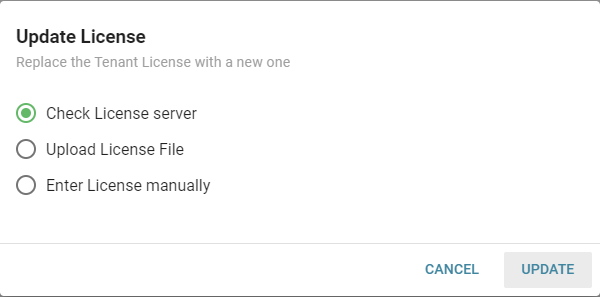
- Update license - Updates the license for the Tenant manually or by checking the License Server.
Tenant ID and defining a URL strategy
With more than one Informer deployed, there must be a way to access a specified Tenant when sharing the same IP. Defining a URL strategy achieves this in conjunction with the Tenant ID.
For the access URL, there are two methods: Sub-Domain and Header. The Tenant ID is the unique identifier for either method. The default Tenant ID for the Manager Tenant is manager.
- Sub-Domain method: Using a Tenant ID
sampleand a domaininformer.com, the URL to access Informer has the formathttps://sample.informer.com. Browsing this URL, Informer automatically extracts the Tenant IDsamplefrom the sub-domain and maps it to the correlating Tenant. - Header method: Using a Tenant ID
sampleand a domaininformer.com, the URL has the formathttps://informer.com/sample. The Header method requires a URL rewrite using a proxy or load balancer that strips the header from the URL and passes it to Informer asx-tenant. For convenience, an annotated sample Apache config file with the necessary rewrites is available; contact Informer Support for a copy.
For either method, if an external load balancer or proxy to Informer is used, the internal Informer load balancer (redbird) needs an update. Find the config.json file at the root of the Informer install. With a text editor, add this line to the loadBalancer block, just above the rules:
"xfwd": false,
After updating config.json, save the change and restart Informer to apply the update.
Impersonate a Tenant
Cross Tenant Access (only visible on non-manager Tenants) allows the Manager Tenant to impersonate the Tenant. This option is disabled by default. It is not visible from the Manager Tenant or while impersonating a Tenant; a User must be logged in directly to the Tenant to see it and enable cross-tenant access from the Manager Tenant. This default setting can be overridden via a configuration change; contact i5support@entrinsik.com for assistance.
Single Tenant to Multitenancy migration
Reach out to i5support@entrinsik.com for assistance migrating multiple deployments of Informer to a Multitenancy environment.
Tenant internal reporting
Each Tenant in the system has a unique PostgreSQL role created for that Tenant's PostgreSQL database access. Since all the Informer metadata resides in PostgreSQL, this unique role facilitates the separation of data for each Tenant. Deploying the internal Informer database requires only a few clicks, and the connection information is not accessible to end users. For more information, see Creating an Informer Datasource.