Dashboard Input Filters
Add easy-to-use filters for Dashboard viewers so that getting at the data they are interested in takes just a few clicks. Filters are flexible and apply only to the Visuals selected within the Dashboard, so Users can filter different portions of a Dashboard independently.
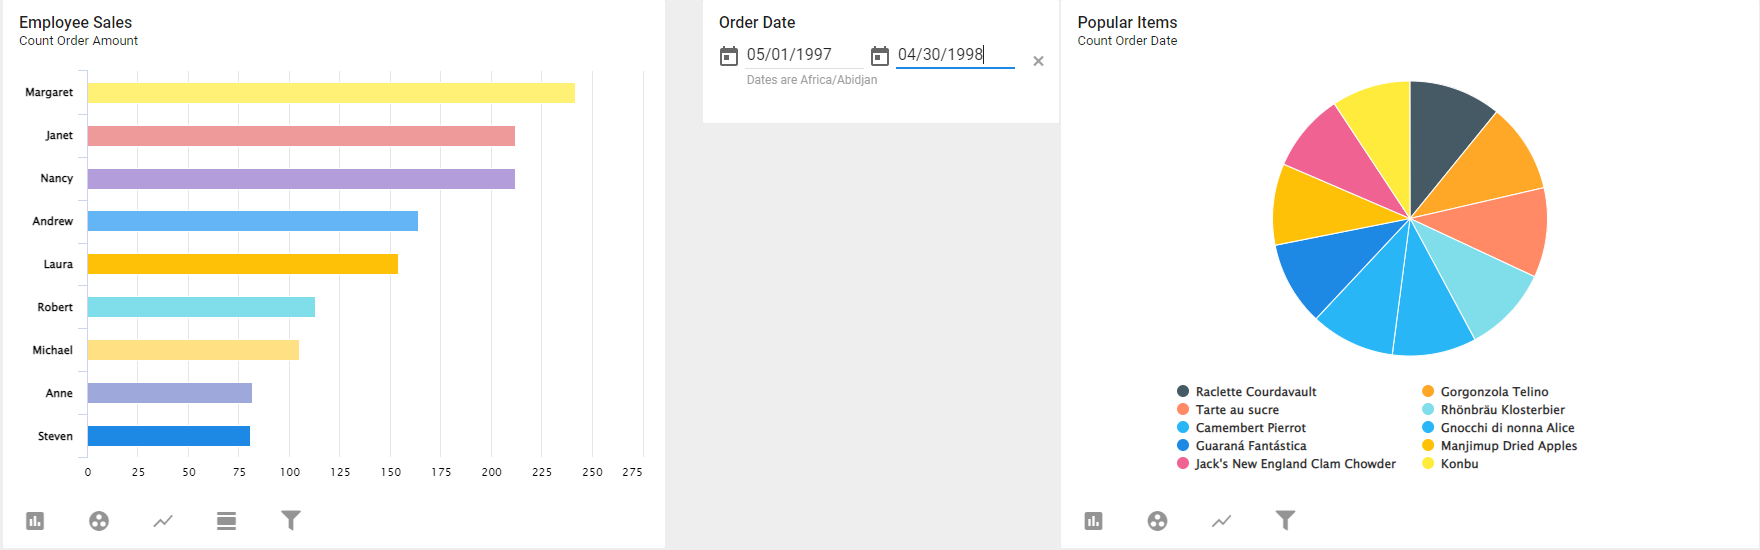
Input Filters let Users instantly get only the data most relevant to their needs. For instance, this Dashboard shows a pie chart of the most popular products and a bar chart of employee sales; a Date Range Input Filter lets Users see only the data from the dates they are interested in, in this case from May 1997 to the end of April 1998.
For information on other types of Filters and how they interact with data, see Filtering data.
Input Filter types
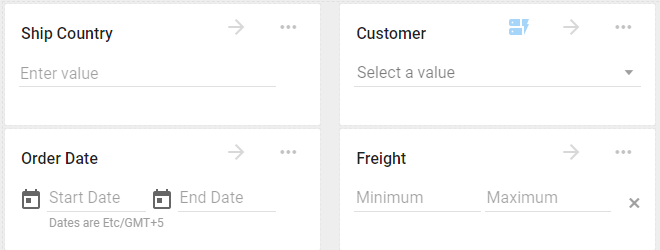
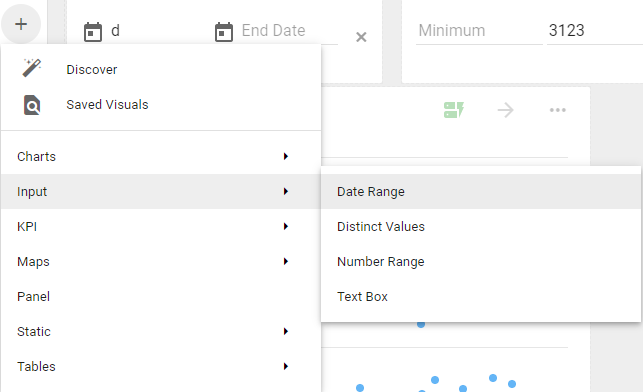
A special type of Visual is the Input. An Input can be a Date Range, a Distinct Value, a Number Range, or a Text Box.
These Inputs can be added when creating a Dashboard by clicking the + next to Elements on the Dashboard edit page and selecting Input.
Once added, Inputs let Users filter the data they want to see. When creating an Input, you select a Field that matches the type of data the Input filters on. Dashboard Input Filters filter the entire Dashboard, including other Dashboard Input Filters.
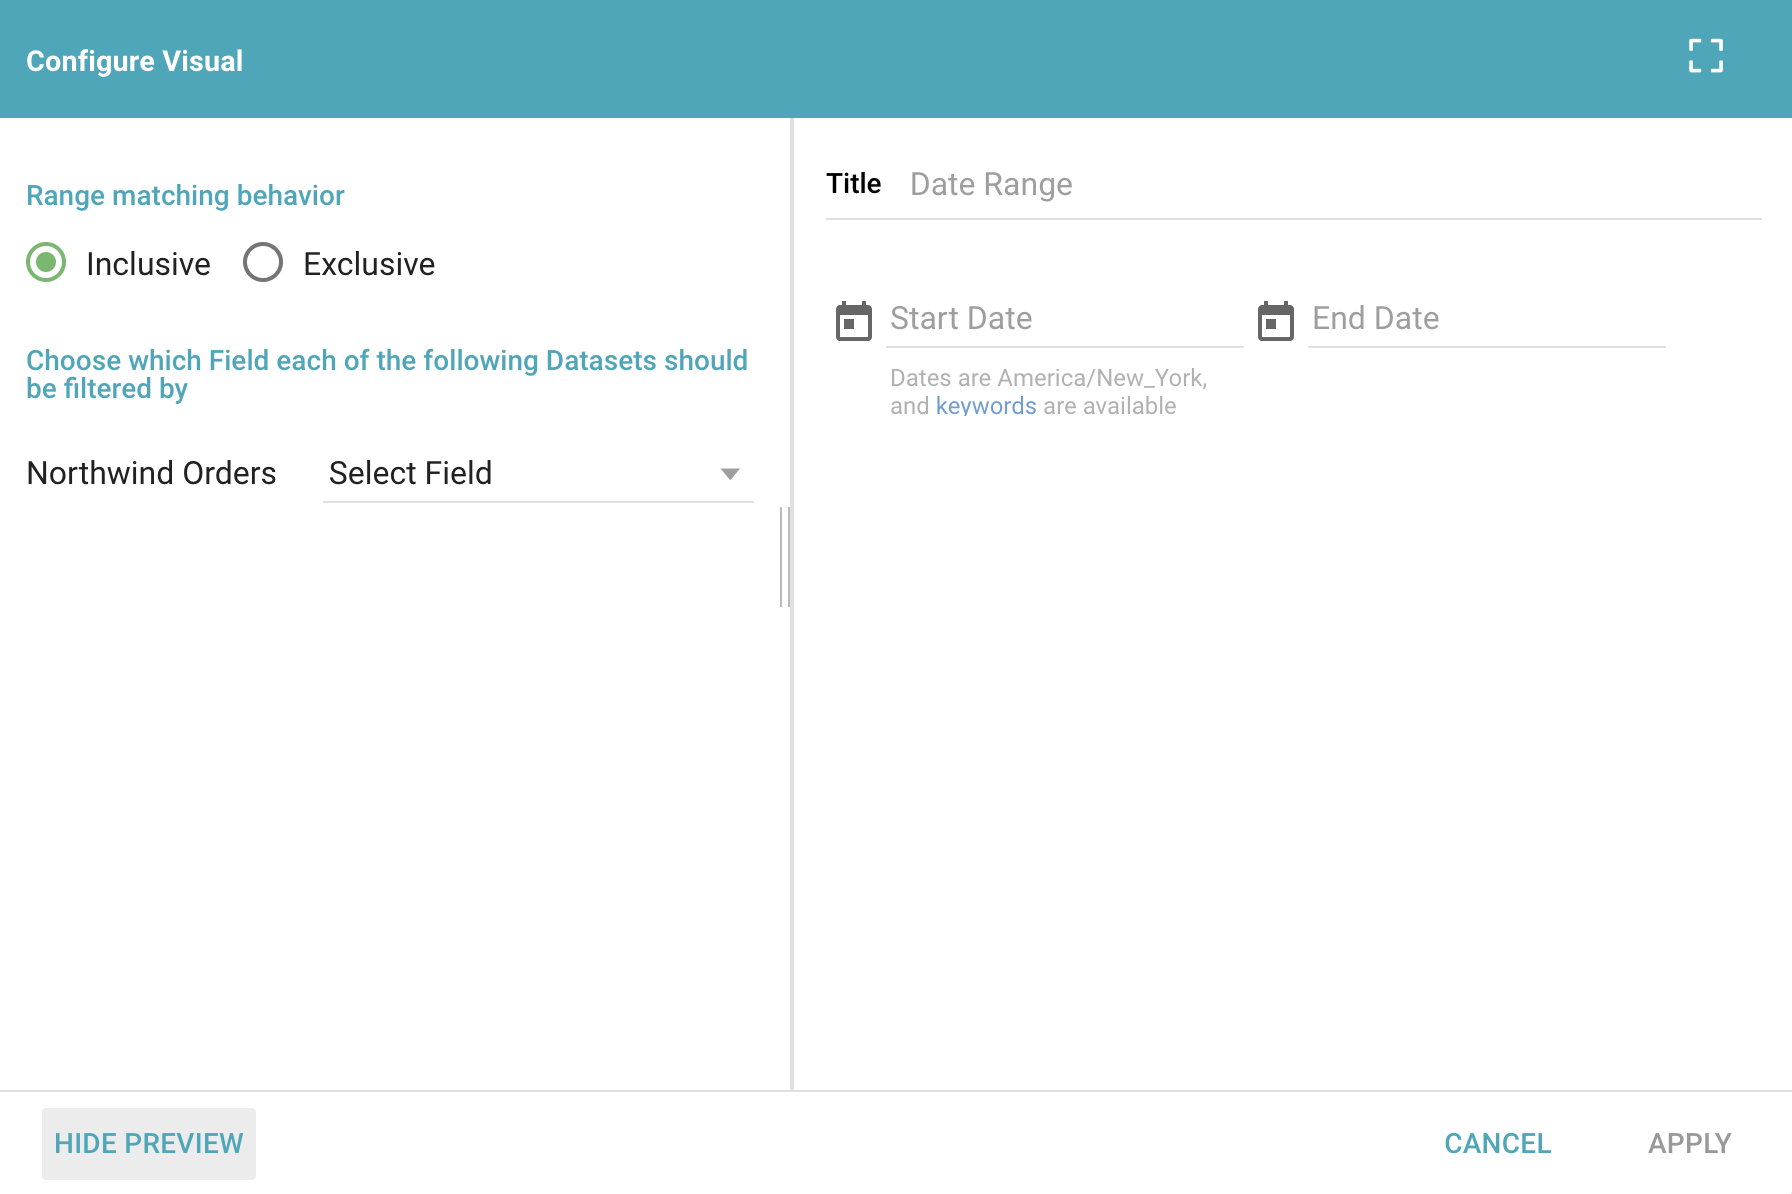
- Date Range: filters data between two specific dates. The dates must be in a valid date format such as MM/DD/YYYY, or a Date Keyword. The range can be set to include or exclude the date input.
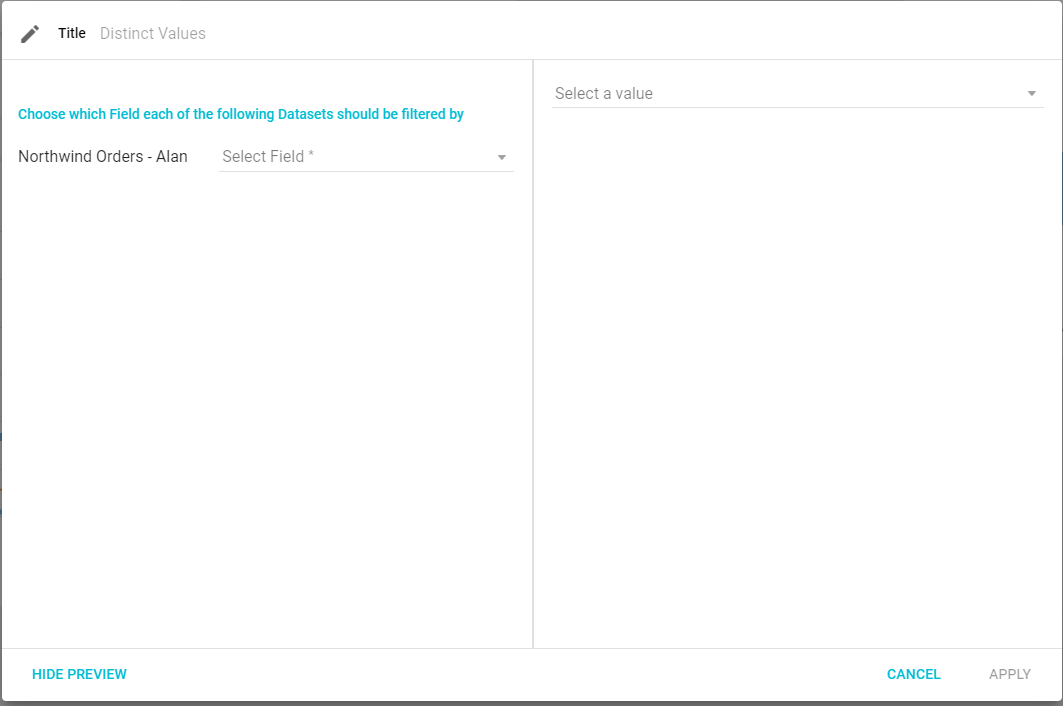
- Distinct Value: filters based on a specific value in the selected Field.
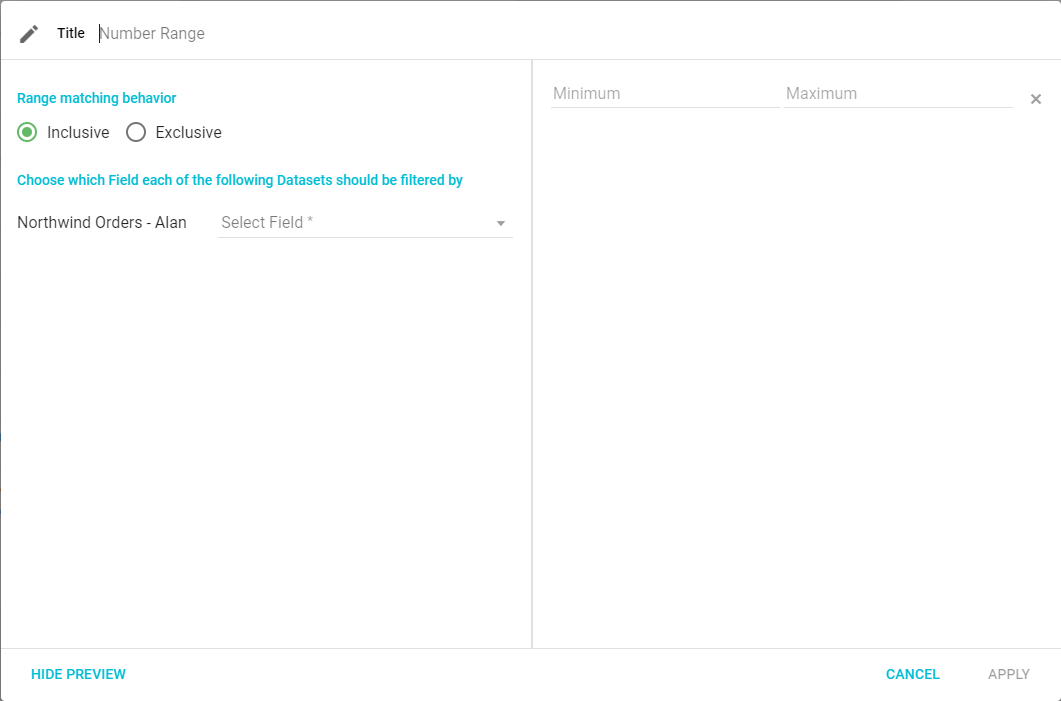
- Number Range: filters between specific numbers. Either the minimum or the maximum can be left blank to filter with no lower or upper bound. The range can be set to include or exclude the numbers.
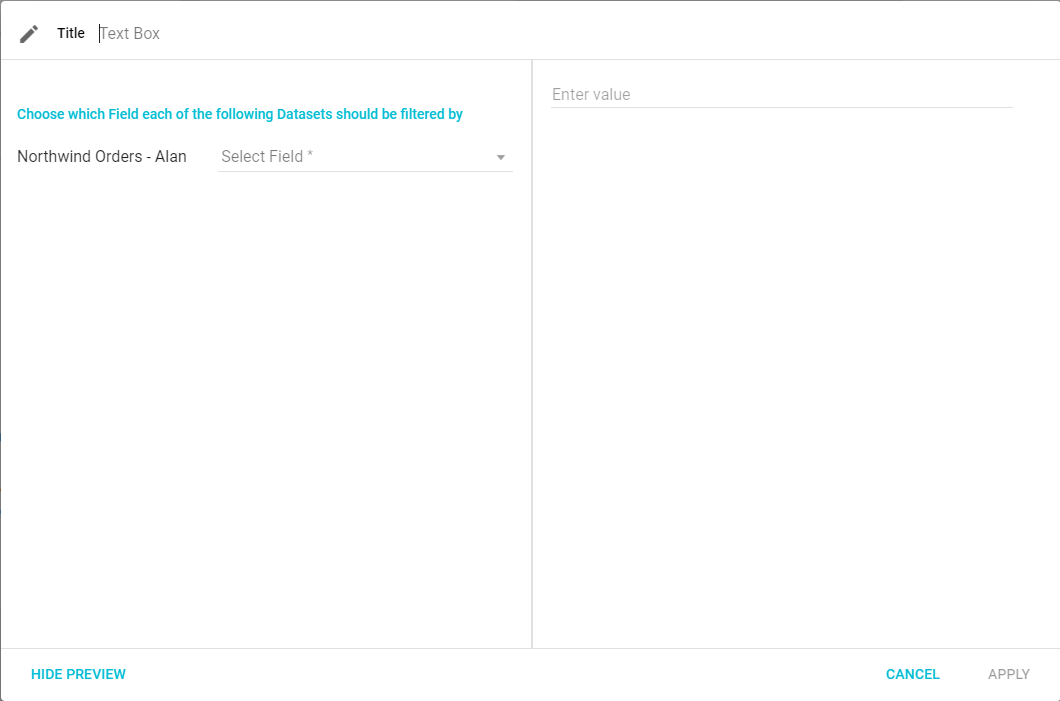
- Text Box: filters data that matches the text input.
Using Input Filters
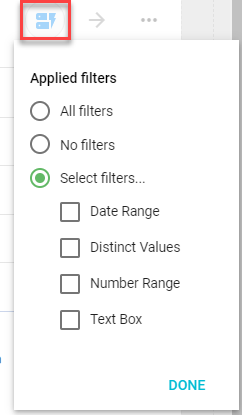
Visuals, including Distinct Value Dashboard Input Filters, can have specific Input Filters applied by clicking the Applied Filter button at the top of the Visual. You can select whether a Visual uses:
- All Filters: applies each Dashboard Input Filter to the Visual.
- No Filters: applies none of the Dashboard Input Filters to the Visual.
- Select Filters: use checkboxes to choose one or more Filters and apply them together to the Visual.
All Filters is the default setting for all Visuals, including Distinct Value Dashboard Input Filters.