Managing a Toolkit
A Toolkit's detail page is where you see what it can actually do, steer how AI uses it, and decide who else gets it. Open a Toolkit from the Toolkits list to get there.
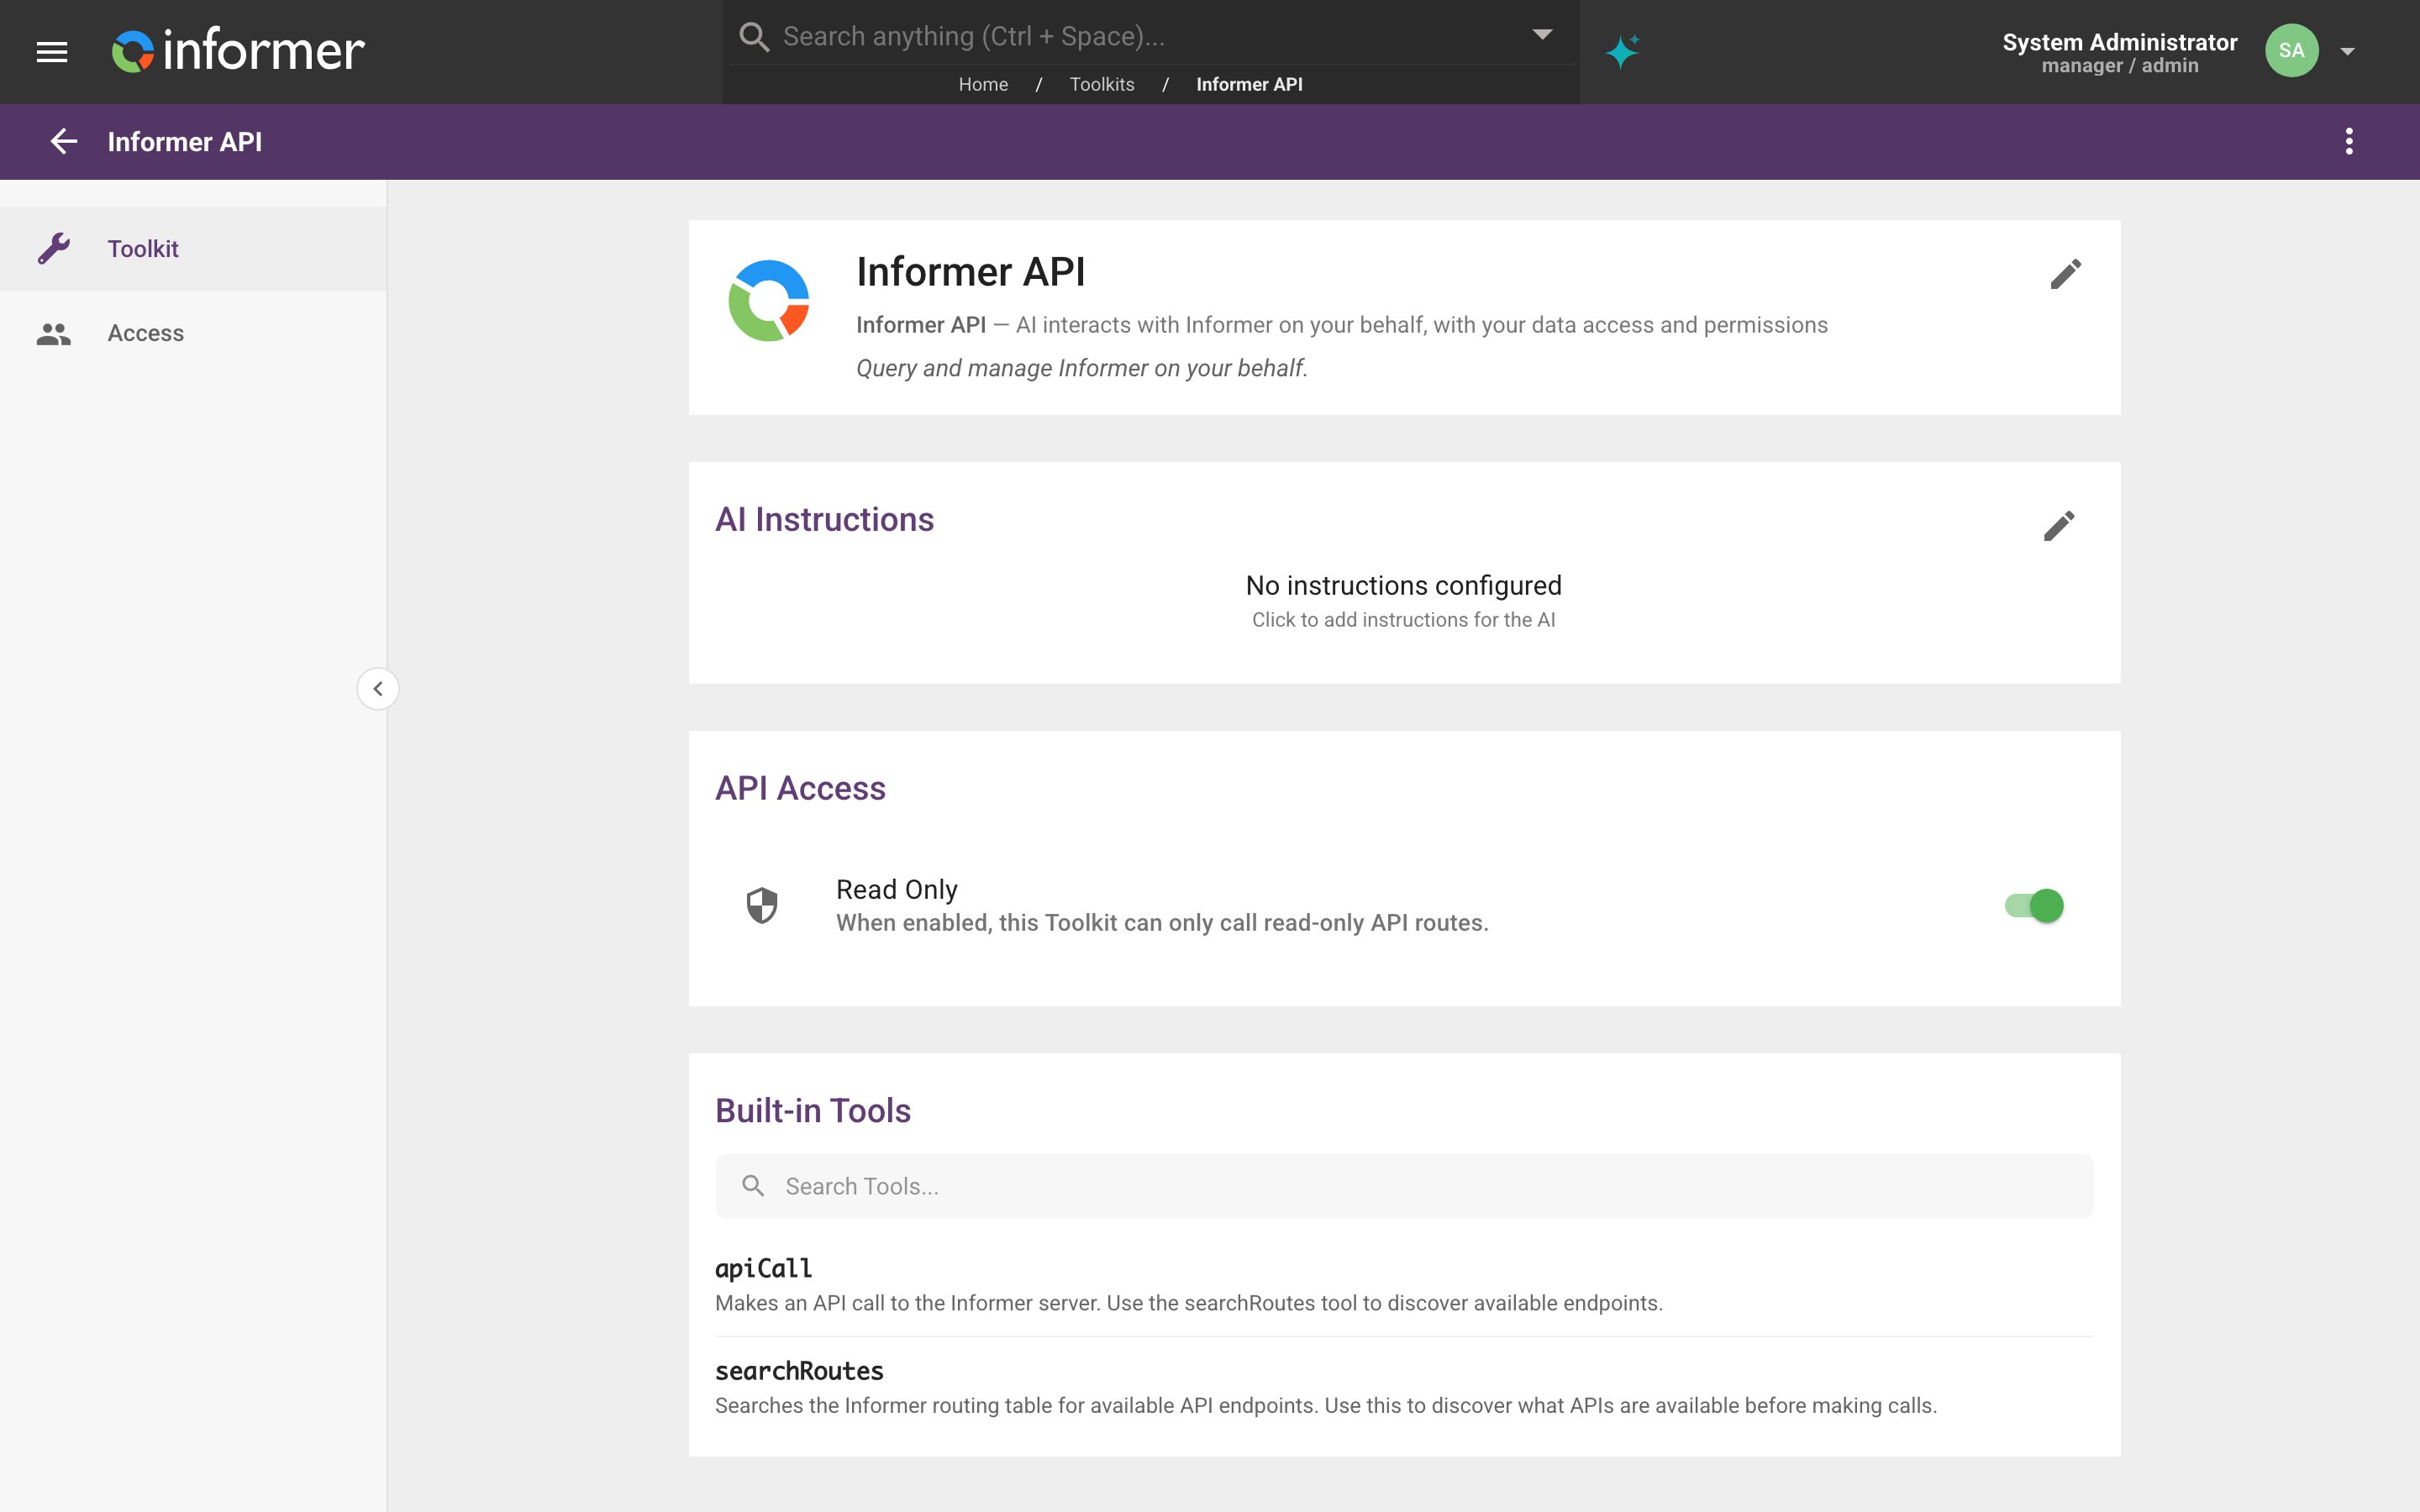
The page has a left rail with two entries, Toolkit and Access, and a header card showing the Toolkit's name, its kind, and its description. Click the header card to rename it or edit its Slug and Description.
The tools list
The Available Tools panel (called Custom Tools on an Integration Toolkit, Built-in Tools on an Informer API Toolkit) is the honest answer to "what can this thing do?". Each row is one tool, with its name in code style and a description; long descriptions collapse behind a more link. Search the list when a Toolkit brings in more tools than fits on a screen.
This list is worth reading before you rely on a Toolkit, because the AI can only use what it contains. It is also what the tools chip in a chat's Choose Toolkits dialog is counting.
A tool marked Require approval carries a badge. Those pause and ask before they run, rather than acting silently.
Where the tools come from
| Kind of Toolkit | How its tools get there |
|---|---|
| MCP Server (remote) | Fetched from the remote server. Read-only here: "These Tools are provided by the remote server and cannot be edited here." |
| MCP Server (local) | Reported by the Informer GO desktop app the first time the Toolkit is used |
| Integration Toolkit | You write each one |
| Informer API Toolkit | Built in, nothing to configure |
Reloading tools
A remote MCP Toolkit's panel has a Reload Tools refresh button. Use it when the remote server has gained or lost tools, since Informer does not poll for changes. A successful reload replaces the stored list and reports how many tools it found; the panel footer records when tools were last discovered.
If the reload fails, the message says why rather than going quiet. A Toolkit whose server needs authentication will say so, and a local Toolkit will remind you that discovery happens in the desktop app.
Custom tools
On an Integration Toolkit, you author each tool yourself. Add Tool opens a three-step editor:
- Define the Tool
Give the tool a function-like Name (
searchUsers,getOrderById): it must start with a lowercase letter, use only letters, numbers, and underscores, and stay within 64 characters. The Description is how the AI decides when to reach for this tool, so describe the job it does, not its mechanics. Require approval makes it pause for a human before running. - Configure the Request
Write JavaScript that returns an axios request configuration.
$params.fieldNamecarries the values the AI supplies;$contextholds the username and tenant;$integrationholds the authentication configuration when the Toolkit is bound to an Integration. The script must return an object with aurlorbaseURL. - Define Parameters
Declare the inputs the tool accepts, as JSON Schema. Generate derives a first draft from the script you wrote in step 2, which is usually faster than writing the schema by hand.
AI Instructions
The AI Instructions panel is free text that travels with the Toolkit into every conversation that uses it. This is where you write the things a tool description has no room for: which endpoint to prefer, what a status code means in your system, when not to act.
Instructions are the difference between a Toolkit that technically works and one that behaves. A bare Informer API Toolkit will do whatever it is asked; the same Toolkit with "only query Datasets in the Registrar workspace, and never modify a Report" is a specialist.
Read-only access
An Informer API Toolkit has an API Access panel with a Read Only switch: "When enabled, this Toolkit can only call read-only API routes."
With it on, the Toolkit is limited to reads. With it off, it can create, update, and delete anything the person using it could. Either way it acts as that person, so it can never exceed their own permissions. Leaving Read Only on is the right default for a Toolkit meant to answer questions.
Sharing a Toolkit
The Access page controls who else can use the Toolkit.
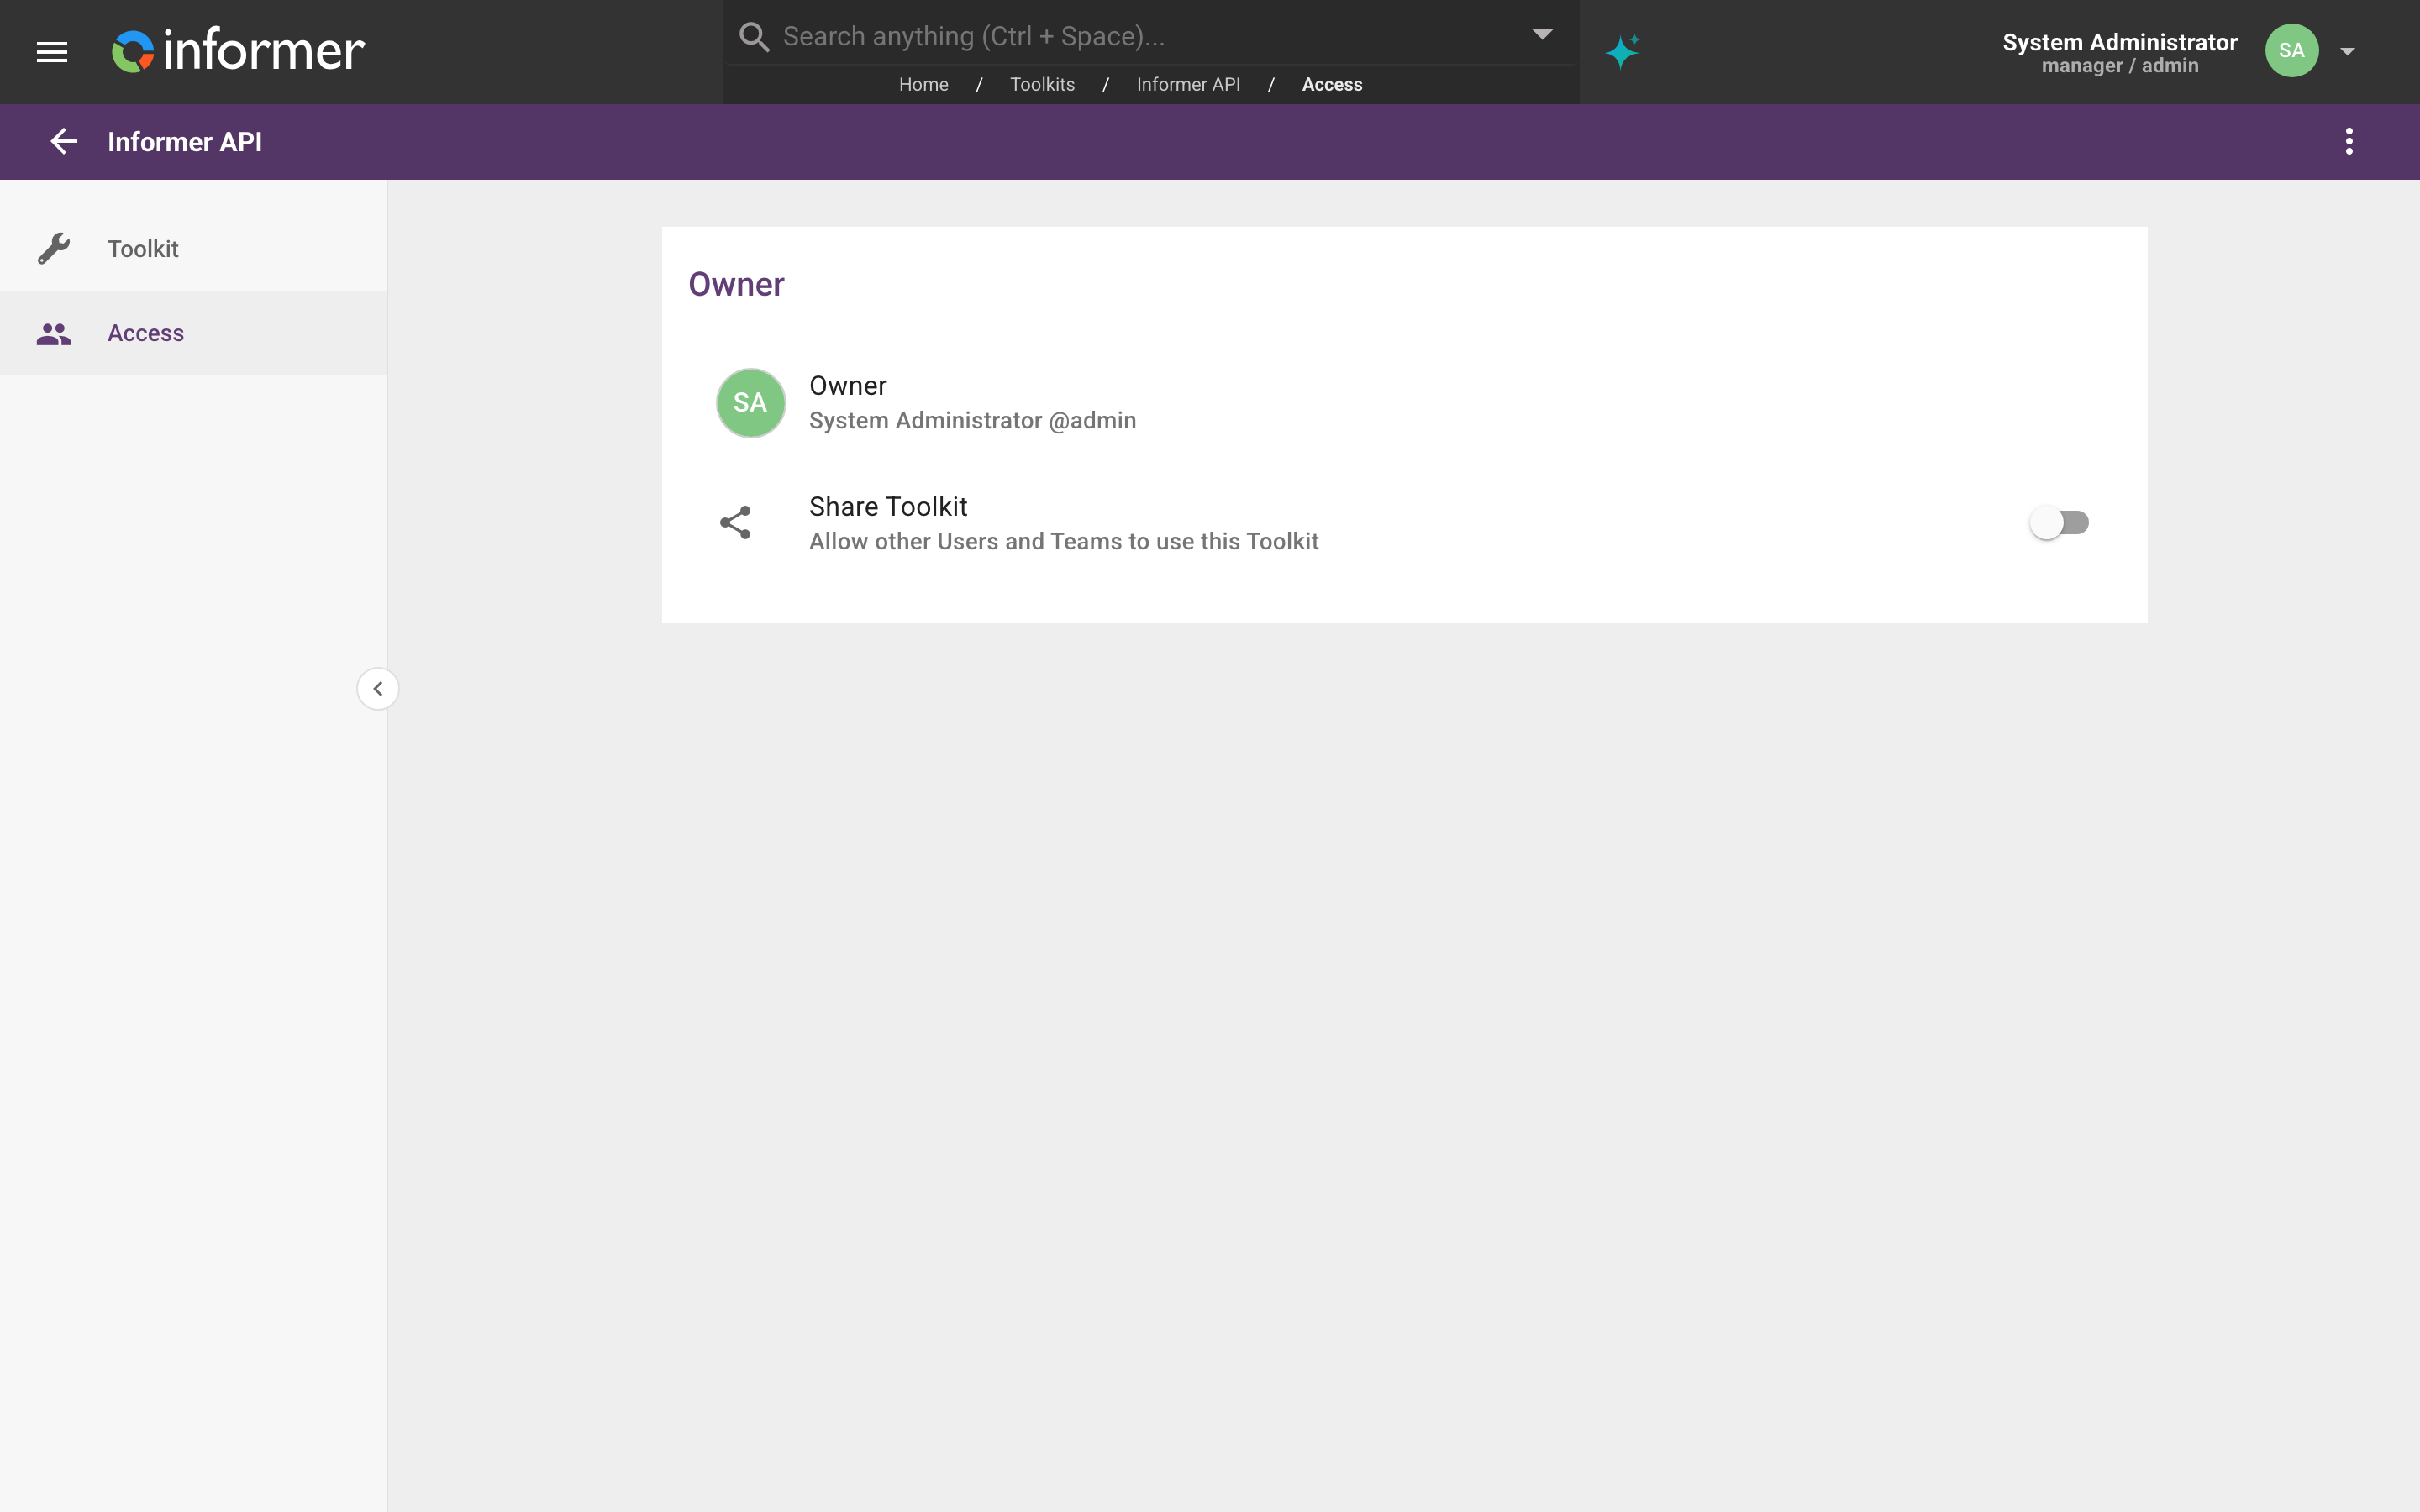
- Owner: the person or Team the Toolkit belongs to. Change Owner hands it to someone else.
- Share: a switch reading "Allow other Users and Teams to use this Toolkit". Off, the Toolkit is yours alone. On, a grid appears for adding Users and Teams.
There is exactly one access level, Use. Sharing a Toolkit lets someone run its tools; it does not let them edit it, add tools to it, or change its instructions. Editing stays with the owner and anyone with the Data Wizard role on it.
The Actions menu
The ⋮ menu on the Toolkit page and on each row of the Toolkits list offers:
- Assign Tags: apply tags to organize and filter the list.
- Change Owner: hand the Toolkit to another User or Team.
- Bundle: add the Toolkit to a Bundle to move it between systems. Add to bundle and Bundle and download are available to Super Users, and Bundle and deploy as well on multi-tenant systems. See Bundles.
- Delete: remove the Toolkit. Deleting one does not delete the Integration it used.
Managing Toolkits from Informer GO
In the Informer GO desktop app, the chat's Choose Toolkits dialog has a Manage entry that opens a dedicated Toolkits window, where you can create, edit, and delete the Toolkits you own. It is a desktop-only shortcut: in the browser and on mobile, manage Toolkits from Informer's Toolkits page instead.
Troubleshooting
- A Toolkit's tools list is empty. For a local MCP Toolkit this is normal until it has run once in the Informer GO desktop app. For a remote one, try Reload Tools and read the error it reports.
- A tool the AI needed was not used. Open the tools list and confirm the tool actually exists and its description matches the job. The AI can only choose from what is listed.
- Someone the Toolkit is shared with cannot edit it. Sharing grants Use only. Editing requires ownership or the Data Wizard role.
- A shared Toolkit is not usable by a colleague. Check that they have AI access; a Toolkit is invisible to anyone whose account has AI disabled.